
Prizm L4-108 1.8L DOHC VIN 8 MFI (1998)
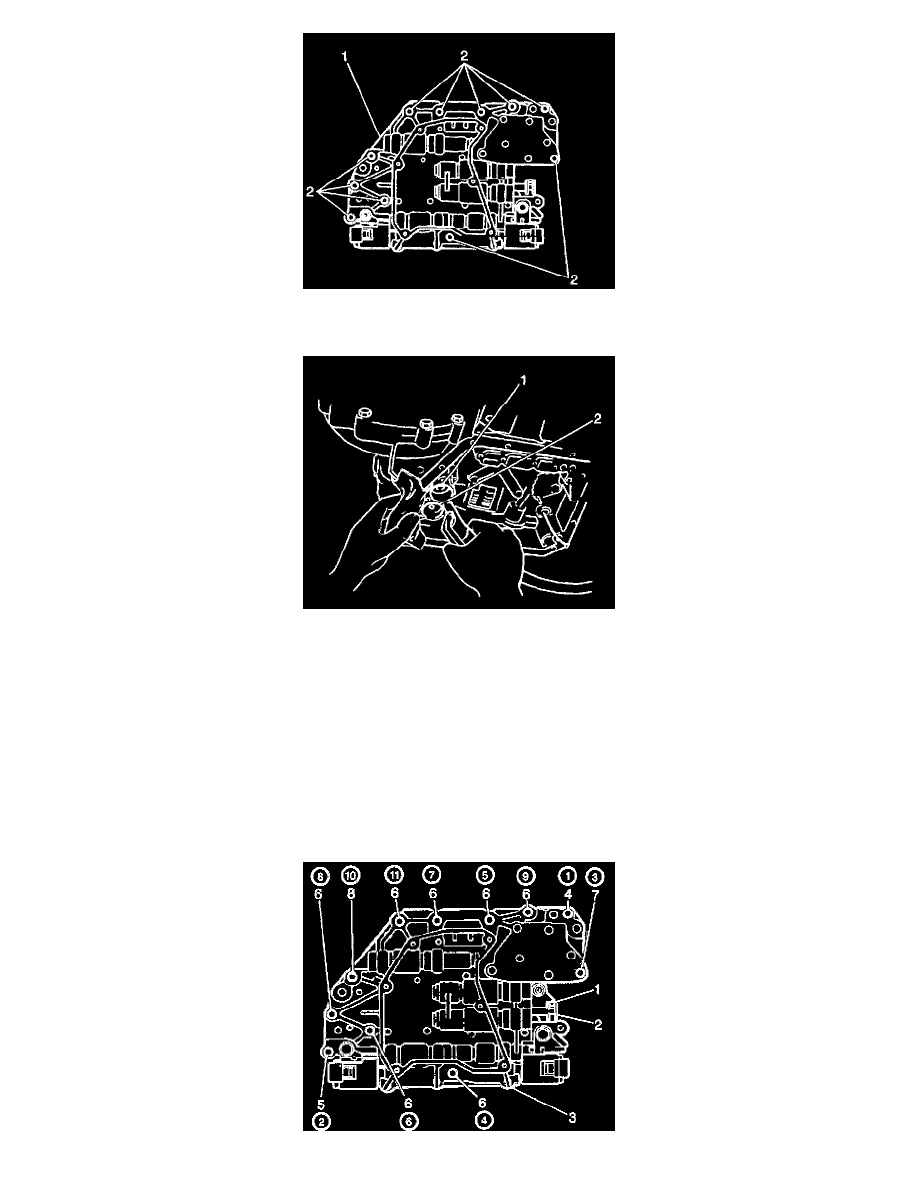
9. Remove 6 bolts (2) and the fluid filter screen from the lower valve body (1).
10. Remove 11 bolts and the valve body from the transaxle.
11. Cover the accumulator bores with a cloth. Slowly apply low pressure compressed air into the fluid pressure package in order to remove the
forward clutch (1) and the second brake (2) accumulators from the transaxle case.
INSTALLATION PROCEDURE
^
Tools Required
-
J 36850 Transjel Transmission Assembly Lubricant
NOTICE:
^
Torque sequence and specification is very important to valve body operation. If bolts are tightened at random, valve bores may become distorted
and inhibit valve operation. Make sure all parts are thoroughly cleaned and free of damage prior to installation.
^
When installing valve body to case, make sure accumulators and springs are in their correct positions and all valve body bolts are installed
according to length and position. All bolts should be hand-tightened only. Do not use air powered tools when installing the valve body.