
Prizm L4-108 1.8L DOHC VIN 8 MFI (1998)
1. Install the rear transaxle mount into the rear transaxle mounting bracket.
2. Secure the rear transaxle mount with the through bolt. Do NOT fully tighten the through bolt.
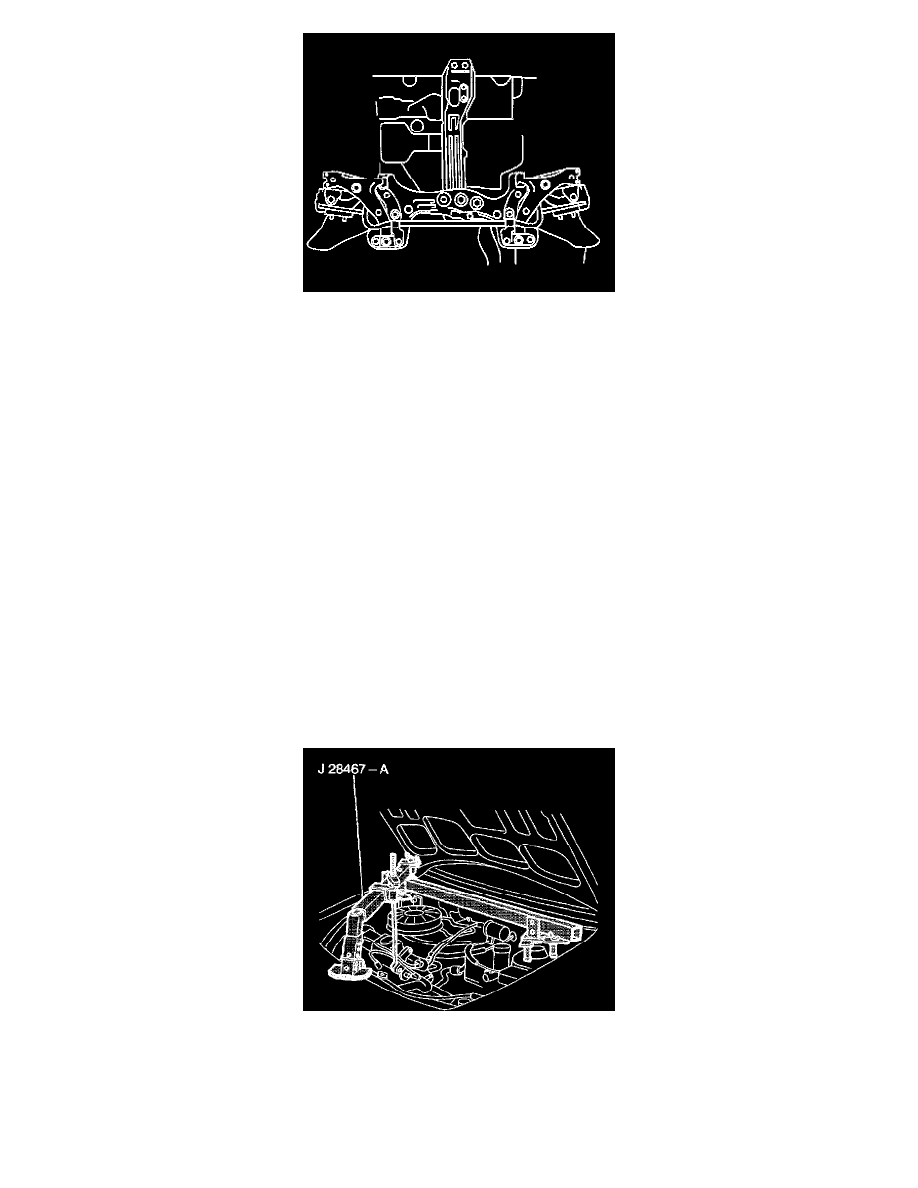
3. Use a suitable jack in order to raise the transaxle into position.
4. Slowly raise the front suspension and center crossmembers until the rear transaxle mounting studs are aligned with their holes in the front
suspension crossmember.
5. Install the 12 bolts into the front suspension crossmember.
^
Tighten the 12 front suspension crossmember bolts to 206 Nm (1152 ft. lbs.).
^
Tighten the rear transaxle through-bolt to 87 Nm (64 ft. lbs.).
NOTICE: Refer to Fastener Notice in Service Precautions.
6. Remove the jack.
7. Install the 2 bolts to the center crossmember at the radiator core support.
^
Tighten the 2 bolts to 61 Nm (45 ft. lbs.).
8. Install the 2 bolts to the front transaxle mount at center crossmember.
^
Tighten the 2 bolts to 64 Nm (47 ft. lbs.).
9. Install the center crossmember plastic access cover to the center crossmember.
10. Connect both front control arms to both steering knuckles.
11. Install the 3 nuts to the rear transaxle mount at the front suspension crossmember.
^
Tighten the 3 nuts to 57 Nm (42 ft. lbs.).
12. Install the 6 bolts and the left splash shield onto the vehicle.
^
Tighten the 6 bolts to 5 Nm (44 inch lbs.).
13. Remove J 28467-A and J 28467-90 from the engine.
14. Lower the vehicle.