
S10/T10 Blazer 4WD V6-262 4.3L (1989)
Control Arm Bushing: Service and Repair
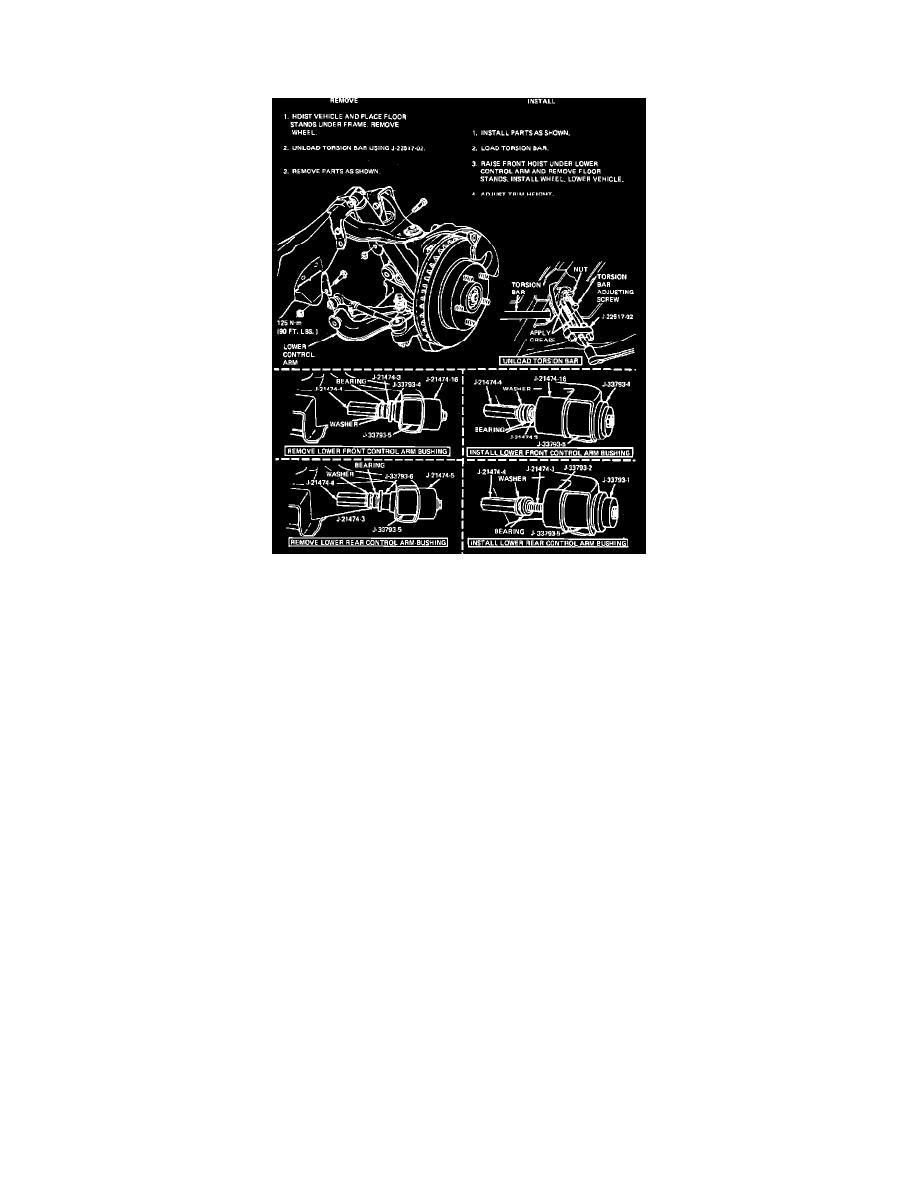
4 X 4
Fig. 12 Lower Control Arm Bushing Replacement. 4 X 4 Models
1.
Raise and support vehicle.
2.
Remove wheel and tire assembly.
3.
Unload torsion bar.
4.
Remove stabilizer shaft.
5.
Remove shock absorber as outlined in SHOCK ABSORBER.
6.
Remove control arm pivot bolts then the lower control arm.
7.
Remove lower control arm front and rear bushings, refer to Fig. 12.
8.
Reverse procedure to install.