
Silverado 1500 4WD V8-6.0L Hybrid (2009)
Note
DO NOT use excessively abrasive cleaning tools on the sealing surface. Hand sanding with wet 400 grit sandpaper or use of a hand scraper is
recommended.
22. Clean the sealing surface of the 3 phase cable cover as necessary.
23. Position the 3 phase cable cover (2) onto the PIM distribution box ensuring the seal remains in place.
24. Tighten the 3 phase cable cover fasteners (1). Tighten the fasteners to 9 Nm (80 lb in) .
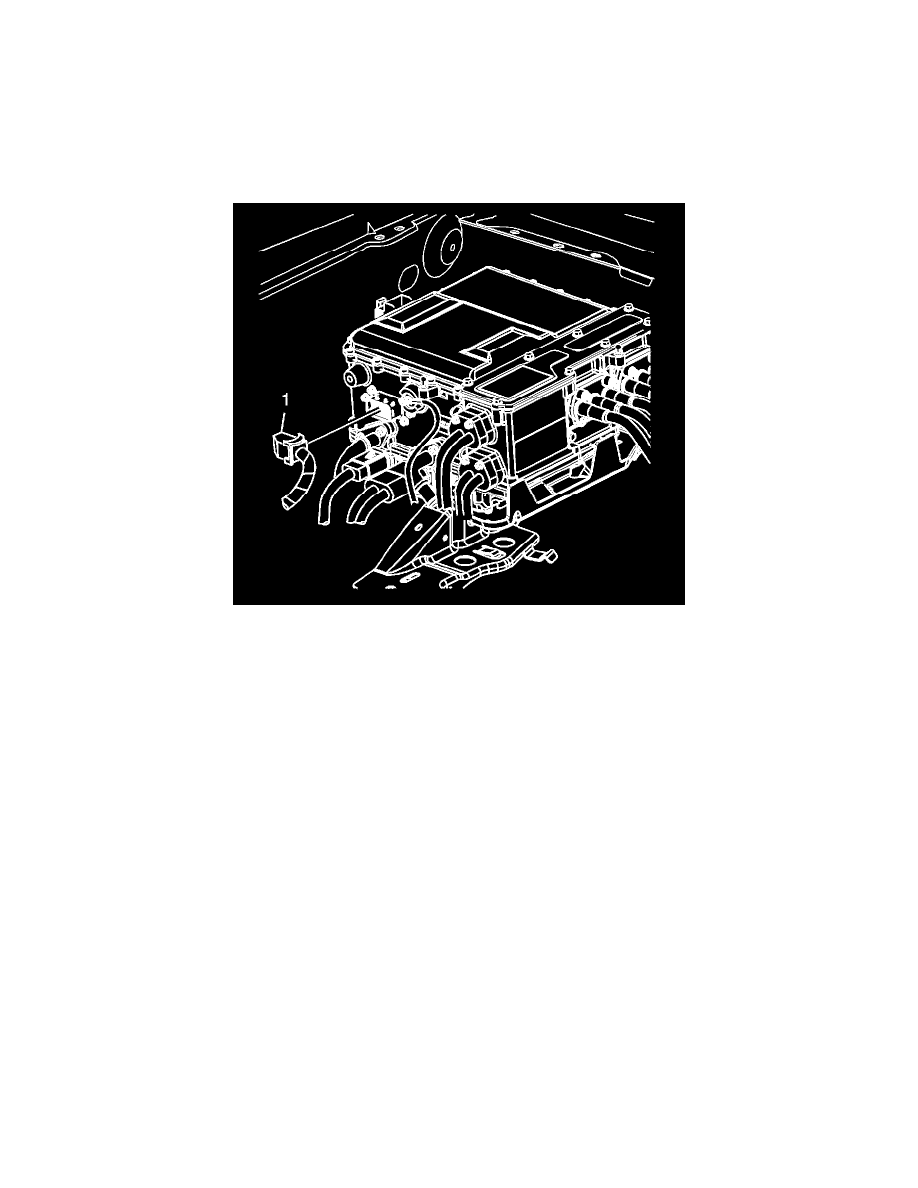
25. Connect the drive motor generator control module assembly connector (1).
26. Fill the power electronics cooling system and test for leaks at all serviced connections. Refer to Generator Control Module Cooling System
Draining and Filling (See: Service and Repair/Procedures) .
27. Install the sight shield. Refer to Drive Motor Generator Control Module Sight Shield Replacement (See: Drive Motor Generator Control Module
Sight Shield Replacement) .
28. Install the fender cross brace. Refer to Front Fender Rear Upper Brace Replacement (See: Body and Frame/Fender/Front Fender/Service and
Repair) .
29. Perform the High Voltage Enabling procedure. Refer to High Voltage Enabling (See: Battery System, Hybrid Drive/Testing and Inspection/Initial
Inspection and Diagnostic Overview/High Voltage Enabling) .
30. Install the air cleaner. Refer to Air Cleaner Assembly Replacement (See: Engine, Cooling and Exhaust/Engine/Tune-up and Engine Performance
Checks/Air Cleaner Housing/Service and Repair) .
31. For control module programming and setup procedures, refer to Control Module References (See: Testing and Inspection/Programming and
Relearning) .