Silverado Classic 1500 4WD V8-5.3L Hybrid (2007)

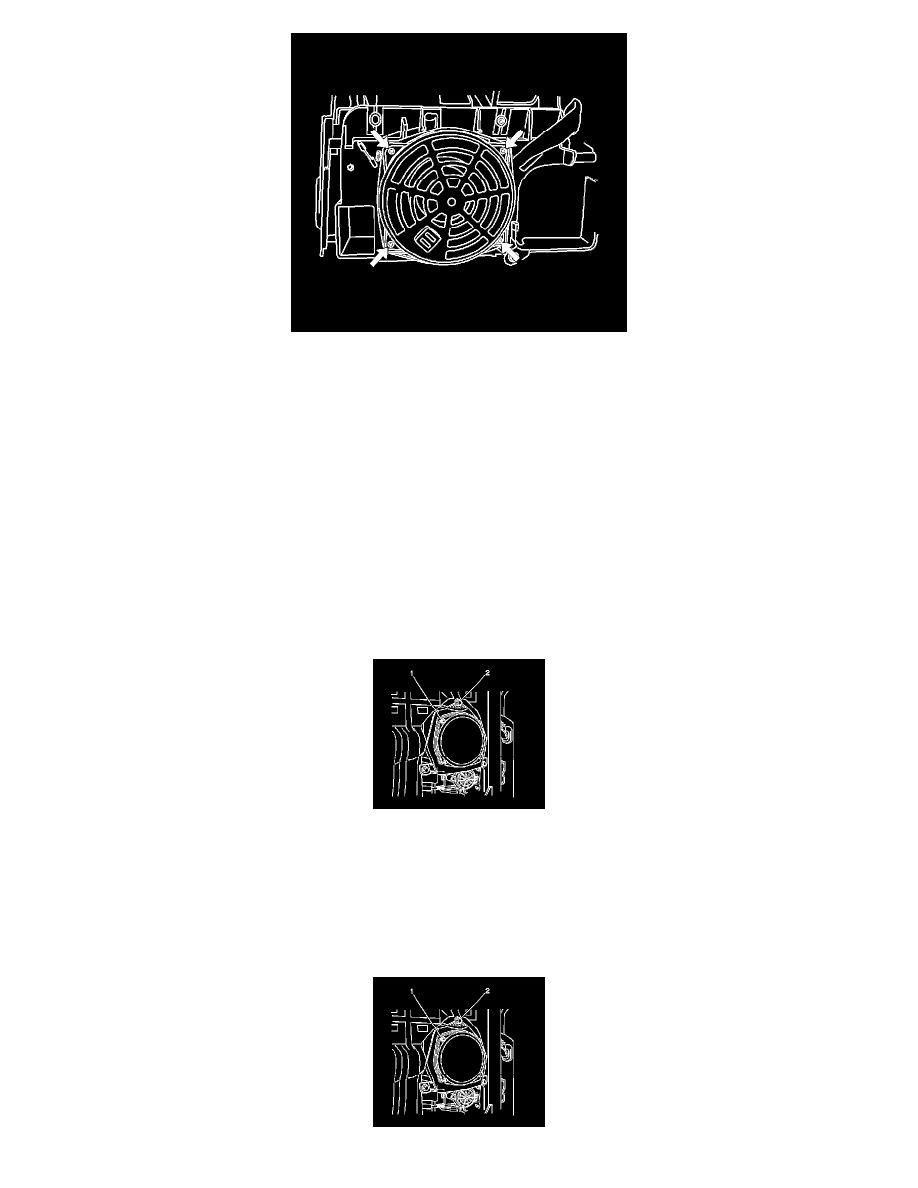
2. Connect the wire connector.
Notice: Refer to Fastener Notice.
3. Install the 4 retaining screws.
Ensure the screw follows the same thread in the screw boss so that a new thread is not formed.
Tighten the screws to 6 N.m (53 lb in).
4. Move the console forward in order to connect the wire connector.
5. Install the console to the instrument panel (I/P).
6. Install the 2 front seats.
Radio Rear Side Door Speaker Replacement (Crew Cab)
Radio Rear Side Door Speaker Replacement (Crew Cab)
Removal Procedure
1. Remove the door trim panel.
2. Remove the screws (1) retaining the speaker to the mounting bracket.
3. Disconnect the electrical connector from the speaker.
4. Remove the speaker from the mounting bracket.
5. Remove the bolts (2) retaining the speaker mounting bracket to the door, if required.
6. Remove the speaker mounting bracket.
Installation Procedure
