
Tracker 2WD L4-1.6L VIN 6 (2000)
5. If the blower case was removed, perform the following:
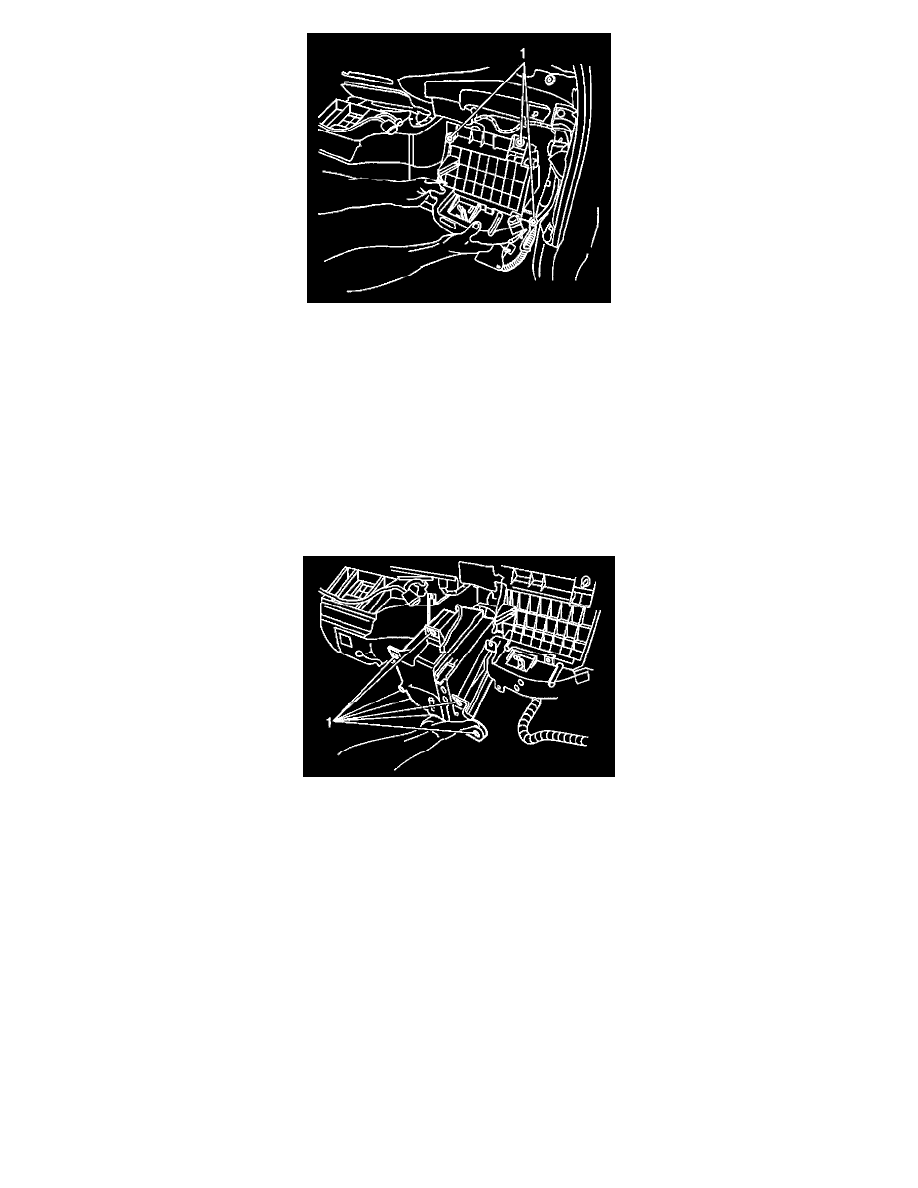
5.1. Install the blower case to the vehicle. Secure with the 4 nuts (1).
Tighten
Tighten the nuts to 10 N.m (89 lb in).
5.2. Connect the blower motor electrical connector.
5.3. Connect the blower motor resistor electrical connector.
5.4. Install the fresh/recirc control cable to the blower case. Adjust the cable as necessary, refer to Vent Control Cable Adjustment. See: Heating
and Air Conditioning/Air Door/Air Door Cable/Adjustments/Vent Control Cable Adjustment
5.5. Install the blower relay bracket to the blower case. Secure with the screw.
5.6. Install the wiring harness retainers to the blower case.
5.7. Install the PCM.
6. Install the air box or the A/C evaporator, if equipped. Refer to Evaporator Core Replacement. See: Heating and Air Conditioning/Evaporator
Core/Service and Repair
Secure with the 2 nuts and 6 screws.
Tighten
Tighten the nuts and screws to 10 N.m (89 lb in).
7. Install the A/C compressor control module, if equipped.
8. Connect the electrical connector to the A/C compressor control module, if equipped.
9. Install the heater hoses and clamps to the heater core.
10. Install the instrument panel.
11. Fill the engine cooling system. Refer to Draining and Filling Cooling System in Cooling System. See: Service and Repair