
Tracker 2WD L4-2.0L VIN C (1999)
Front Door Panel: Service and Repair
Trim Panel Replacement - Side Front Door (Right)
REMOVAL PROCEDURE
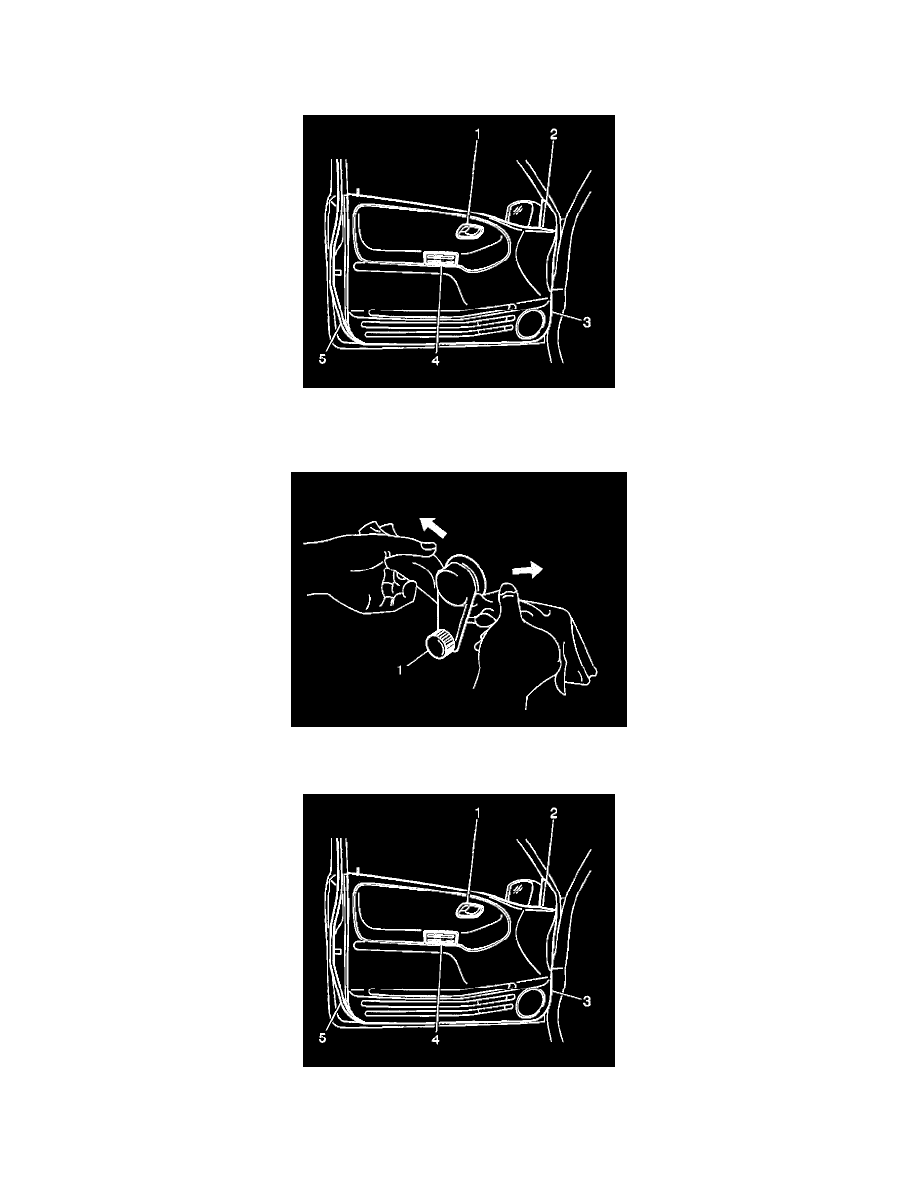
1. Remove the front side door inside handle (1).
2. Remove the outside rearview mirror opening cover (2).
3. Remove the screw which secures the front side door pull handle (4).
4. Use a cloth in order to pull off the snap ring which secures the front side door window regulator handle (1), if equipped. A
5. Remove the window regulator handle (1), if equipped.
6. Gently pry the front side door trim panel (3) from the front side door by disengaging the plastic retainers which secure the panel.
7. Position the door trim panel (3) away from the door in order to gain access to the right front side window switch electrical connector, if equipped.
8. Disconnect the window switch electrical connector, if equipped.