
Tracker 4WD L4-1.6L VIN 6 (1998)
6. Coat the new reservoir grommets with clean brake fluid.
7. Install the reservoir grommets (3) to the master cylinder (4). Make sure the grommets seat properly.
8. Install the reservoir (2) to the master cylinder (3). Secure the reservoir by driving the reservoir pin in using a drift.
9. Install the master cylinder assembly to the vehicle.
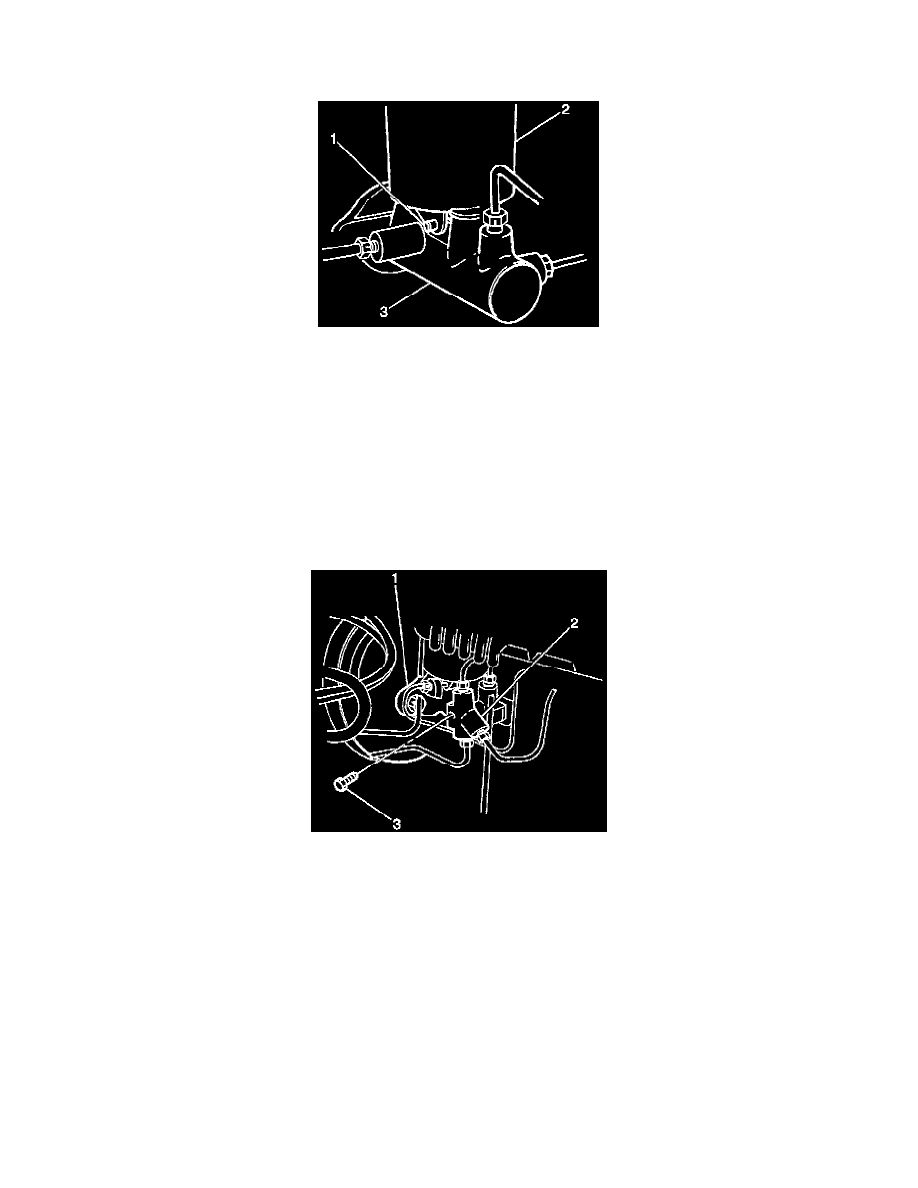
Master Cylinder Replacement
REMOVAL PROCEDURE
CAUTION: Before removing or installing any electrical unit or when a tool or equipment could easily come in contact with "live" exposed
electrical terminals, disconnect the negative battery cable to help prevent personal injury and/or damage to the vehicle or components.
Unless instructed otherwise, the ignition switch must be in the "OFF" or "LOCK" position.
1. Disconnect the negative batted, cable.
2. Clean the reservoir cap.
3. Remove the reservoir cap and siphon the fluid from the reservoir.
4. On Antilock Brake System (ABS) models, remove the one bolt (3) securing the three-way joint and set it aside.