
Tracker 4WD L4-1.6L VIN 6 (1998)
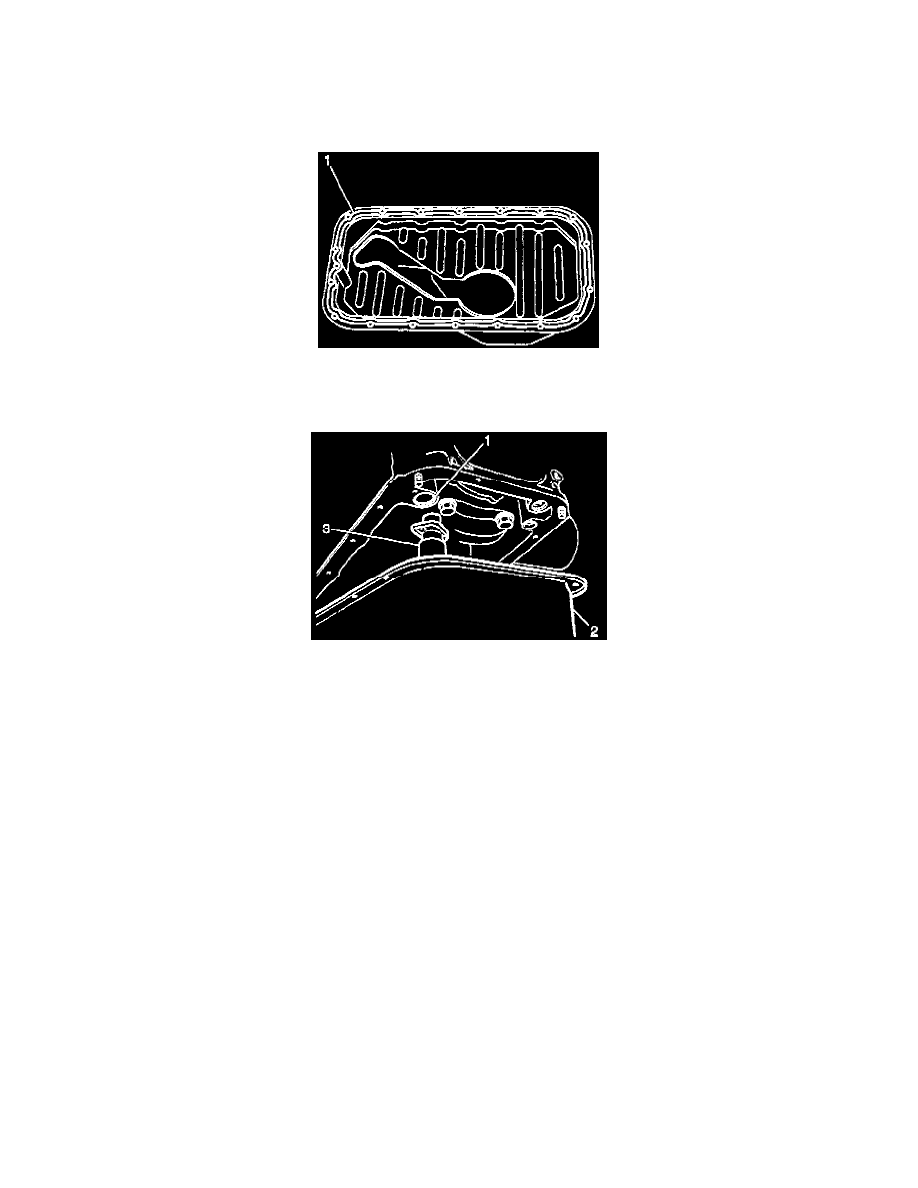
13. Remove the two bolts and the oil pump strainer (3) from the cylinder block (1).
14. Clean the inside of the engine oil pan (2) and oil pump strainer screen.
15. Clean the mating surfaces of the engine oil pan (2) and the cylinder block (1).
INSTALLATION PROCEDURE
1. Apply the silicone sealant GM P/N 12346240, or the equivalent, to the engine oil pan mating surface in a continuous bead (1).
NOTICE: Refer to Fastener Notice in Service Precautions.
2. Install the oil pump strainer (3) to the cylinder block. Secure the oil pump strainer (3) with two bolts.
^
Tighten the oil pump strainer bolts to 11 Nm (97 inch lbs.).
3. Install the engine oil pan (2) to the cylinder block. Secure the engine oil pan (2) with sixteen bolts and two nuts.
^
Tighten the engine oil pan nuts and bolts to 11 Nm (97 inch lbs.).
4. Install the clutch housing lower plate for the manual transmission equipped vehicles.
5. Install the torque converter housing lower plate for the automatic transmission vehicles.
6. Install the left side stiffener bracket for the four speed transmission models. Secure the left side stiffener bracket with two bolts.
7. Install the engine oil drain plug and gasket.
^
Tighten the engine oil drain plug to 35 Nm (26 ft. lbs.).
8. Install the crankshaft position sensor.
9. Install the front differential assembly to the chassis in four wheel drive vehicles.
10. Install the front skid plate (if equipped). Secure the front skid plate with the four bolts.
^
Tighten the front skid plate and bolts to 55 Nm (40 ft. lbs.).
11. Lower the vehicle.
12. Refill the engine oil according to the specifications.
13. Check the oil pressure upon completion of the installation.