
Tracker 4WD L4-1.6L VIN 6 (1998)
Timing Belt Tensioner: Service and Repair
REMOVAL PROCEDURE
CAUTION: Refer to Battery Disconnect Caution in Service Precautions.
1. Disconnect the negative battery cable.
2. Loosen the upper and lower A/C compressor mounting bolts (if equipped).
3. Loosen the upper and lower power steering pump mount bolts.
4. Remove the A/C compressor (if equipped) and/or power steering drive belt from the pulleys.
5. Loosen the upper and lower generator mounting bolts.
6. Remove the generator/coolant pump drive belt from the pulleys.
7. Remove the following from the coolant pump:
^
Four nuts
^
The cooling fan
^
The coolant pump pulley
8. Raise and support the vehicle.
9. Remove four bolts and the front skid plate from the vehicle (if equipped).
10. Remove the two lower radiator shroud bolts.
11. Lower the vehicle.
12. Remove the two bolts from the A/C suction line brackets at the right side of the radiator core support (if equipped). Carefully reposition the
suction line for the radiator shroud removal access.
IMPORTANT: If the radiator shroud is difficult to remove, drain the cooling system and disconnect the upper radiator hose from the radiator to
gain access.
13. Remove the two upper radiator shroud bolts and the radiator shroud from the radiator.
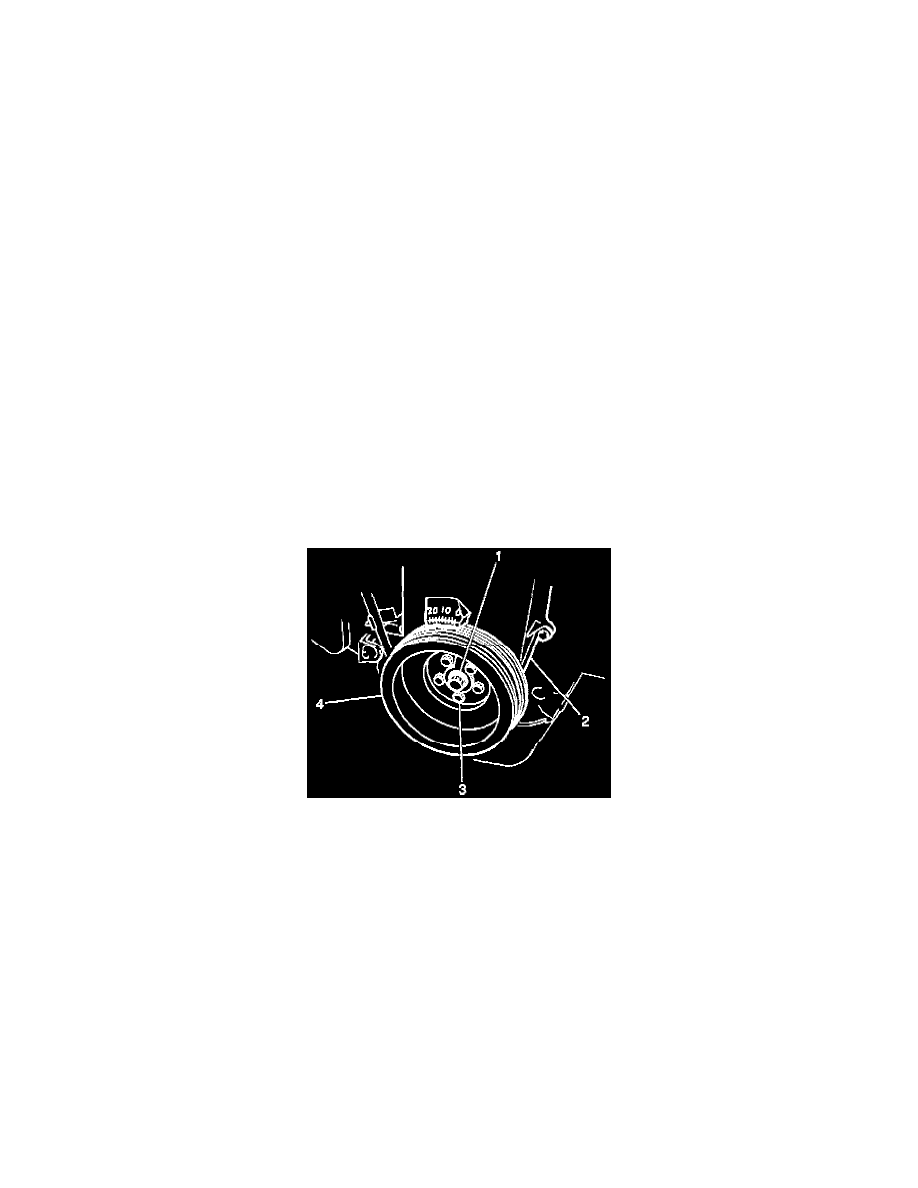
IMPORTANT: It is not necessary to remove the crankshaft pulley center bolt when removing the crankshaft pulley.
14. Remove five bolts (3) and the crankshaft pulley (4) from the crankshaft.
15. Disconnect the oil pressure sending unit wire conduit from the timing belt cover (2).