
Tracker 4WD L4-1.6L VIN 6 (1998)
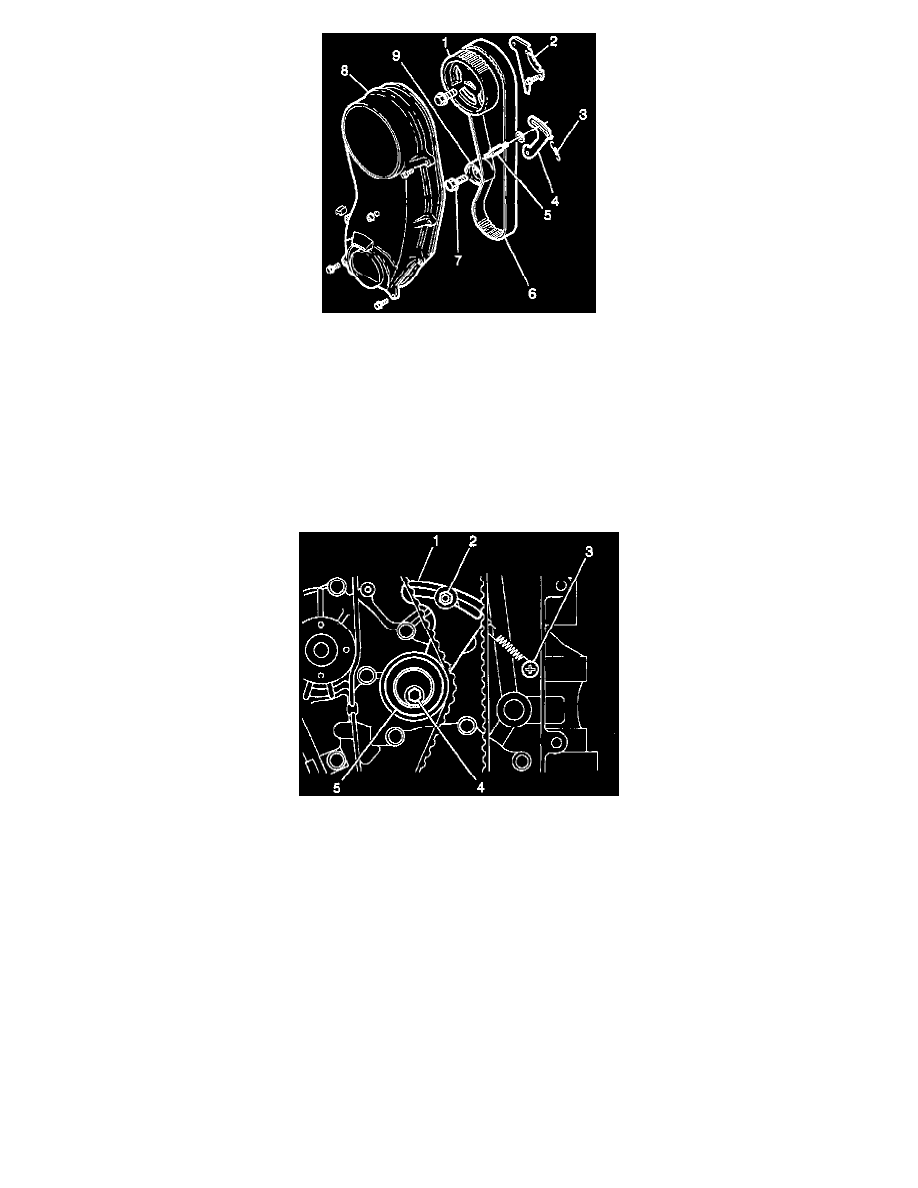
3. Install the timing belt (6) onto the camshaft and the crankshaft timing belt gears (1).
4. Inspect the timing marks on the cylinder head cover and the camshaft timing belt gear for the alignment. Inspect the timing marks on the oil pump
casting and the crankshaft timing belt gear.
If these two sets of timing marks are not properly aligned, remove the timing belt and align both sets of marks as previously outlined in this
procedure.
NOTICE: Refer to Fastener Notice in Service Precautions.
IMPORTANT: Rotate the crankshaft two complete revolutions to remove any slack from the timing belt and to properly seat the timing belt.
When all of the slack has been removed from the timing belt, inspect both sets of timing marks to ensure that they are aligned respectively.
5. Install the timing belt tensioner spring to the timing belt tensioner plate (1).
^
Tighten the timing belt tensioner stud to 11 Nm (97 inch lbs.).
^
Tighten the timing belt tensioner bolt to 27 Nm (20 ft. lbs.).
6. Install the timing belt cover to the engine. Secure the cover with one nut and eight bolts.
^
Tighten the timing belt cover nut and bolts to 10 Nm (89 inch lbs.).
7. Connect the oil pressure sending unit wire conduit to the timing belt cover.