
Tracker 4WD L4-1.6L VIN 6 (1998)
Headlamp Relay: Service and Repair
REMOVAL PROCEDURE
CAUTION: Refer to Battery Disconnect Caution in Cautions and Notices.
1. Disconnect the negative battery cable.
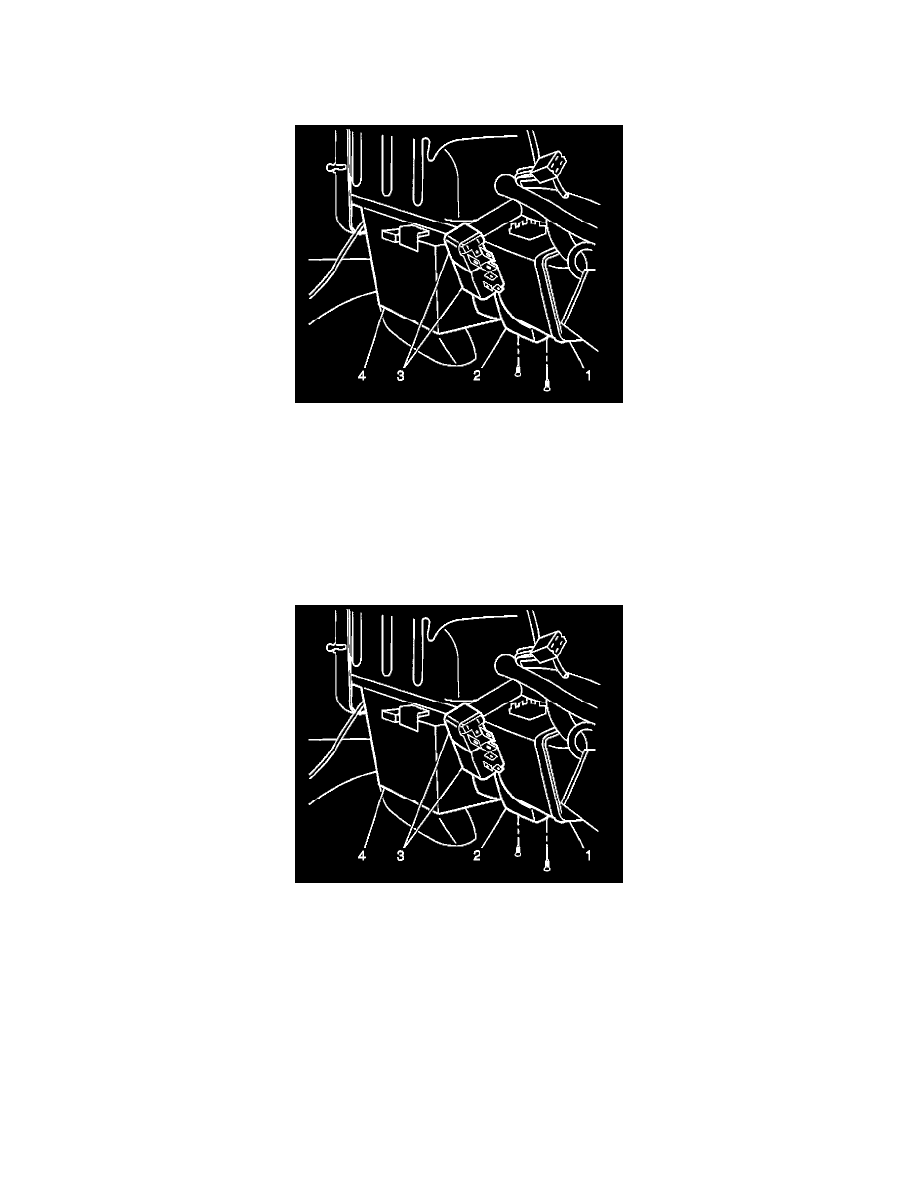
IMPORTANT: Refer to Headlights DRL Schematics for proper identification of the headlamp relays 1 and 2. See: Lighting and
Horns/Diagrams
2. Remove the 2 screws which secure the headlamp relays 1 and 2 mounting bracket (2) to the blower case (1).
3. Disconnect the headlamp relay (3) electrical connectors.
4. Slide the headlamp relay (3) off the mounting brackets (2).
INSTALLATION PROCEDURE
1. Slide the headlamp relay (3) onto the mounting bracket (2).
2. Connect the headlamp relay (3) electrical connectors.
3. Install the headlamp relays 1 and 2 mounting bracket (2) to the blower case (1). Secure the mounting bracket (2) with the 2 screws.
4. Connect the negative battery cable.