
Tracker 4WD L4-1.6L VIN 6 (1998)
1. Raise the vehicle. Support the vehicle. Refer to Vehicle Lifting Points.
2. Remove the following components (if the vehicle is equipped):
^
The four skid plate bolts
^
The front skid plate
3. Remove the left front tire and wheel assembly. Refer to Wheel Removal in Tires and Wheels.
4. Remove the following components from the locking hub body:
^
The six Allen head bolts
^
The locking hub cover
5. Remove the drive axle shaft snap ring from the end of the drive axle shaft.
6. Remove the drive axle shaft spindle washer from the drive axle shaft.
7. Use a hydraulic jack in order to support the left front control arm.
CAUTION: To prevent personal injury and/or component damage, use the proper tools to support the lower control arm when removing
the coil spring. The coil spring is under extreme pressure and can become a projectile should the spring separate from the lower control
arm before all of the tension is relieved.
8. Remove the following components from the left front control arm:
^
The three nuts
^
The three bolts
9. Separate the following components from the left front control arm:
^
The steering knuckle
^
The lower ball joint
10. Slowly lower the hydraulic jack in order to relieve the pressure in the coil spring.
11. Remove the wheel-side joint of the left drive axle from the steering knuckle.
12. Remove the wheel-side joint of the left drive axle shaft from the steering knuckle.
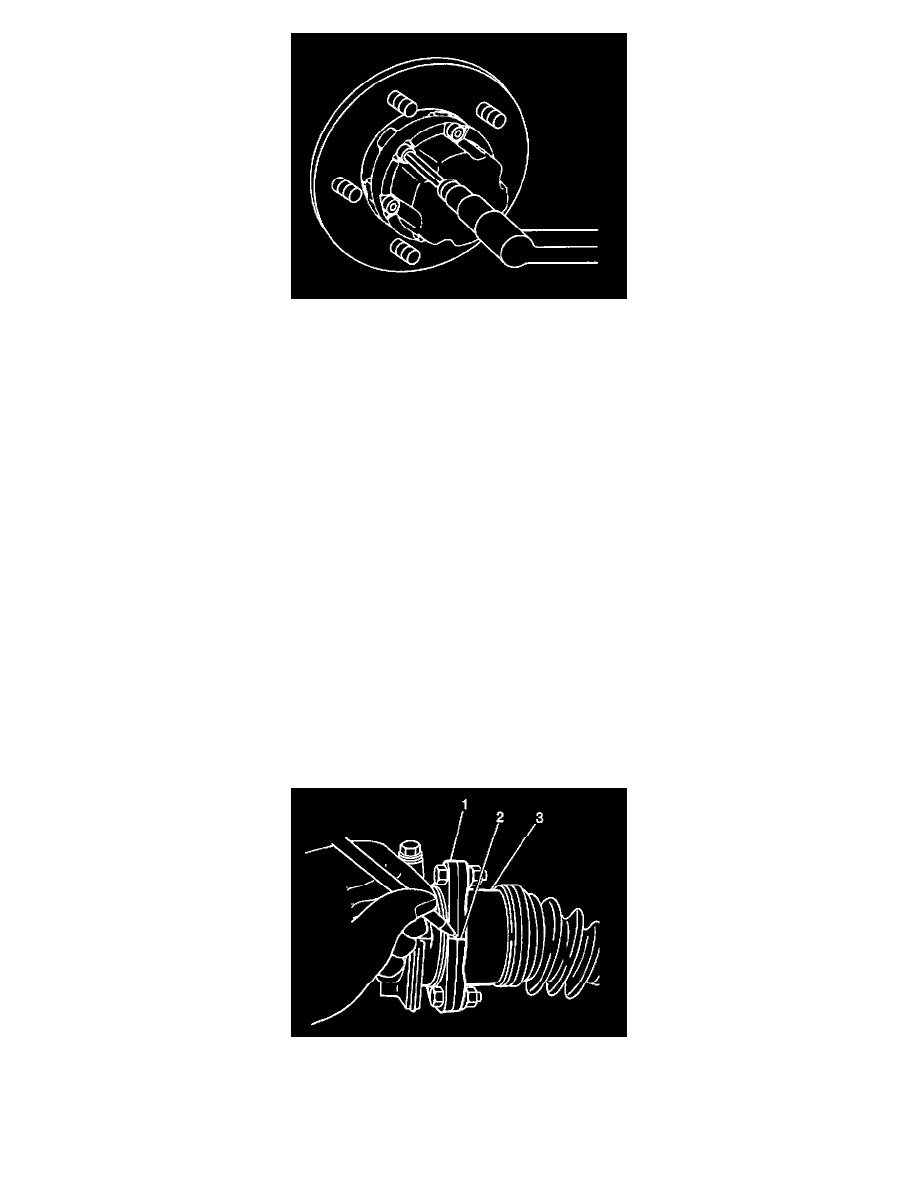
13. Make a reference mark (2) on the following components in order to ensure correct installation:
^
The left inner axle shaft flange (1)
^
The differential side joint flange (3) of the left drive axle shaft
14. Remove the following components from the left inner axle shaft flange: