
Tracker 4WD L4-1.6L VIN 6 (1998)
Case: Service and Repair
Case Porosity Repair
If the cause of the leak is found to be case porosity, use the following repair procedure:
1. Drive the vehicle for 24 km (15 miles) or until normal operating temperatures are reached.
2. Turn the ignition switch to the OFF position.
3. Clean the leak area with solvent and air dry.
4. Mix a sufficient amount of epoxy cement GM P/N 1052533, or equivalent, following the manufacturer's recommendations.
CAUTION: Epoxy adhesive may cause skin irritations and eye damage. Read and follow all information on the container label as
provided by the manufacturer.
5. While the transmission case is hot, apply epoxy cement with a clean, dry soldering acid brush.
6. Allow the epoxy to cure for three hours before starting the engine.
7. Repeat the fluid leak diagnosis procedure to verify the repair.
Extension Case Removal
REMOVAL PROCEDURE
1. Remove the gearshift control lever from the gearshift lever case. Refer to Gearshift Control Lever Removal.
2. Remove the four bolts from the fan shroud at the radiator.
3. Raise and support the vehicle.
4. Place a drain pan or suitable container underneath the transmission.
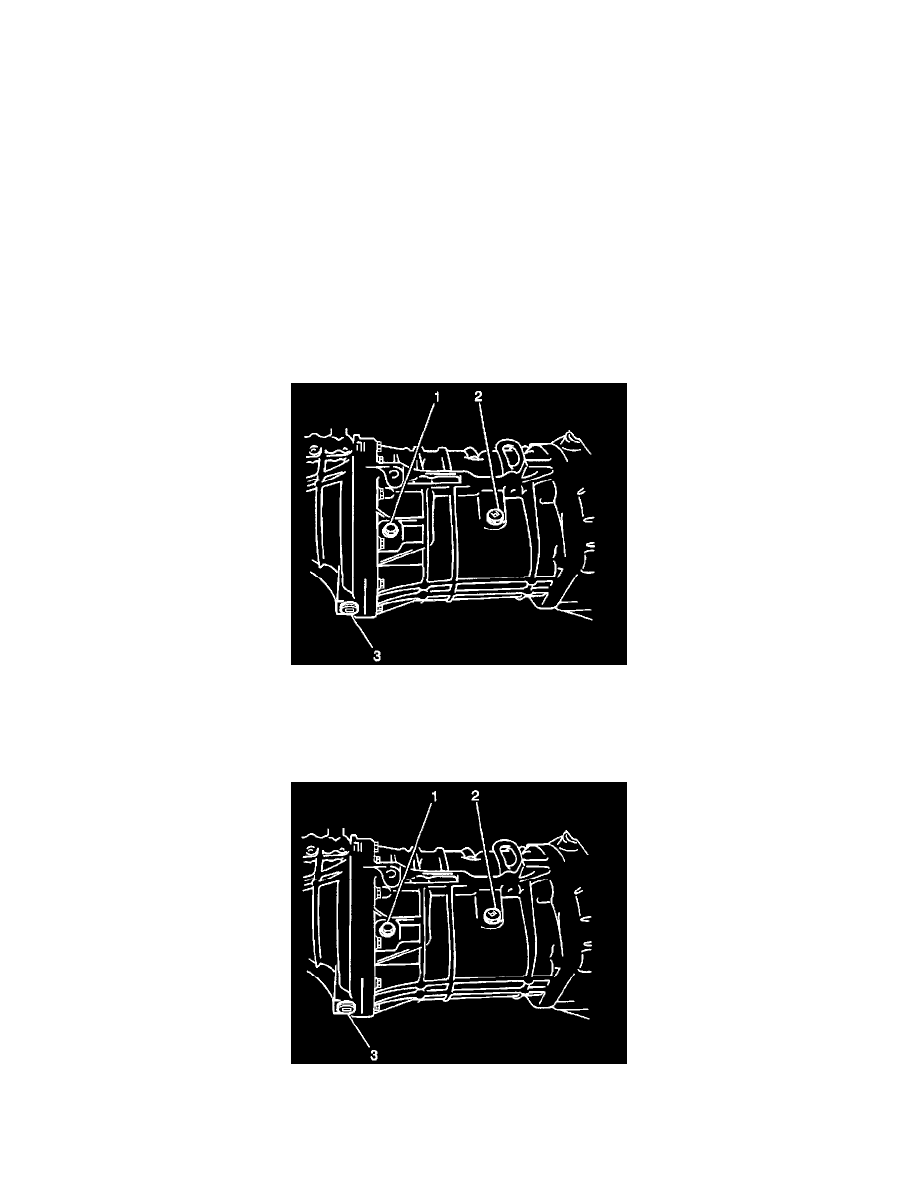
5. Remove the transmission oil level/filler plug (3) from the transmission.
6. Remove the transmission drain plug (1) from the transmission and drain the transmission oil.
7. Place index marks on the propeller shaft pinion flange yoke and the differential pinion flange in order to ensure the correct installation.
8. Remove the following items from the vehicle:
^
The four bolts