
Tracker 4WD L4-2.0L VIN C (1999)
2. Remove the ignition key.
3. Put on safety glasses.
4. Inspect the J 38826 and the appropriate pigtail adapter for damage. Replace as needed.
5. Short the two SIR deployment harness (1) leads together using one banana plug seated into the other.
6. Connect the appropriate pigtail adapter (2) to the SIR deployment harness (1).
7. Remove the Inflatable Restraint Instrument Panel (IP) module. Refer to Inflatable Restraint IP Module Replacement.
Caution: When you are carrying an undeployed Inflator Module:
^
Do not carry the Inflator Module by the wires or connector on the Inflator Module
^
Make sure the bag opening points away from you
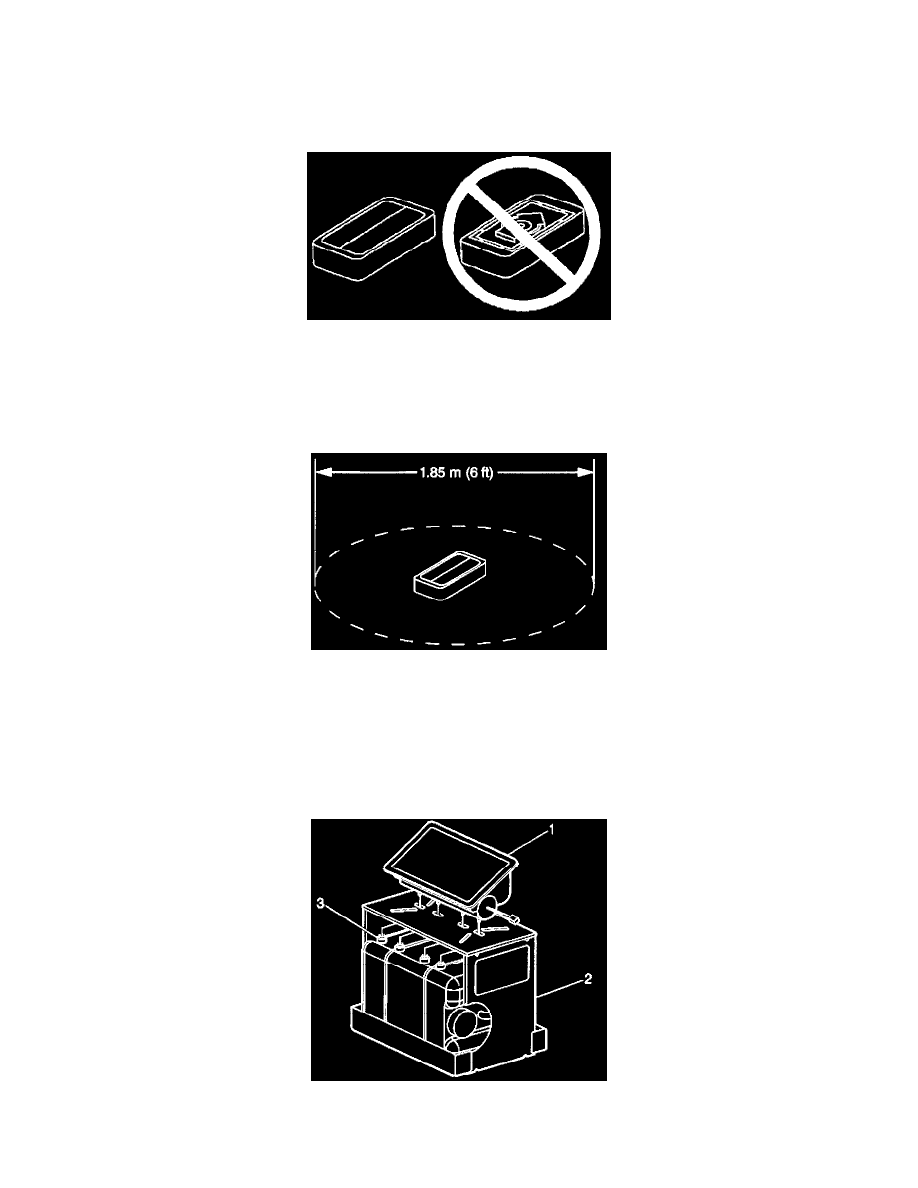
When you are storing an undeployed Inflator Module, make sure the bag opening points away from the surface on which the Inflator Module
rests. When you are storing a steering column, do not rest the column with the bag opening facing down and the column vertical. Provide free
space for the air bag to expand in case of an accidental deployment. Otherwise, personal injury may result.
8. Place the module with the vinyl trim cover facing up and away from the surface on a work bench.
9. Clear a space on the ground about 1.85 M (6 ft) in diameter for deployment of the module. If possible, use a paved, outdoor location free of
activity. Otherwise, use a space free of activity on the shop floor. Make sure you have sufficient ventilation.
10. Make sure no loose or flammable objects are in the area.
11. Place the J 39401-B in the center of the cleared area.
12. Fill the fixture plastic reservoir with water or sand.
Important: Securely hand tighten all fasteners prior to deployment.
13. Mount the module in the SIR deployment fixture with the vinyl trim cover facing up using one of the following mounting methods.
14. To use the stud mount method, remove the original mounting nuts.
15. Use the J 39401-1 mounting nuts in order to secure the module to the fixture.