
TrailBlazer 2WD L6-4.2L VIN S (2003)
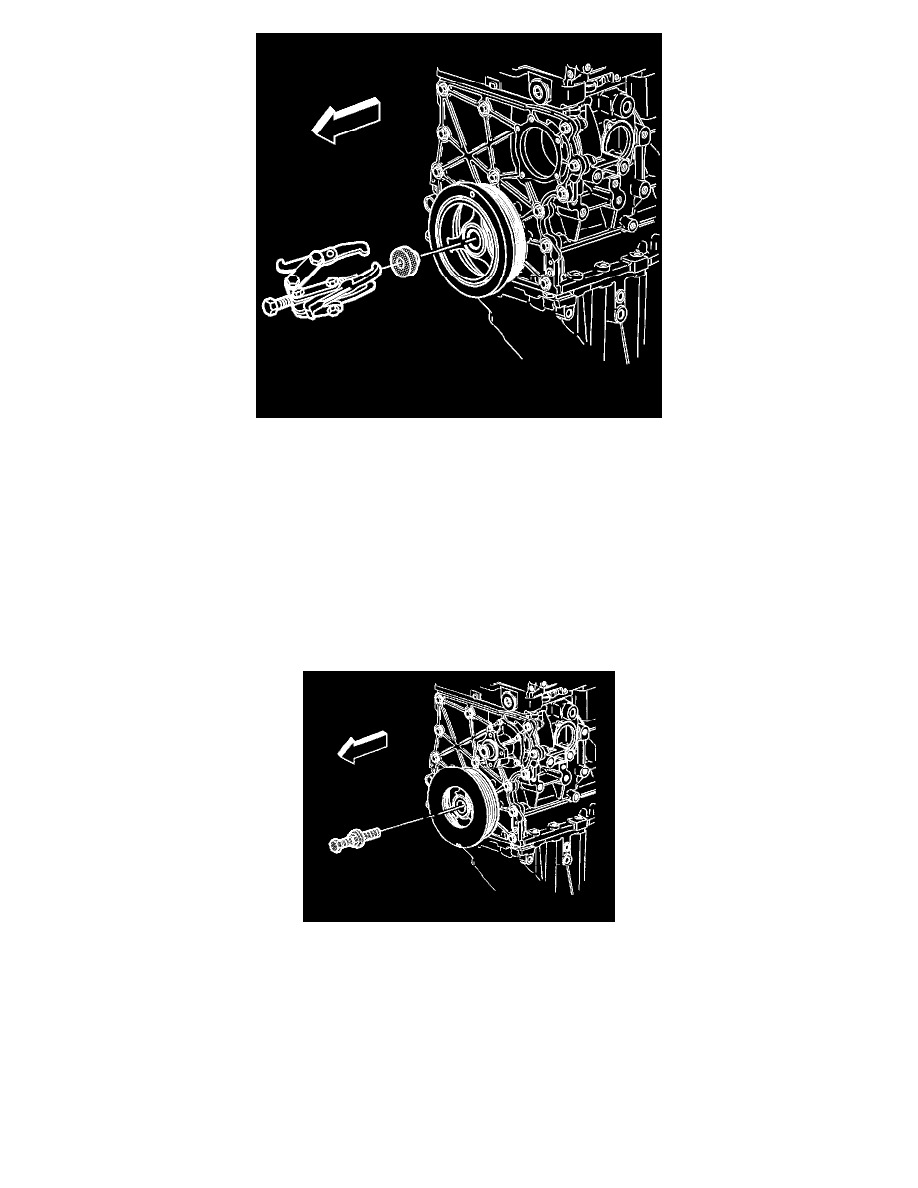
6. Install J 41816-2 and J 41816-A to the balancer.
Important: Do not pull on outer edge of the crankshaft balancer.
7. Remove the crankshaft balancer.
8. Remove the puller and the J 41816-A.
9. Remove the crankshaft balancer shim from the crankshaft snout.
10. Clean and inspect the crankshaft balancer.
Installation Procedure
Important: The crankshaft balancer does not have a key-way; so the crankshaft could turn when tightening, causing an improper torque. Make
sure to follow the installation procedure to prevent damage.
1. Raise the vehicle. Refer to Vehicle Lifting.
2. Install a new crankshaft balancer shim. For 2003 and first design 2004 use GM P/N 12573950 over the crankshaft snout, against the crankshaft
gear.
For second design 2004 and after use GM P/N 12578073. Service replacement balances will come with the correct shim.
3. Using the EN-48034 install and seat the crankshaft balancer.
4. Remove the EN-48034.
5. Install J 44226-1 to hold the balancer from turning.