Traverse FWD V6-3.6L (2009)

requiring replacement or fasteners requiring the use of thread locking compound or sealant are identified in the service procedure. Do not use
paints, lubricants, or corrosion inhibitors on fasteners or fastener joint surfaces unless specified. These coatings affect fastener torque and joint
clamping force and may damage the fastener. Use the correct tightening sequence and specifications when installing fasteners in order to avoid
damage to parts and systems.
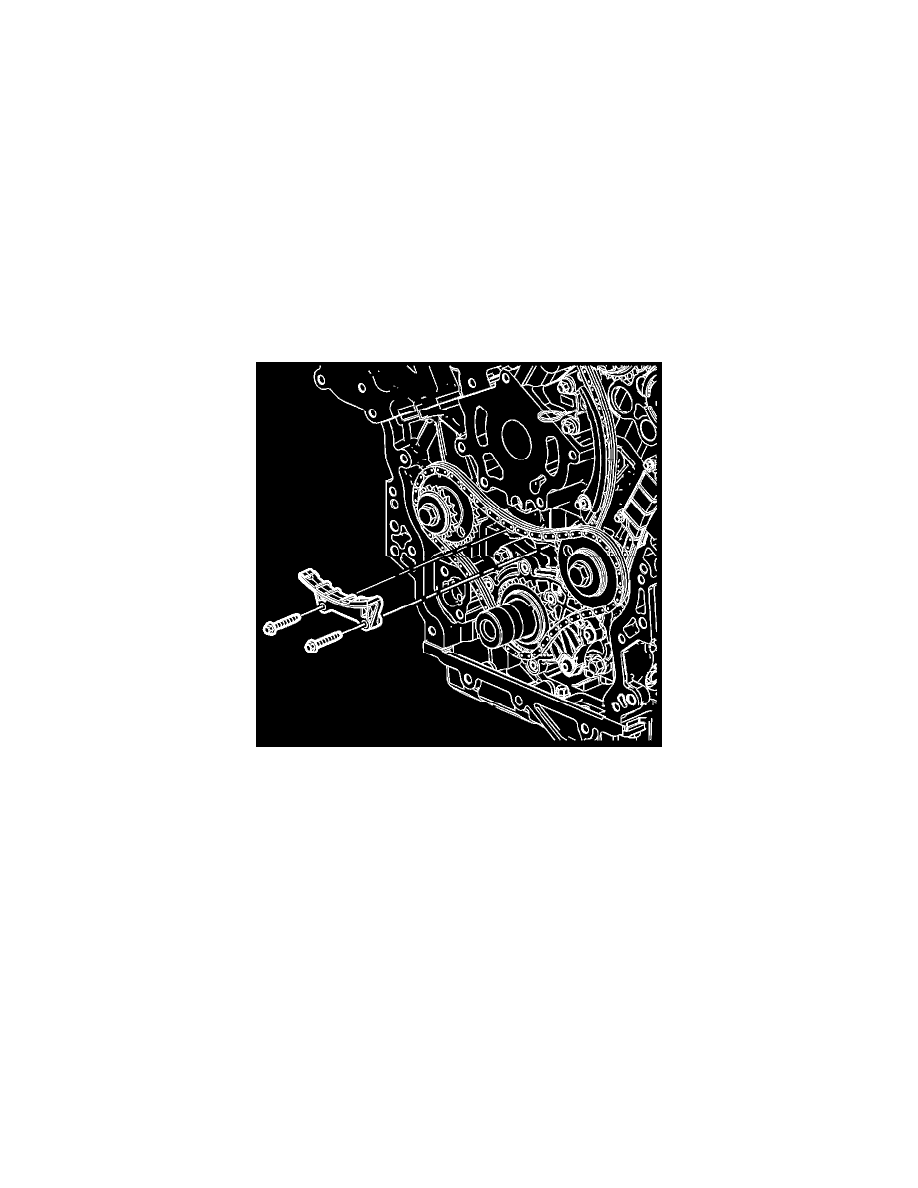
2. Install the primary camshaft drive chain lower guide bolts. See: Service and Repair/Overhaul/Repair Instructions/119. Primary Timing Chain
Guide Installation - Lower
Tighten
Primary camshaft drive chain lower guide bolts to 23 Nm (17 lb ft).
3. Install the primary camshaft drive chain tensioner. See: Service and Repair/Overhaul/Repair Instructions/121. Primary Camshaft Intermediate
Drive Chain Tensioner Installation
Primary Timing Chain Guide Replacement - Upper
PRIMARY TIMING CHAIN GUIDE REPLACEMENT - UPPER
Removal Procedure
1. Remove the spark plugs in order to ease crankshaft/engine rotation. See: Tune-up and Engine Performance Checks/Spark Plug/Service and Repair
2. Remove the engine front cover. See: Timing Cover/Service and Repair
3. Remove the primary camshaft drive chain tensioner. See: Service and Repair/Overhaul/Repair Instructions/20. Primary Camshaft Intermediate
Drive Chain Tensioner Removal
4. Remove the primary upper camshaft drive chain guide. See: Service and Repair/Overhaul/Repair Instructions/21. Primary Timing Chain Guide
Removal - Upper
Installation Procedure
