
Concorde V6-2.7L VIN V (2001)
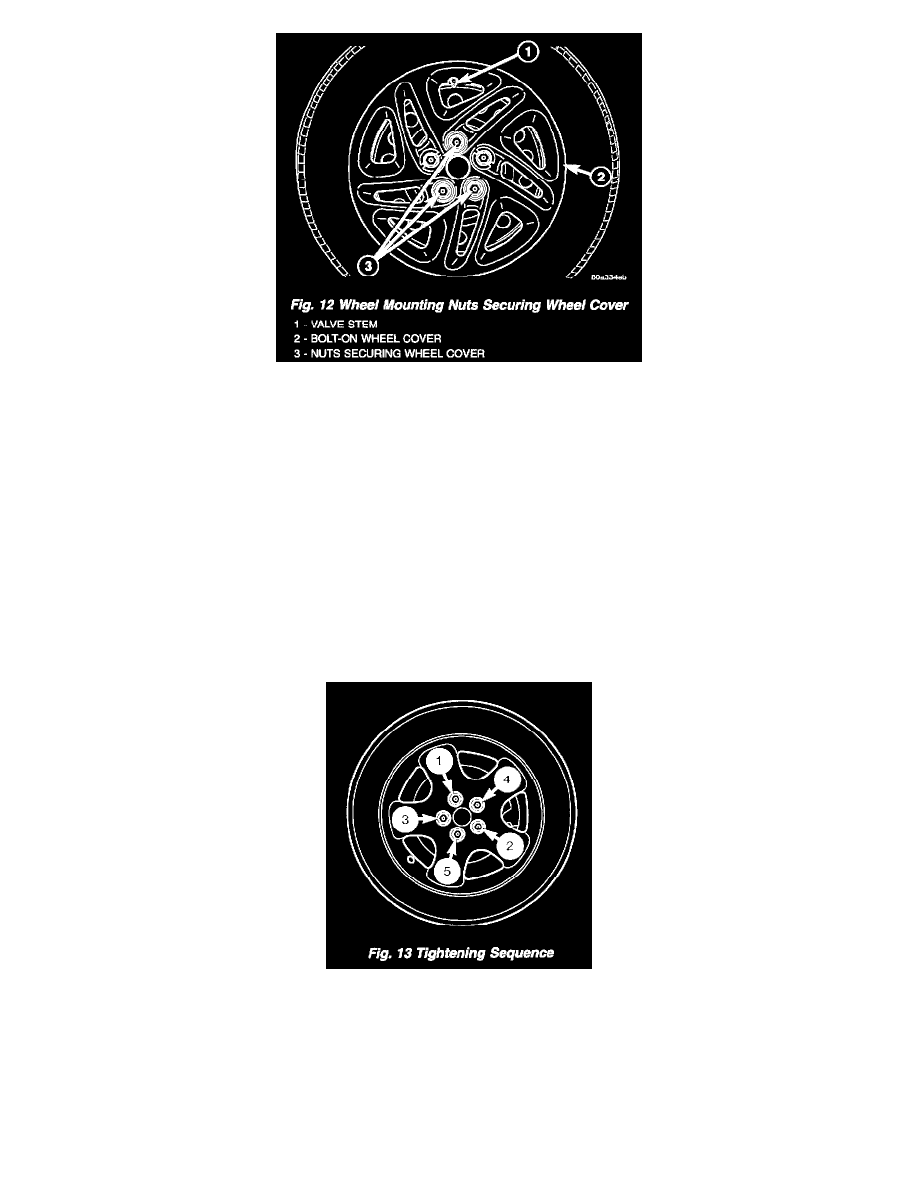
2. Noting the location of the valve stem in relationship to the wheel mounting nuts, remove the three wheel mounting nuts securing the wheel cover to
the wheel and hub.
CAUTION: When removing the wheel cover, do not pry the wheel cover from the wheel. This can result in damage to the wheel cover. The wheel
cover is removed by pulling it off the wheel by hand.
3. Grasp the wheel cover at the edges in line with the remaining installed wheel mounting nuts and pull straight outward from the wheel. This will
pop the wheel cover retaining tabs over the two remaining wheel nuts, removing the wheel cover from the vehicle.
4. Remove the two remaining wheel mounting nuts from the hub's studs.
5. Remove the wheel and tire from the hub.
INSTALLATION-TIRE AND WHEEL ASSEMBLY (ALUMINUM WHEEL)
NOTE: Never use oil or grease on studs or wheel mounting nuts.
1. Position the tire and wheel assembly on the wheel mounting studs using the hub pilot as a guide. Place and hold the wheel flush up against the
mounting surface.
2. Loosely install all 5 wheel mounting nuts. Lightly snug the wheel nuts, then progressively tighten them in the proper sequence. Tighten wheel
mounting nuts to 135 Nm (100 ft. lbs.).
3. Lower the vehicle.
INSTALLATION-TIRE AND WHEEL ASSEMBLY (STEEL WHEEL)
NOTE: Never use oil or grease on studs or wheel mounting nuts.
1. Position the tire and wheel assembly on the wheel mounting studs using the hub pilot as a guide. Place and hold the wheel flush up against the