
Pacifica V6-3.8L VIN L (2005)
Hood Latch: Service and Repair
LATCH
REMOVAL
1. Release hood latch and open hood.
2. Remove radiator closure.
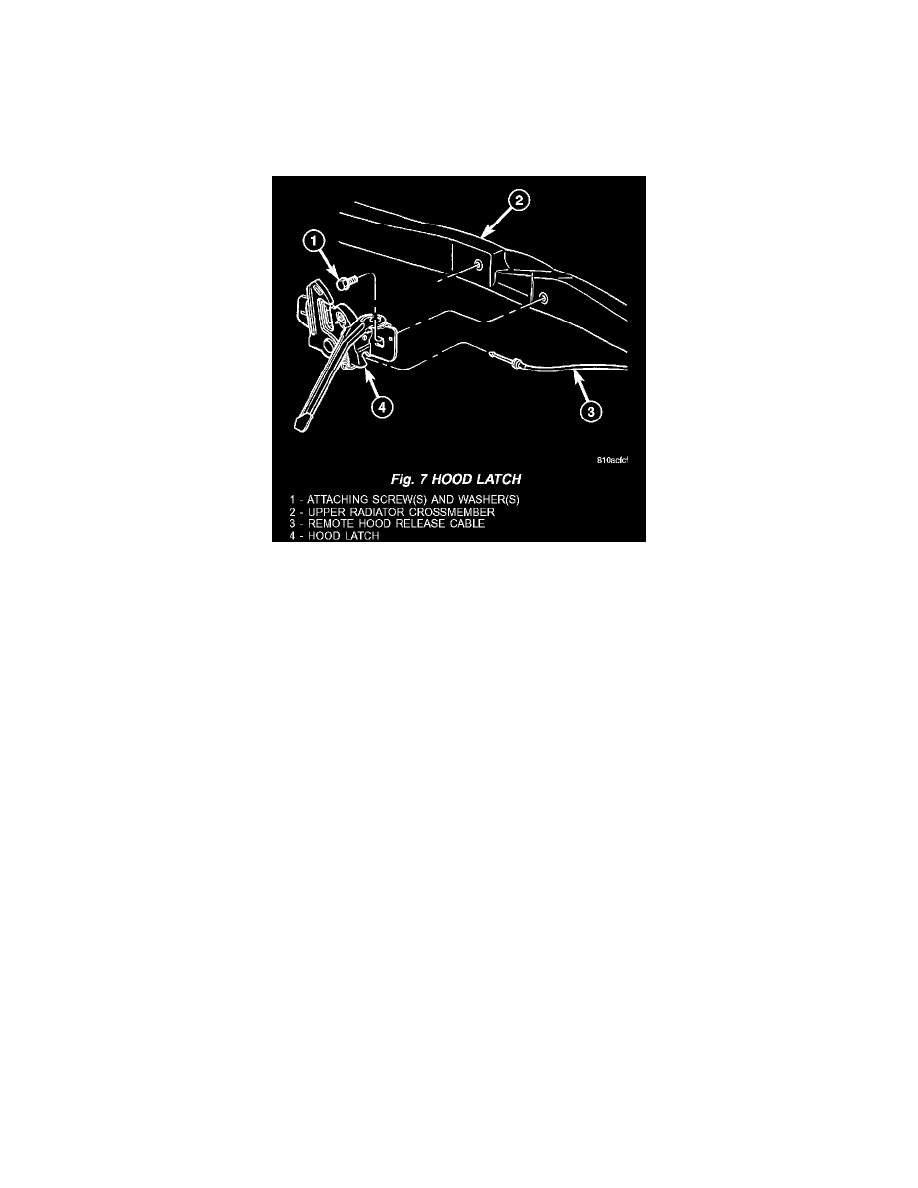
Fig. 7
3. Remove screws attaching hood latch to radiator crossmember (Fig. 7).
4. Disconnect release cable.
5. Remove hood latch from vehicle.
INSTALLATION
NOTE: The latch is keyed to the crossmember with tabs stamped out of the crossmember. Vertical adjustment will require flattening the tabs.
1. Place hood latch into position (Fig. 7).
2. Connect hood release cable.
3. Install hood latch screws. to radiator crossmember.
4. Tighten latch screws to 14 N.m (120 in.lbs.) torque.
5. Install radiator closure.
6. Close hood and verify hood operation and alignment.