
Pacifica V6-3.8L VIN L (2005)
Compressor Clutch Coil: Service and Repair
REMOVAL
NOTE: The compressor clutch can be serviced in the vehicle. The refrigerant system can remain fully-charged during compressor clutch, pulley, or coil
replacement.
1. Disconnect and isolate the negative battery cable.
2. Remove the accessory drive belt.
3. Raise and support the vehicle.
4. Disconnect the engine wire harness connector from the clutch coil connector located on the top of the A/C compressor.
5. On models with the 3.3L and 3.8L engines, disengage the engine wire harness connector retainer from the bracket located on the top of the A/C
compressor.
6. On models with the 2.4L, 2.5L and 2.8L engines, remove all of the compressor mounting bolts except the upper left (rear of the A/C compressor),
which should only be loosened. Allow the front (pulley end) of the A/C compressor to tilt downward far enough to access the clutch for removal,
then tighten the loosened upper left compressor mounting bolt.
7. On models with the 3.3L and 3.8L engines, remove the two bolts and two nuts that secure the A/C compressor to the engine. Disengage the
mounting ear at the front of the A/C compressor from the stud on the engine, allow the front (pulley end) of the A/C compressor to tilt downward
far enough to access the clutch for removal, then reinstall and tighten the upper left compressor mounting bolt.
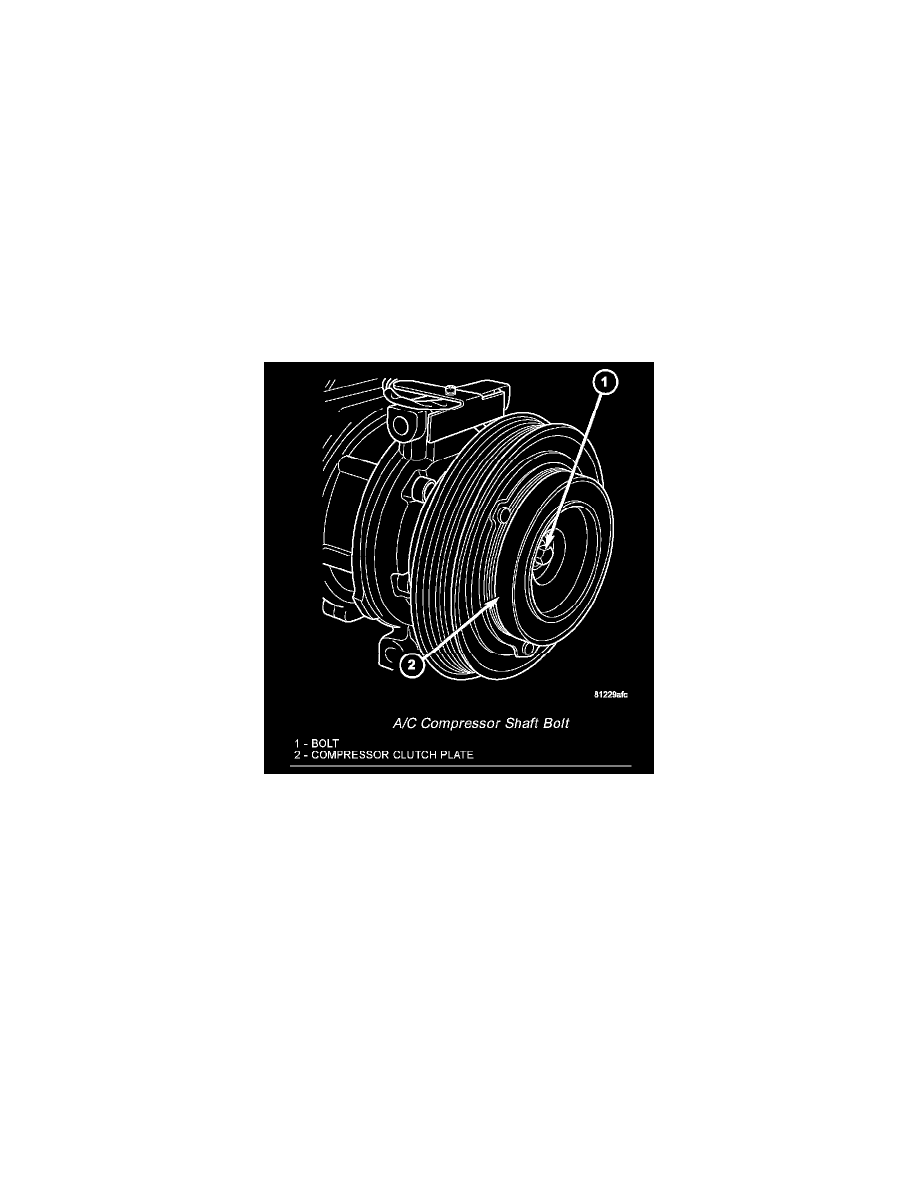
A/C Compressor Shaft Bolt
8. Remove the compressor shaft bolt. A band-type oil filter wrench or a strap wrench may be used to secure the clutch during bolt removal.