
Pacifica V6-3.8L VIN L (2005)
Control Arm: Service and Repair
Front Suspension
Removal
LOWER CONTROL ARM
REMOVAL
1. Raise and support vehicle.
2. Remove wheel and tire assembly.
3. Remove steering knuckle.
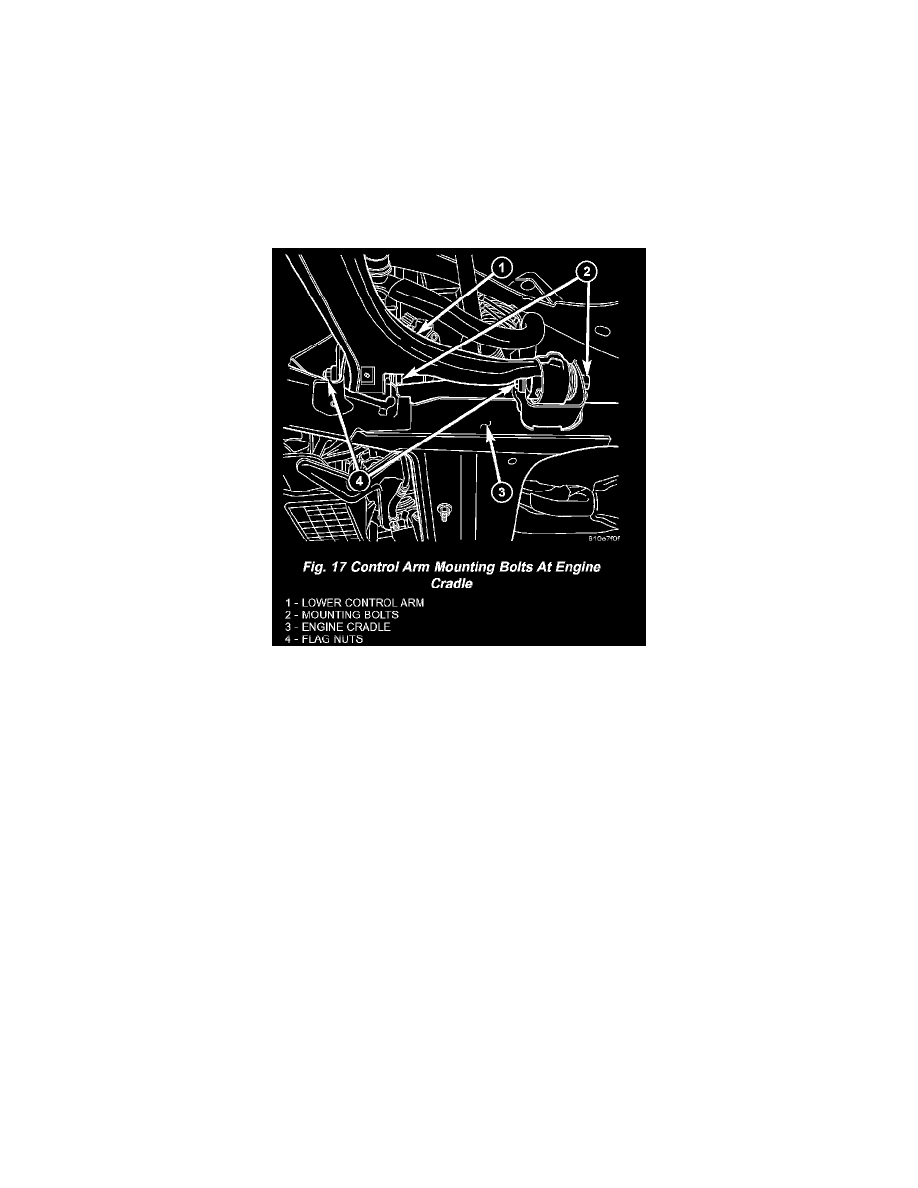
4. Remove bolts and nuts (with flags if equipped) attaching lower control arm to engine cradle (Fig. 17).
5. Remove lower control arm.
Inspection
LOWER CONTROL ARM
INSPECTION
Inspect lower control arm for signs of damage from contact with the ground or road debris. If lower control arm shows any sign of damage, inspect
lower control arm for distortion. Do not attempt to repair or straighten a broken or bent lower control arm. If damaged, the lower control arm is
serviced only as a complete assembly.
Inspect both lower control arm isolator bushings for severe deterioration, and replace as required. If a bushing fails, the lower control arm must be
replaced.
Inspect and test the ball joint per the procedure listed in Lower Ball Joint.
Installation
LOWER CONTROL ARM
INSTALLATION