
PT Cruiser L4-2.4L (2008)
the axle bushing. Do not tighten at this time; it must be fully tightened with the vehicle at curb height.
9. Remove the wood block between the arm and body of the vehicle.
10. Swing the axle trailing arms up aligning the brackets (3) with the scribed marks made upon removal.
11. Install all eight (four per side) axle bracket-to-body mounting bolts (4). Thread the bolts in, but do not fully tighten at this time.
12. Tap the brackets (3) as necessary to align the brackets with the scribed marks, then tighten all the bolts to 54 Nm (40 ft. lbs.).
13. Remove the jack.
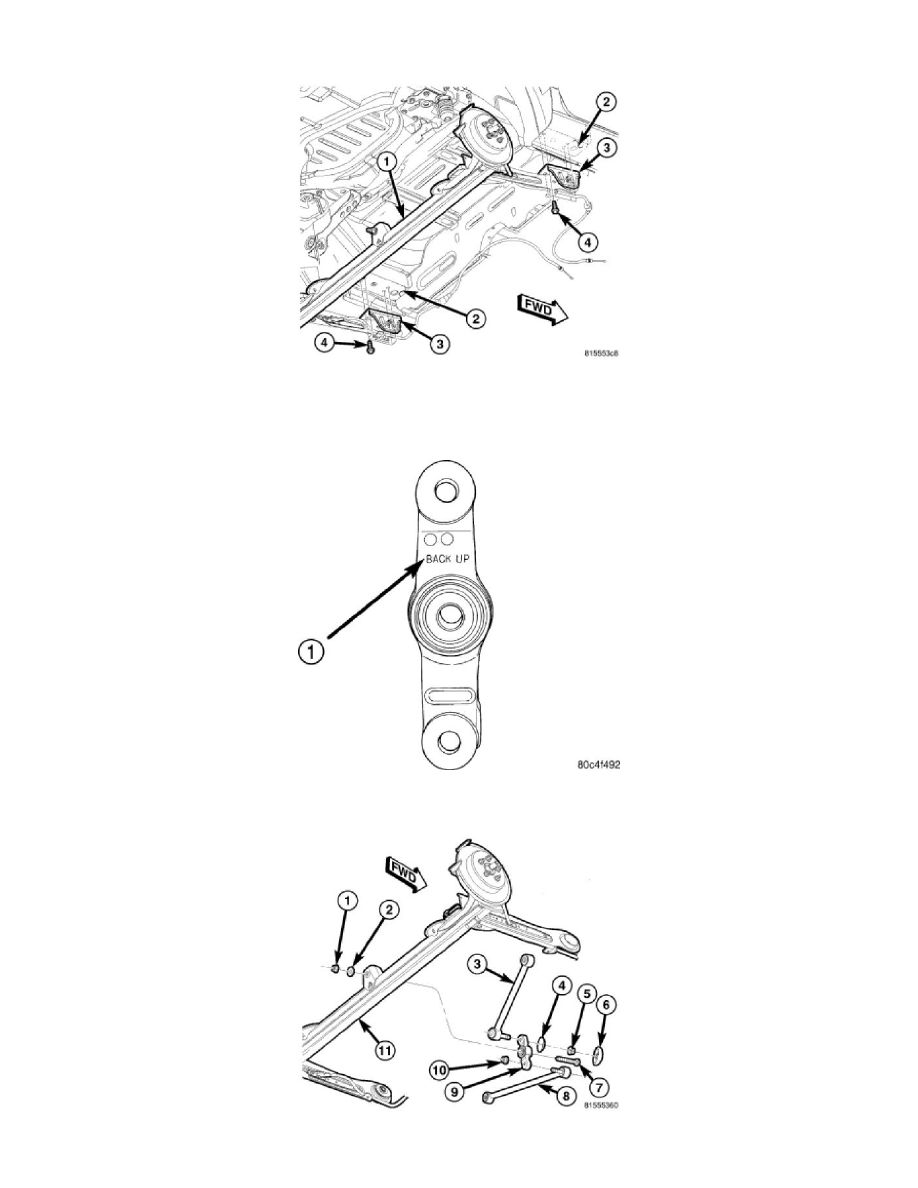
CAUTION: When installing the watts links and bell crank to the axle, make sure the bell crank is right-side-up. When mounted properly, the
words "BACK UP" (1) should be able to be read from the rear over the top of the axle.
14. Install the bolt (7) from the front securing the watts link bell crank (9) to the center of the axle (11). Place the washer (2) and nut (1) on the end of