
Caravan AWD V6-201 3.3L (1991)
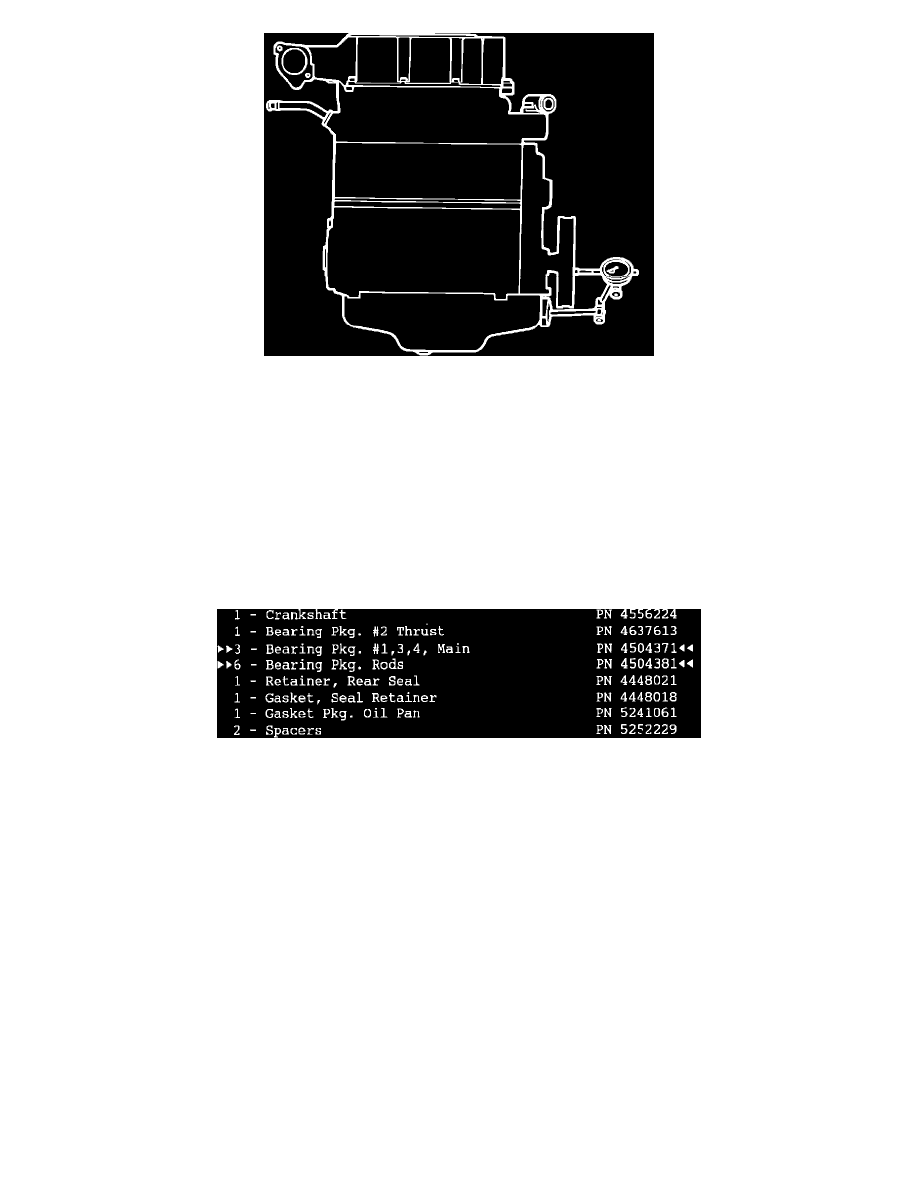
Figure 2
^
Align the dial indicator rod with the crankshaft centerline, position the indicator stylet (probe) on the crankshaft pulley (vibration damper). Figure
2.
^
Position a pry bar between the crankshaft pulley and chain case cover. Pry the pulley forward, zero the dial indicator.
CAUTION:
WHEN PRYING, BE SURE THE PRY BAR IS INBOARD OF THE VIBRATION DAMPER RUBBER RING.
^
Position the pry bar between rear of the block and converter drive plate. Pry the drive plate rearward, read the dial indicator.
If the dial indicator reading exceeds .015 inch, perform the repair procedure.
If the dial indicator reading is .015 inch or less, repair the oil leak as required.
Repair Procedure:
This repair involves replacing the crankshaft, main bearings, rod bearings, and rear seal retainer.
Use the appropriate Service Manual as a guide in performing the following steps.
1.
Remove the engine.
2.
Remove the oil pan and timing chain cover.
3.
Remove the old crankshaft.
NOTE:
BE SURE TO MARK THE MAIN BEARING AND ROD BEARING CAPS TO INSURE CORRECT ASSEMBLY.
4.
Install the upper main and thrust bearing halves in the block.
NOTE:
THE UPPER BEARING HALVES HAVE AN OIL SUPPLY HOLE AND GROOVE. THE LOWER BEARING HALVES HAVE
NO OIL SUPPLY HOLE OR GROOVE. THE THRUST BEARING LOCK TAB IS LOCATED ONLY ON THE LOWER
BEARING HALF.
5.
Install the new crankshaft.
6.
Install the lower main and thrust bearing halves in the bearing caps.