
Charger V6-3.5L (2009)
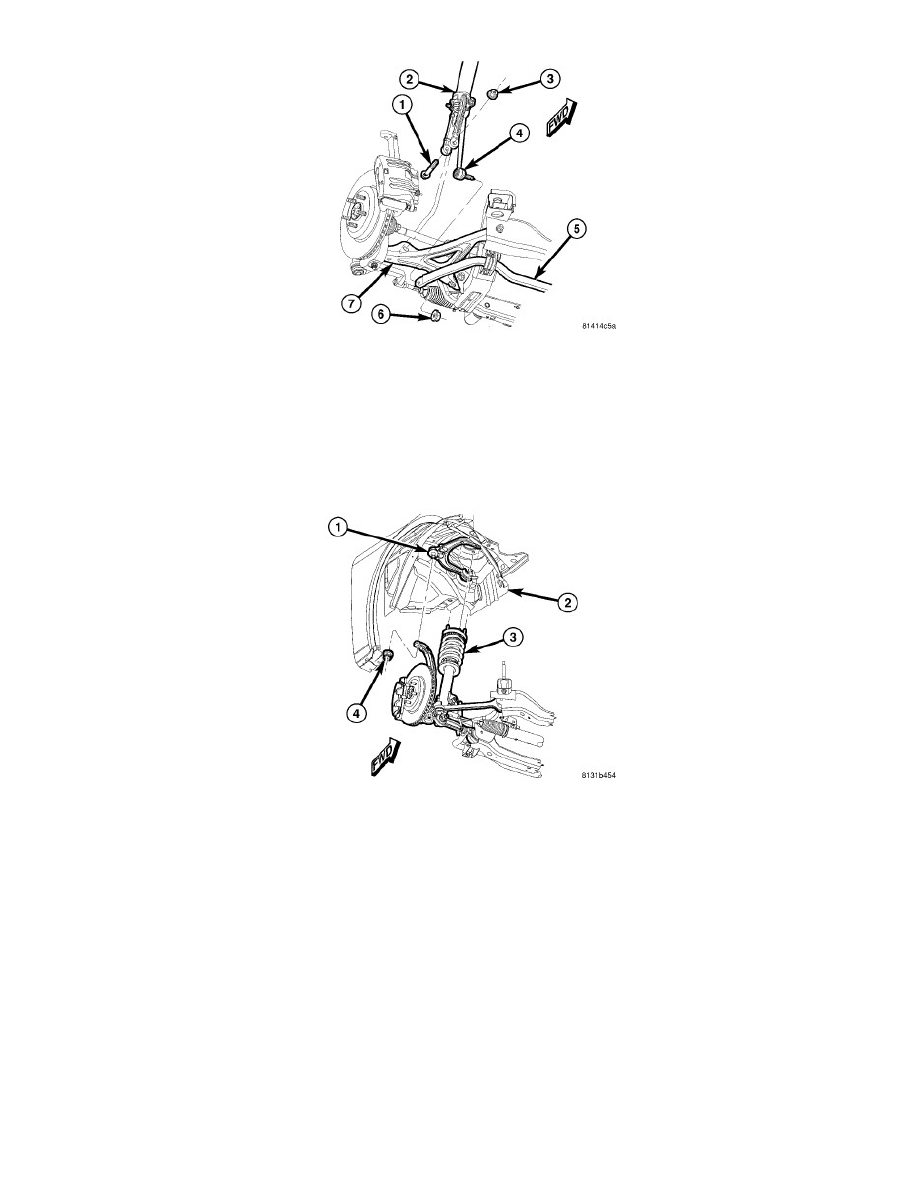
NOTE: When tightening lower shock clevis mounting bolt, do not attempt rotating bolt. Bolt shaft is serrated. Turn nut only.
13. Tighten lower shock clevis bracket bolt nut (3) to 174 Nm (128 ft. lbs.).
Rear Wheel Drive
REAR-WHEEL-DRIVE
1. Place shock assembly into front suspension using reverse direction in which it was removed.
CAUTION: It is important to tighten nut as described in following step to avoid damaging ball stud joint.
2. Place upper ball joint stud (1) through hole in top of knuckle and install nut (4). Tighten nut by holding ball joint stud with a hex wrench while
turning nut with a wrench. Tighten nut using crow foot wrench on torque wrench to 47 Nm + 90° turn (35 ft. lbs. + 90° turn).