
Durango 4WD V8-5.9L VIN Z (1998)
Lower Side Moulding / Trim: Service and Repair
BODY SIDE MOLDINGS
REMOVAL
1. Apply a length of masking tape on the body, parallel to the top edge of the molding to use as a guide, if necessary.
2. Warm the effected adhesive type molding and body metal to approximately 38 degrees C (100 degrees F) using a suitable heat lamp or heat gun.
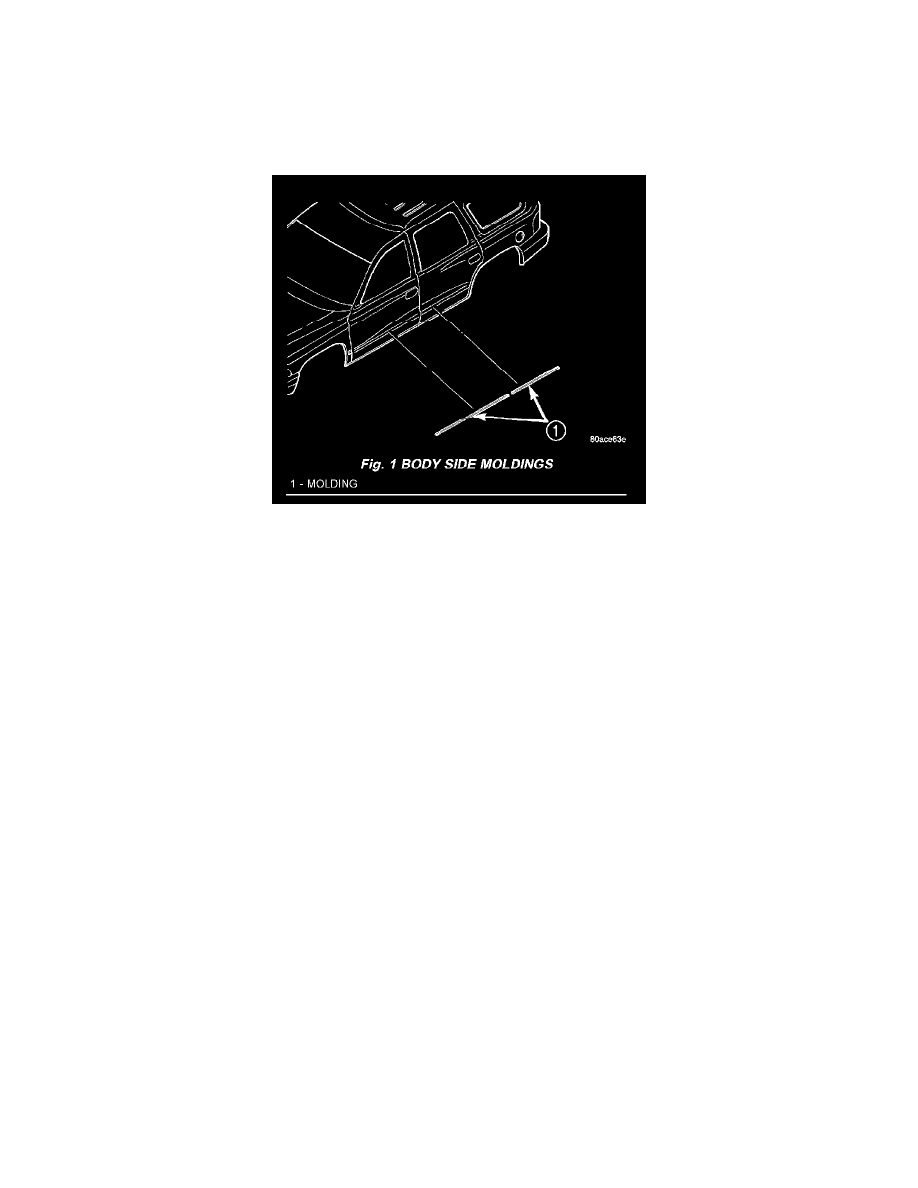
Fig. 1
3. Pull stick-on molding from painted surface (Fig. 1).
INSTALLATION
1. Clean body surface with MOPAR(R) Super Kleen solvent or equivalent. Wipe surface dry with lint free cloth.
2. Remove protective cover from tape on back of molding. Apply molding to body below the masking tape guide.
3. Remove masking tape guide and firmly press molding to body surface to assure adhesion.