
Durango 4WD V8-5.9L VIN Z (1998)
Crankshaft: Service and Repair
Removal and Installation
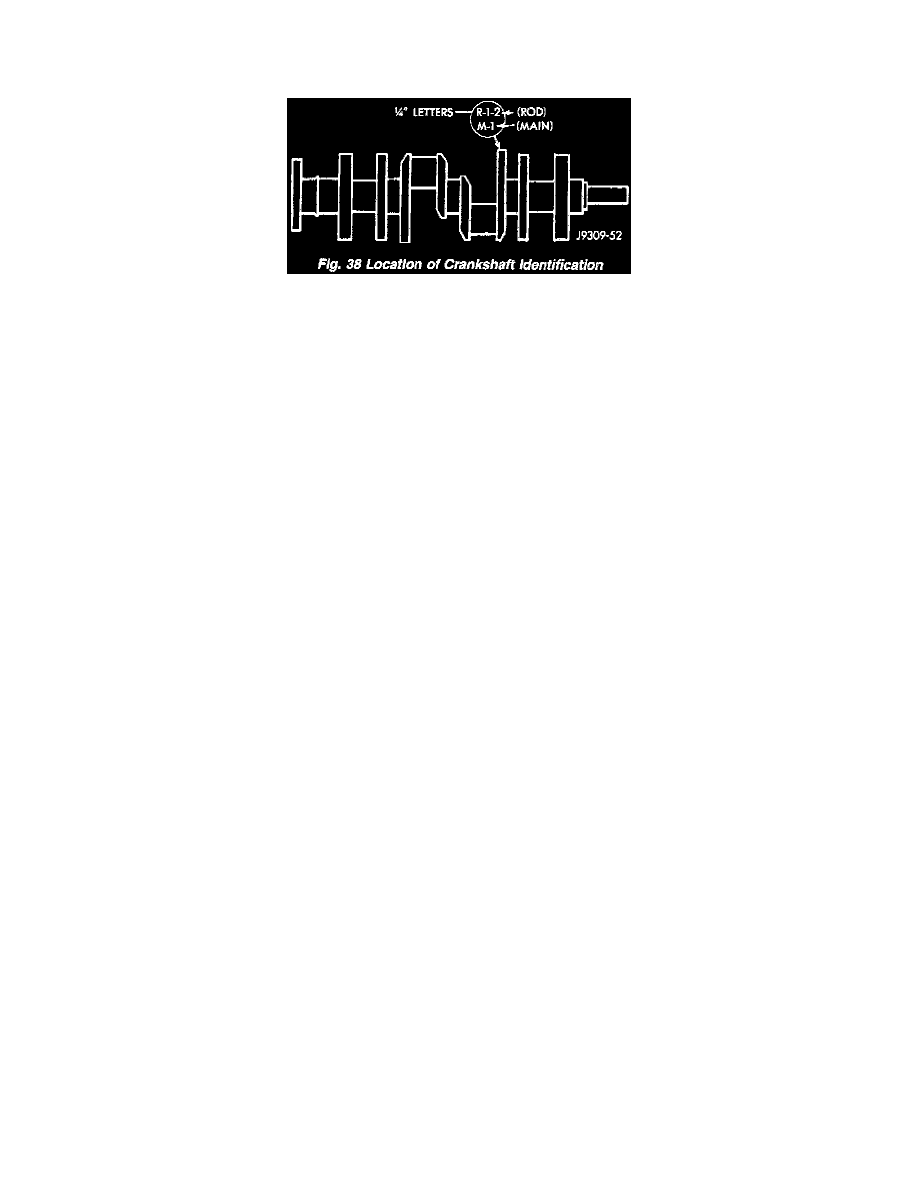
Location Of Crankshaft Identification
A crankshaft which has undersize journals will be stamped with 1/4 inch letters on the milled flat on the No.3 crankshaft counterweight.
FOR EXAMPLE: R2 stamped on the No.3 crankshaft counterweight indicates that the No.2 rod journal is 0.025 mm (0.001 inch) undersize. M4
indicates that the No.4 main journal is 0.025 mm (0.001 inch) undersize. R3 M2 indicates that the No.3 rod journal and the No.2 main journal are 0.025
mm (0.001 inch) undersize.
When a crankshaft is replaced, all main and connecting rod bearings should be replaced with new bearings. Therefore, selective fitting of the bearings is
not required when a crankshaft and bearings are replaced.
REMOVAL
1. Remove the oil pan.
2. Remove the oil pump from the rear main bearing cap.
3. Remove the vibration damper.
4. Remove the timing chain cover.
5. Identify bearing caps before removal. Remove bearing caps and bearings one at a time.
6. Lift the crankshaft out of the block.
7. Remove and discard the crankshaft rear oil seals.
8. Remove and discard the front crankshaft oil seal.
INSPECTION OF JOURNALS
The crankshaft connecting rod and main journals should be checked for excessive wear, taper and scoring. The maximum taper or out-of-round on any
crankshaft journal is 0.025 mm (0.001 inch).
Journal grinding should not exceed 0.305 mm (0.012 inch) under the standard journal diameter. DO NOT grind thrust faces of No.3 main bearing.
DO NOT nick crank pin or bearing fillets. After grinding, remove rough edges from crankshaft oil holes and clean out all oil passages.
CAUTION: After any journal grind, it is important that the final paper or cloth polish be in the same direction as the engine rotates.
CLEANING
Clean Loctite 518 residue and sealant from the cylinder block and rear cap mating surface. Do this before applying the Loctite drop and the
installation of rear cap.
INSTALLATION
1. Lightly oil the new upper seal lips with engine oil.
2. Install the new upper rear bearing oil seal with the white paint facing towards the rear of the engine.
3. Position the crankshaft into the cylinder block.
4. Lightly oil the new lower seal lips with engine oil.
5. Install the new lower rear bearing oil seal into the bearing cap with the white paint facing towards the rear of the engine.