
Durango 4WD V8-5.9L VIN Z (1998)
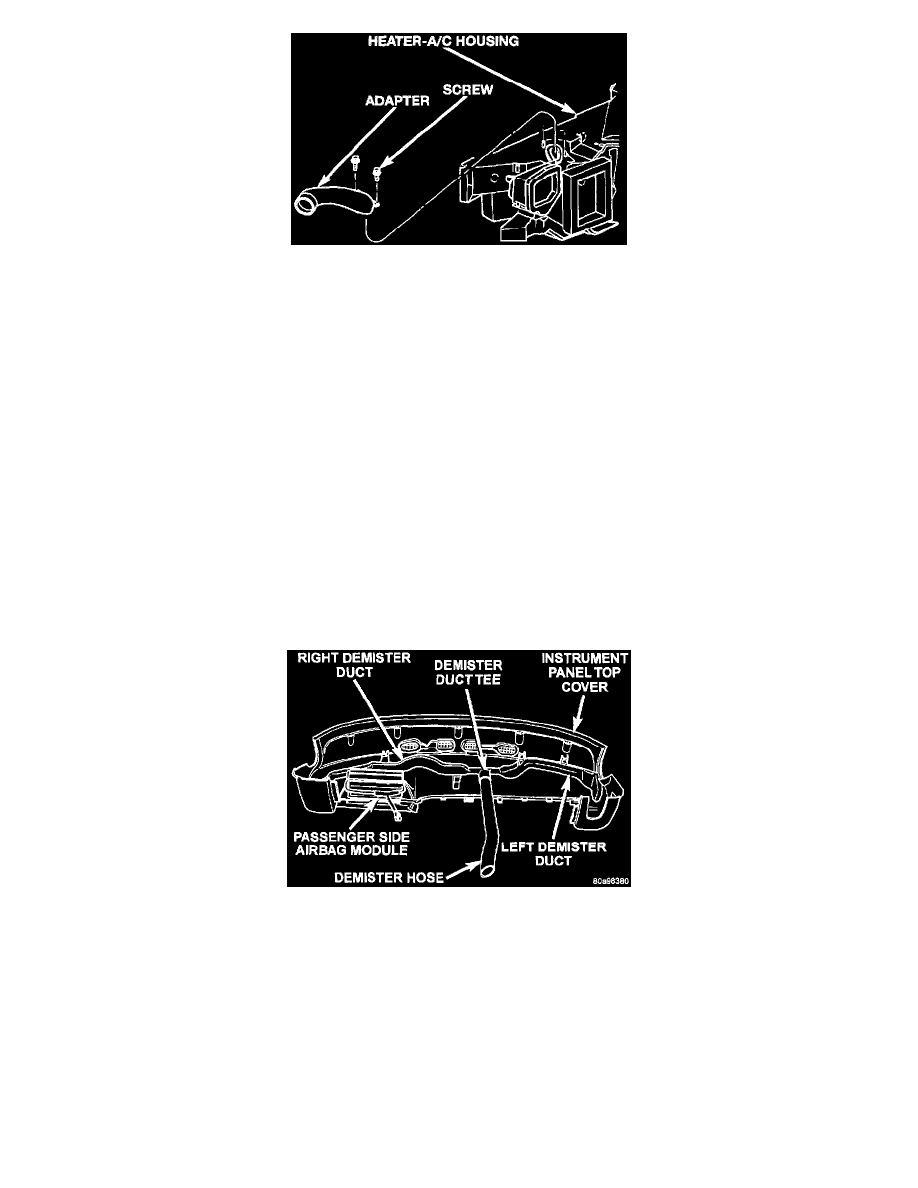
Demister Duct Adapter Remove/Install
3. Remove the two screws that secure the demister duct adapter to the top of the heater-A/C housing.
4. Remove the demister duct adapter from the heater-A/C housing.
5. Reverse the removal procedures to install. Tighten the mounting screws to 2.2 N.m (20 in. lbs.).
Demister Hose
1. Remove the heater-A/C control from the instrument panel. See Heater-A/C Control in the Replacement for the procedures.
2. Reach through the heater-A/C control opening in the instrument panel to access and remove the screw that secures the flexible demister duct hose
to the demister duct tee.
3. Roll the instrument panel assembly down, but do not remove it from the vehicle. Body and Frame, Interior Trim, Dashboard/Instrument
Panel, Service and Repair, Instrument Panel Assembly Replacement, See: Body and Frame/Interior Moulding / Trim/Dashboard / Instrument
Panel/Service and Repair/Procedures/Instrument Panel Assembly Replacement
4. Disconnect the flexible demister duct hose from the demister duct adapter on the top of the heater-A/C housing.
5. Remove the demister duct hose from the demister duct tee near the underside of the instrument panel top cover.
6. Reverse the removal procedures to install. Tighten the hose mounting screw to 2.2 N.m (20 in. lbs.).
Demister Ducts And Outlets
1. Remove the instrument panel top cover from the instrument panel. Refer to: Body and Frame, Interior Trim, Dashboard/Instrument Panel,
Service and Repair, Instrument Panel Assembly Replacement, See: Body and Frame/Interior Moulding / Trim/Dashboard / Instrument
Panel/Service and Repair/Procedures/Instrument Panel Assembly Replacement
Demister Ducts Remove/Install
2. Remove the screws (two-left side, three-right side) that secure the demister ducts to the instrument panel top cover.
3. Using a trim stick or another suitable wide flat-bladed tool, gently pry between the end of the demister duct and the demister outlet flange to
release the duct from the outlet.
4. Remove the demister ducts and the tee from the instrument panel top cover.
5. Squeeze the demister outlet flange from the underside of the instrument panel top cover and push it out through the top.
6. Using a trim stick or another suitable wide flat-bladed tool, gently pry between the end of the demister duct and the demister outlet flange to
release the duct from the outlet.
7. Remove the demister ducts and the tee from the instrument panel top cover.
8. Squeeze the demister outlet flange from the underside of the instrument panel top cover and push it out through the top.
9. Reverse the removal procedures to install. Tighten the mounting screws to 2.2 N.m (20 in. lbs.).
Heater-A/C Housing Plenum Adapter