
Durango 4WD V8-5.9L VIN Z (1998)
Rear Expansion Valve Removal/Install
REMOVAL
1. Disconnect and isolate the battery negative cable.
2. Recover the refrigerant from the refrigerant system. See Refrigerant Recovery in the Service Procedures.
3. Remove the engine air filter housing.
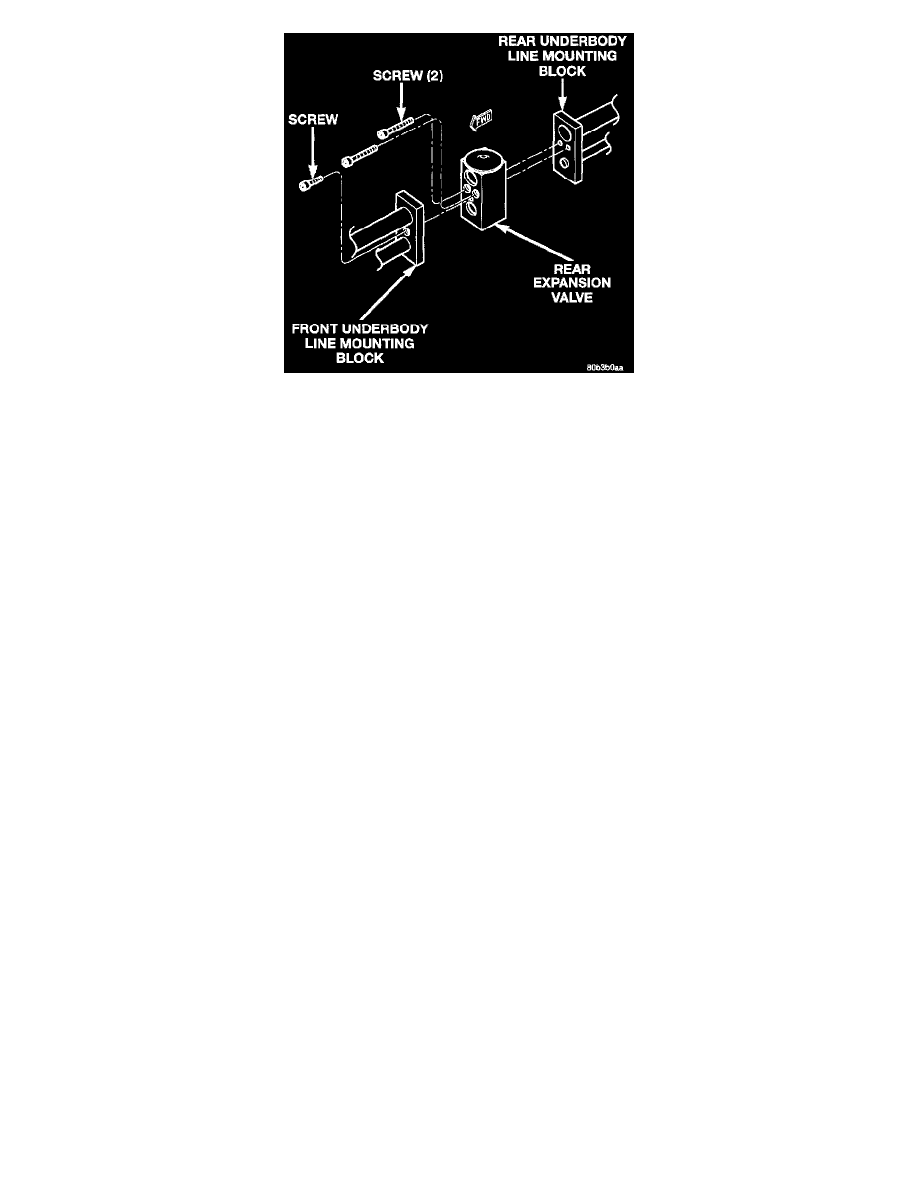
4. Remove the underbody line. See Underbody Refrigerant Line in the Replacement for the procedures. Remove the line from the vehicle and install
plugs in, or tape over, all of the open refrigerant fittings.
5. Disassemble the bolt (M6) from the forward (longer) section of the underbody lines to the valve. Install plugs in, or tape over the open refrigerant
fittings.
6. Disassemble the two bolts attaching the expansion valve to the rearward (shorter) section of the underbody lines. Install plugs in, or tape over the
open refrigerant fittings.
INSTALLATION
1. Remove the tape or plugs from expansion valve and the rearward (shorter) section of the underbody lines. Align the expansion valve ports with the
block fitting on the rearward lines and assemble with the two bolts.
2. Remove the tape or plugs from the forward (longer) section of the underbody lines. Align the expansion valve ports and stud with the block fitting
on the forward lines. Secure with the mounting bolt.
3. Install the underbody refrigerant lines. See Underbody Refrigerant Line in the Replacement.
4. Install the engine air filter housing.
5. Evacuate and charge the refrigerant system. See Refrigerant System Evacuate in the Service Procedures.
6. Connect the battery negative cable.