
Durango 4WD V8-5.9L VIN Z (1998)
9.
The MDS and DRB III will prompt the operator for any action needed during the remainder of the programming process.
NOTE:
If the PCM on the vehicle has already been updated or reprogrammed, a NO UPDATES AVAILABLE message will be displayed. Verify that
the part number of the PCM (or previously installed authorized software update label) matches the part number displayed on the MDS and then
continue with Step C.
Using the MDS2
1.
Log onto the MDS2 system.
2.
Connect the MDS2 (Mopar Diagnostic System) and DRB III (Scan Tool) to the vehicle and switch the IGNITION KEY TO "ON".
3.
Use the arrow keys and select # 2 CONNECT TO MDS1 OR MDS2 on the DRB III MAIN MENU SCREEN.
4.
Use the arrow keys and select # 2 RUN MDS2 APPLICATION on the DRB III MAIN MENU SCREEN.
NOTE:
Once MDS2, DRB III and vehicle communication have been established, the CANNOT READ VIN FROM DRB III message will be replaced
by the VEHICLE VIN. Press the "OK" button to request a MDS2 SESSION FOR THE VEHICLE VIN INDICATED. Press the "OK" button
when asked to begin the session.
5.
Push the FLASH TAB on the MDS2.
6.
Select READ PART NUMBERS FROM VEHICLE and click SHOW UPDATES on the MDS2. Press the "OK" button.
NOTE:
If the PCM on the vehicle has already been updated or reprogrammed, a Flash Update Information Box will appear that says "Part number
(updated part number is displayed) is up to date and does not require any new updates." Verify that the part number of the PCM (or previously
installed authorized software update label) matches the part number displayed on the MDS. Press the "OK" button, then continue with Step C.
7.
Select the NEW SOFTWARE PART NUMBER with the light pen and click UPDATE CONTROLLER SOFTWARE.
8.
The MDS2 and DRB III will prompt for any operator action needed during the remainder of the reprogramming process.
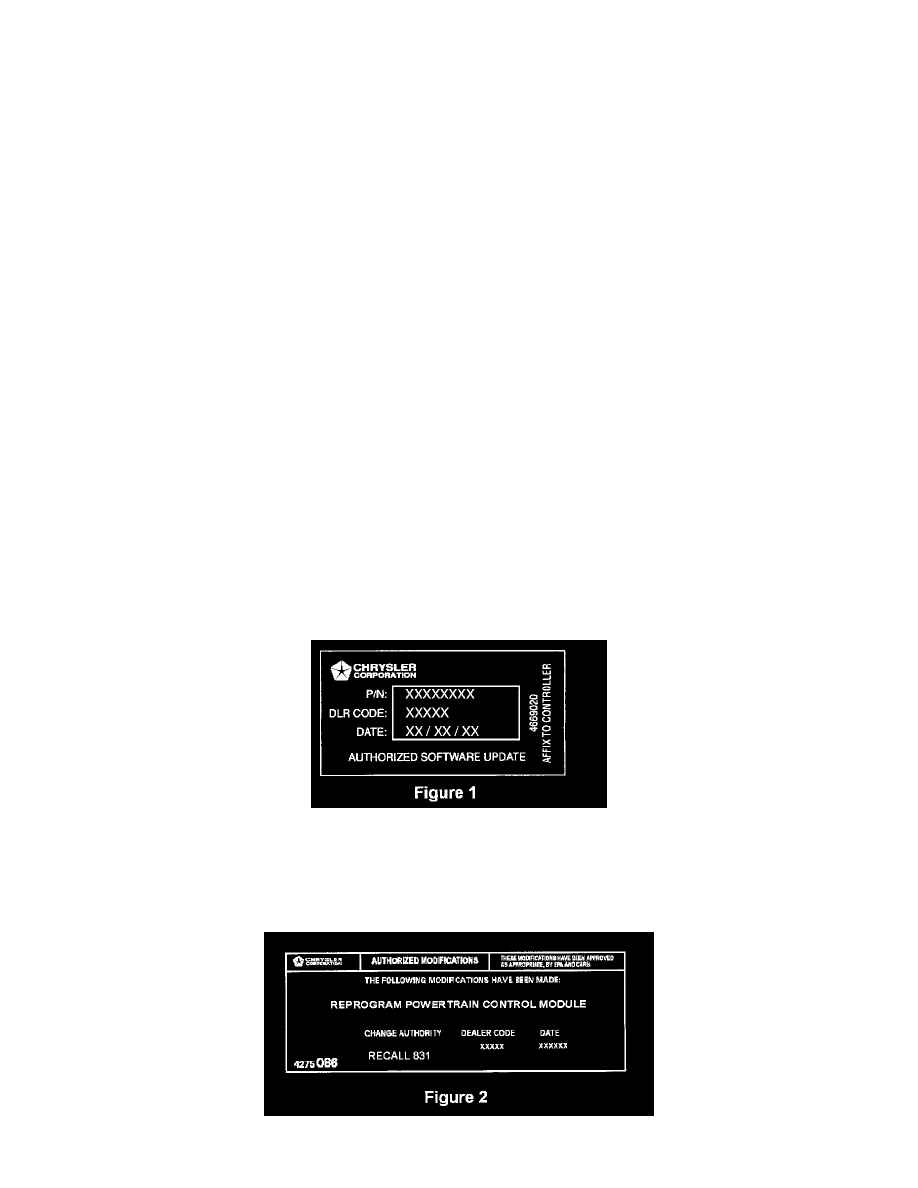
B. Install Authorized Software Update Label
Fig. 1
Type or print (with a ballpoint pen) the necessary information on the "Authorized Software Update" label (Figure 1) and attach it to the PCM. Cover the
label with the clear plastic portion of the label.
C. Install the Authorized Modifications Label
Fig. 2