
Durango 4WD V8-5.9L VIN Z (1998)
11.
Remove the front drive shaft.
12.
Remove the front ball joint cotter pin and nut. Separate the ball joint from the knuckle with special tool C-4150A (Remover).
13.
Turn the wheels all the way to the left when removing the right ball joint. Turn the wheels all the way to the right when removing the left ball joint.
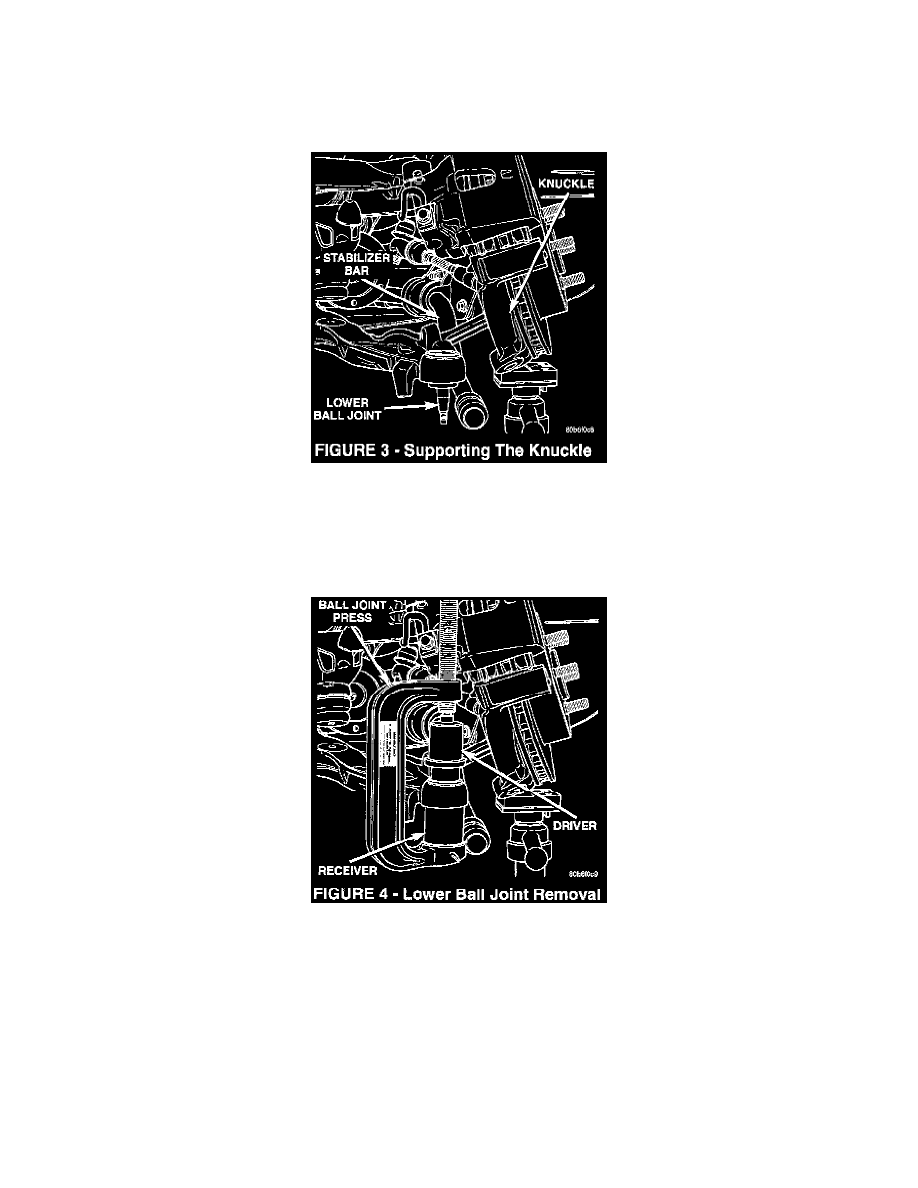
14.
Support the knuckle with a jack stand and raise the jack up to gain access to the lower ball joint (Figure 3).
15.
On vehicles equipped with ball joints that are retained with a snap-ring, remove the snap ring. If the vehicle's ball joint is not retained with a snap
ring (joint retained with four stakes), remove the four stakes on the ball joint flange using a chisel and hammer.
16.
Remove the ball joint boot.
17.
Remove the ball joint using special tools C-4212-F (Press), 8345 (Receiver), and C4212-3 (Driver) (Figure 4).