
RAM 1500 Truck 4WD V8-5.9L VIN Z (2002)
Hood Latch Release Cable: Service and Repair
LATCH RELEASE CABLE/HANDLE ASSEMBLY
REMOVAL
1. Remove the hood latch.
2. Remove the battery tray from the left side of the engine compartment.
3. Remove the three hood release cable retainers from the upper radiator crossmember and the left fender rail.
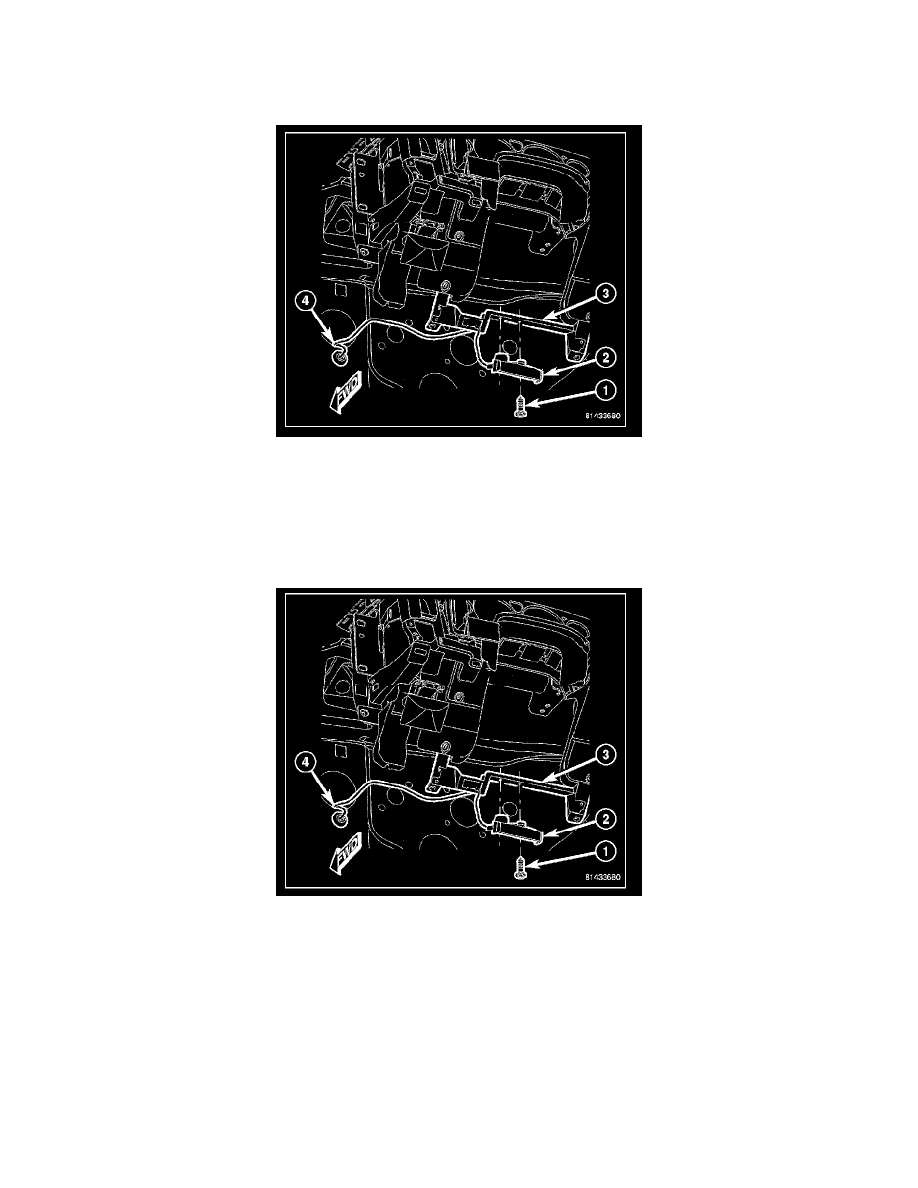
4. From inside the vehicle, remove the two bolts (1) that secure the hood release handle (2) to the instrument panel bracket (3).
5. Remove the grommet (4) from the cowl panel and remove the hood release cable and handle assembly.
INSTALLATION
1. Route the hood release cable through the cowl panel and install the grommet (4).
2. Position the hood release handle (2) onto the instrument panel bracket (3).
3. Install the two bolts (1) that secure the hood release handle to the instrument panel bracket. Tighten the bolts to 9 N.m (80 in.lbs.).
4. Route the hood release cable along the left fender rail and the upper radiator crossmember and install the three hood release cable retainers.
5. Install the battery tray to the left side of the engine compartment.
6. Install the hood latch.