
RAM 1500 Truck 4WD V8-5.9L VIN Z (2002)
Radiator: Service and Repair
RADIATOR
REMOVAL
1. Disconnect battery negative cables.
WARNING: DO NOT REMOVE THE CYLINDER BLOCK DRAIN PLUGS OR LOOSEN THE RADIATOR DRAINCOCK WITH
THE SYSTEM HOT AND UNDER PRESSURE. SERIOUS BURNS FROM THE COOLANT CAN OCCUR.
2. Drain the cooling system.
WARNING: CONSTANT TENSION HOSE CLAMPS ARE USED ON MOST COOLING SYSTEM HOSES. WHEN REMOVING OR
INSTALLING, USE ONLY TOOLS DESIGNED FOR SERVICING THIS TYPE OF CLAMP. ALWAYS WEAR SAFETY GLASSES
WHEN SERVICING CONSTANT TENSION CLAMPS.
CAUTION: A number or letter is stamped into the tongue of constant tension clamps. If replacement is necessary, use only an original equipment
clamp with a matching number or letter and the correct width.
3. Remove the hose clamps and hoses from radiator.
4. Remove the coolant reserve/overflow tank hose from the radiator filler neck.
5. Remove the coolant reserve/overflow tank (5.9L) or the coolant degas container (3.7L/4.7L) from the fan shroud (pull straight up). The tank slips
into slots on the fan shroud.
6. Unclip the power steering hoses from the fan shroud.
7. Disconnect the electrical connectors at the windshield washer reservoir tank and remove the tank.
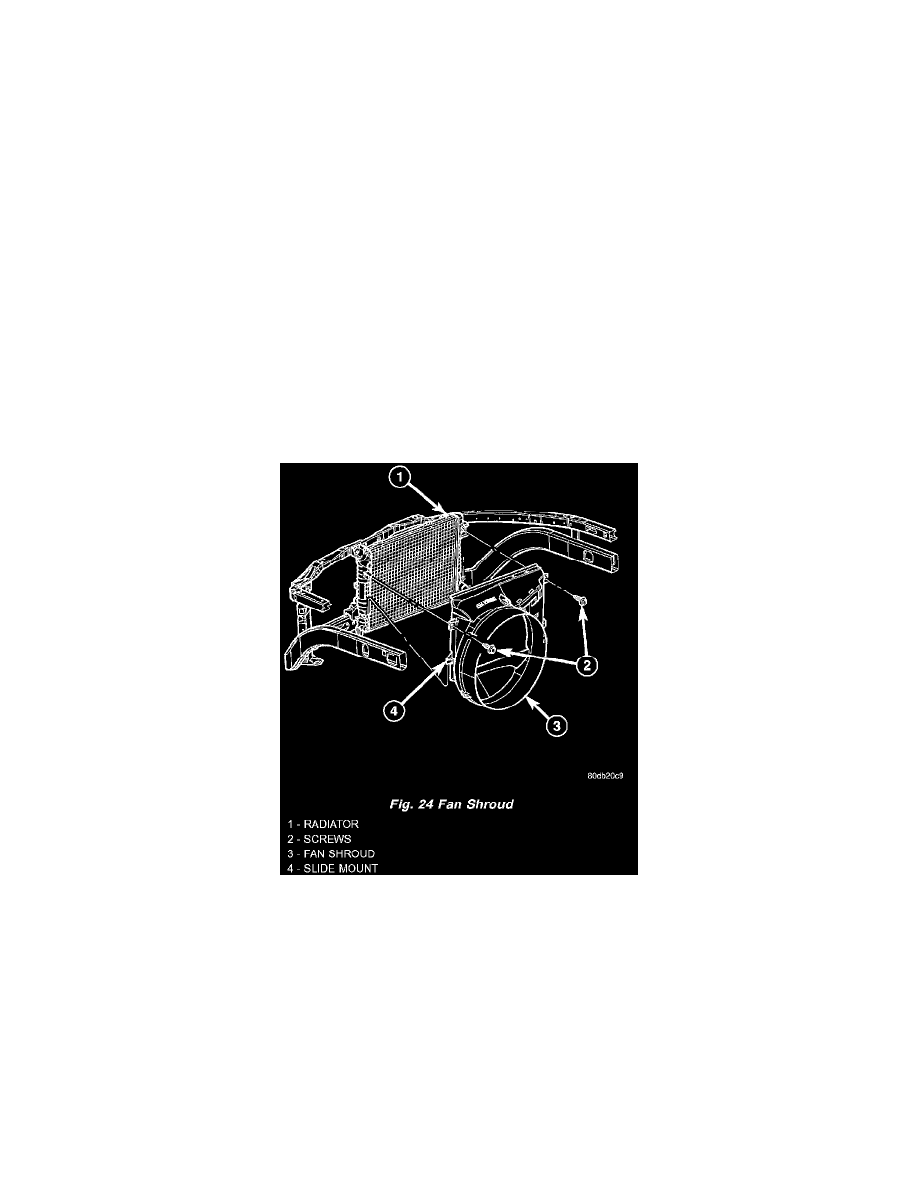
8. Remove the fan shroud mounting bolts and pull up and out of the radiator tank clips. Position shroud rearward over the fan blades towards engine.
9. Disconnect the transmission cooler lines from the transmission cooler, then plug the transmission lines and cooler to prevent leakage.
10. Disconnect the power steering lines from the power steering cooler, then plug the power steering lines and cooler to prevent leakage.