
RAM 1500 Truck 4WD V8-5.9L VIN Z (2002)
11. Remove the two radiator upper mounting bolts.
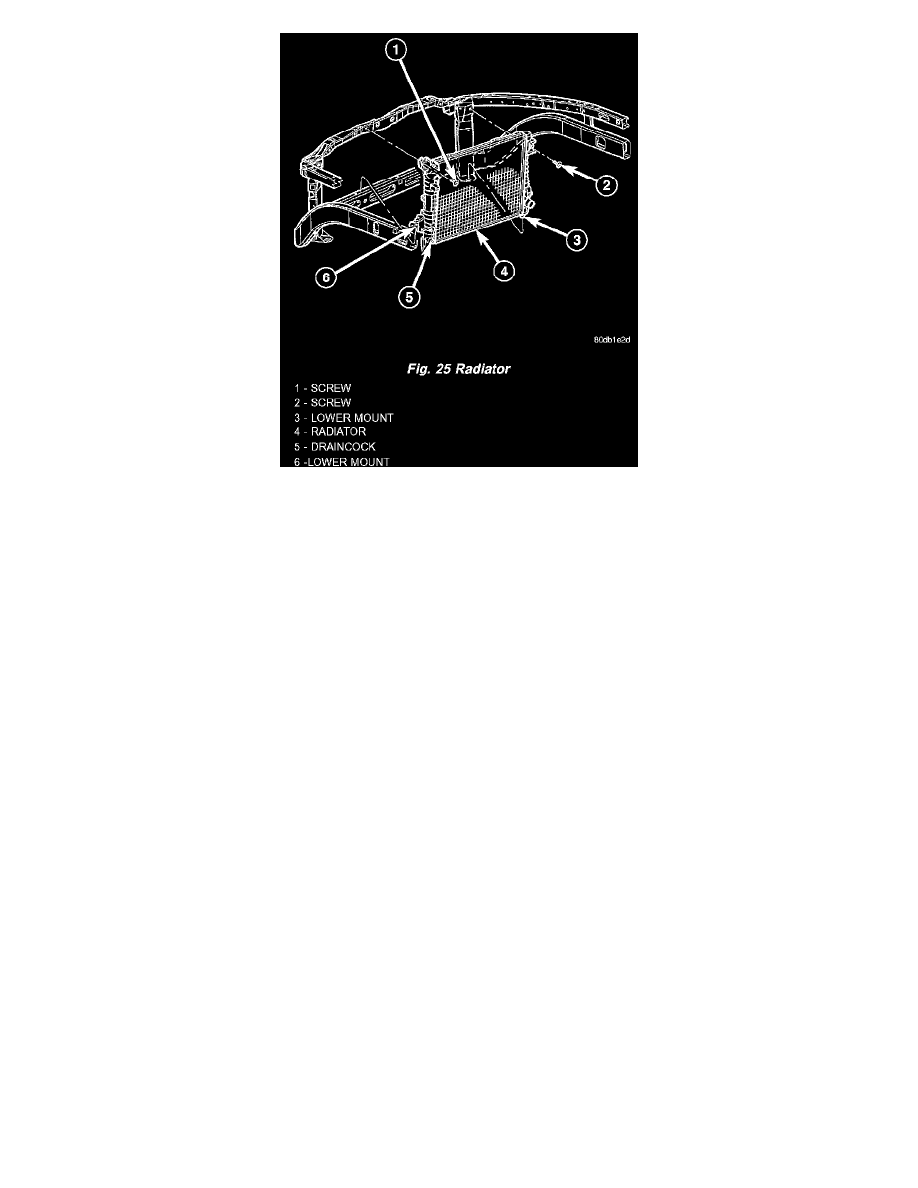
12. Lift the radiator straight up and out of the engine compartment. Take care not to damage cooling fins or tubes on the radiator and oil coolers when
removing.
NOTE: The radiator is equipped with one alignment dowel on the bottom of the outlet tank and one retaining bracket on the front side of the inlet
tank. Both features have rubber insulators attached to them that must be present. The alignment dowel fits into a hole at the bottom of the front end
sheet metal vertical support post and the support bracket rests on top of the lower radiator closure tube.
CLEANING
Clean radiator fins are necessary for good heat transfer. The radiator and oil cooler fins should be cleaned when an accumulation of debris has
occurred. With the engine cold, apply cold water and compressed air to the back (engine side) of the radiator to flush the radiator and/or oil coolers of
debris.
INSPECTION
Inspect the radiator side tanks for cracks, broken or missing fittings also inspect the joint where the tanks seam up to the radiator core for signs of
leakage and/or deteriorating seals. Inspect radiator core for corroded, bent or missing cooling fins. Inspect the core for bent or damaged cooling tubes.
INSTALLATION
1. Position the fan shroud over the fan blades rearward towards engine.
2. Install the rubber insulators to the lower radiator mounting features (alignment dowel and support bracket at the lower part of the radiator).
3. Lower the radiator into position while guiding the alignment dowel into the vertical post bracket. Position and seat the lower radiator support
bracket onto the lower radiator closure tube.
4. Install the upper radiator mounting bolts. Tighten bolts to 8.5 Nm (75 inch lbs.).
5. Connect the lower radiator hose and install the clamp in the proper position.
6. Connect the power steering hoses to the power steering oil cooler and install the clamps.
7. Connect the transmission oil cooler lines to the transmission oil cooler and install the secondary latches.
8. Position the fan shroud into the mounting clips on the radiator tanks and secure with bolts. Tighten the bolts to 8.5 Nm (75 inch lbs.).
9. Secure the power steering hoses into the clip on the lower fan shroud.
10. Install the windshield washer reservoir tank and connect the hose and electrical connector.
11. Install coolant reserve/overflow container hose(s) to radiator filler neck and secure properly with clamps.
12. Install coolant reserve/overflow container or degas container to fan shroud and tighten the bolts to 8.5 Nm (75 inch lbs.).
13. Connect upper radiator hose and install clamp.
14. Install battery negative cable.
15. Fill cooling system with coolant.
16. Operate the engine until it reaches normal operating temperature. Check cooling system fluid levels.