
RAM 1500 Truck 4WD V8-5.9L VIN Z (2002)
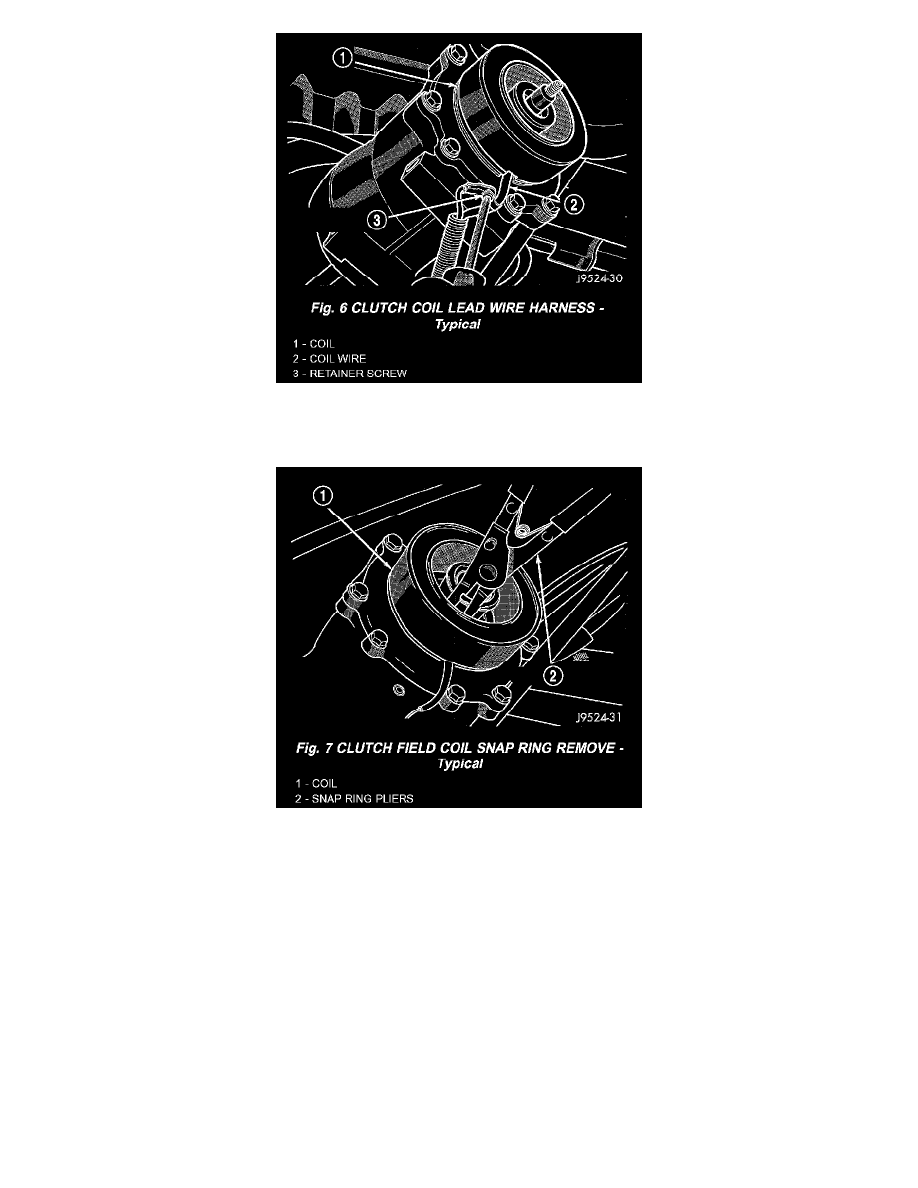
Fig. 6 Clutch Coil Lead Wire Harness - Typical
12. Remove the screw and retainer from the clutch coil lead wire harness on the compressor front housing.
Fig. 7 Clutch Field Coil Snap Ring Remove - Typical
13. Remove the snap ring from the compressor hub and remove the clutch field coil. Slide the clutch field coil off of the compressor hub.
INSPECTION
Examine the friction surfaces of the clutch rotor and the clutch plate for wear. The rotor and clutch plate should be replaced if there is excessive wear
or scoring.
If the friction surfaces are oily, inspect the shaft and nose area of the compressor for oil. Remove the felt from the front cover. If the felt is saturated
with oil, the shaft seal is leaking and the compressor must be replaced.
Check the rotor bearing for roughness or excessive leakage of grease. Replace the rotor and clutch plate, if required.
INSTALLATION
1. Install the clutch field coil and snap ring.
2. Install the screw and retainer on the clutch coil lead wire harness on the compressor front housing. Tighten screw to 2.2 Nm (20 in. lbs.).
3. Align the rotor assembly squarely on the front compressor housing hub.