
RAM 1500 Truck 4WD V8-5.9L VIN Z (2002)
Replace the retainer bushing if worn, scored, or doubt exists about bushing condition.
Inspect the piston and retainer seal surfaces for nicks or scratches. Minor scratches can be removed with crocus cloth. However, replace the piston and/or
retainer if the seal surfaces are seriously scored.
Check condition of the fiber thrust washer and metal output shaft thrust washer. Replace either washer if worn or damaged.
Check condition of the seal rings on the input shaft and clutch retainer hub. Replace the seal rings only if worn, distorted, or damaged. The input shaft
front seal ring is teflon with chamfered ends. The rear ring is metal with interlocking ends.
Check the input shaft for wear, or damage. Replace the shaft if worn, scored or damaged in any way.
Assembly
46RE - Automatic Transmission
ASSEMBLY
1. Soak clutch discs in transmission fluid while assembling other clutch parts.
2. Install new seal rings on clutch retainer hub and input shaft if necessary.
a. Be sure clutch hub seal ring is fully seated in groove and is not twisted.
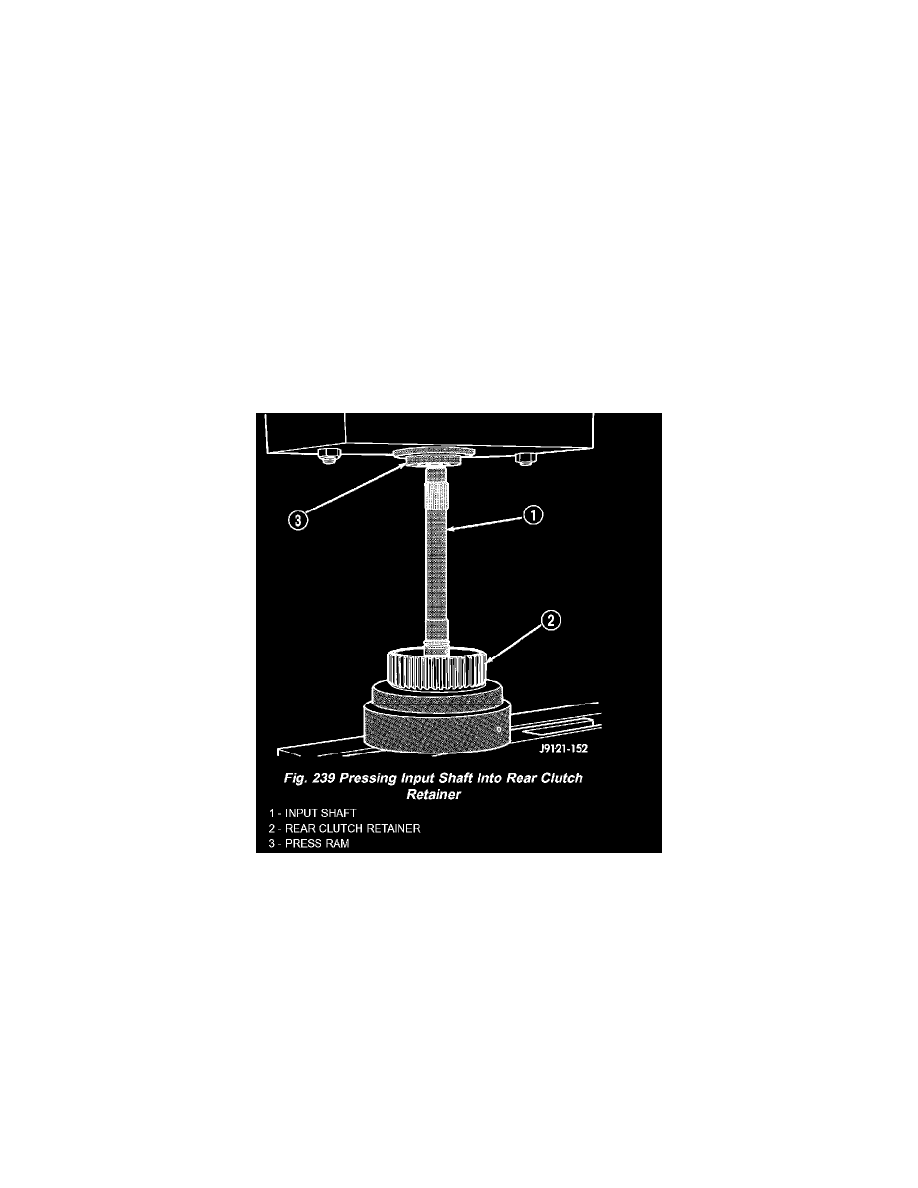
3. Lubricate splined end of input shaft and clutch retainer with transmission fluid. Then partially press input shaft into retainer (Fig. 239). Use a
suitably sized press tool to support retainer as close to input shaft as possible.
4. Install input shaft retaining ring.
5. Press the input shaft the remainder of the way into the clutch retainer.
6. Install new seals on clutch piston. Be sure lip of each seal faces interior of clutch retainer.
7. Lubricate lip of piston seals with generous quantity of Mopar Door Ease. Then lubricate retainer hub and bore with light coat of transmission fluid.
8. Install clutch piston in retainer. Use twisting motion to seat piston in bottom of retainer. A thin strip of plastic (about 0.020" thick), can be used to
guide seals into place if necessary.
CAUTION: Never push the clutch piston straight in. This will fold the seals over causing leakage and clutch slip. In addition, never use any type of
metal tool to help ease the piston seals into place. Metal tools will cut, shave, or score the seals.
9. Install piston spring in retainer and on top of piston. Concave side of spring faces downward (toward piston).
10. Install the spacer ring and wave spring into the retainer. Be sure spring is completely seated in retainer groove.
11. Install pressure plate (Fig. 238). Ridged side of plate faces downward (toward piston) and flat side toward clutch pack.
12. Install first clutch disc in retainer on top of pressure plate. Then install a clutch plate followed by a clutch disc until entire clutch pack is installed