SRT-4 L4-2.4L Turbo VIN S (2004)

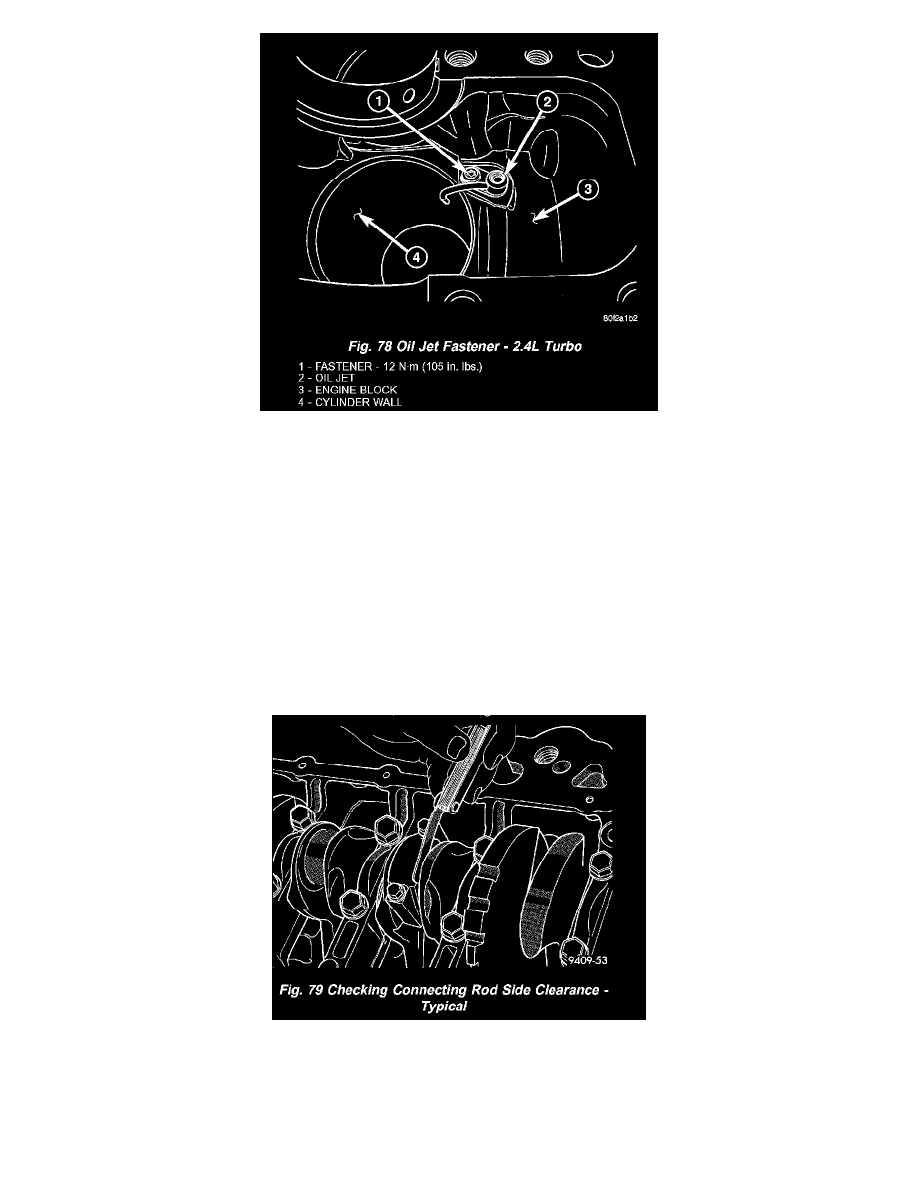
CAUTION: Do not damage the oil jet when installing the piston/connecting rod (Fig. 78).
8. Tap the piston down in cylinder bore, using a hammer handle. At the same time, guide connecting rod into position on connecting rod journal.
9. Remove Special Tool 8189, connecting rod guides.
NOTE: The connecting rod cap bolts should not be reused.
10. Before installing the NEW bolts, the threads should be coated with clean engine oil.
11. Install connecting rod lower bearing half into connecting rod cap. Install connecting rod cap.
12. Install each bolt finger tight then alternately torque each bolt to assemble the cap properly.
13. Tighten the connecting rod bolts using the 2 step torque-turn method. Tighten according to the following values:
CAUTION: Do not use a torque wrench for the second step.
1. Tighten the bolts to 27 Nm (20 ft. lbs.).
2. Tighten the connecting rod bolts an additional 1/4 TURN.
14. Using a feeler gauge, check connecting rod side clearance (Fig. 79). (Refer to - ENGINE -SPECIFICATIONS) for connecting rod side clearance.
15. Install Balance Shaft Carrier Assembly.
16. Install oil pan.
17. Install cylinder head.
