
Viper SRT-10 V10-8.4L (2008)
Electronic Brake Control Module: Service and Repair
Installation
INSTALLATION
1. Install CAB onto HCU.
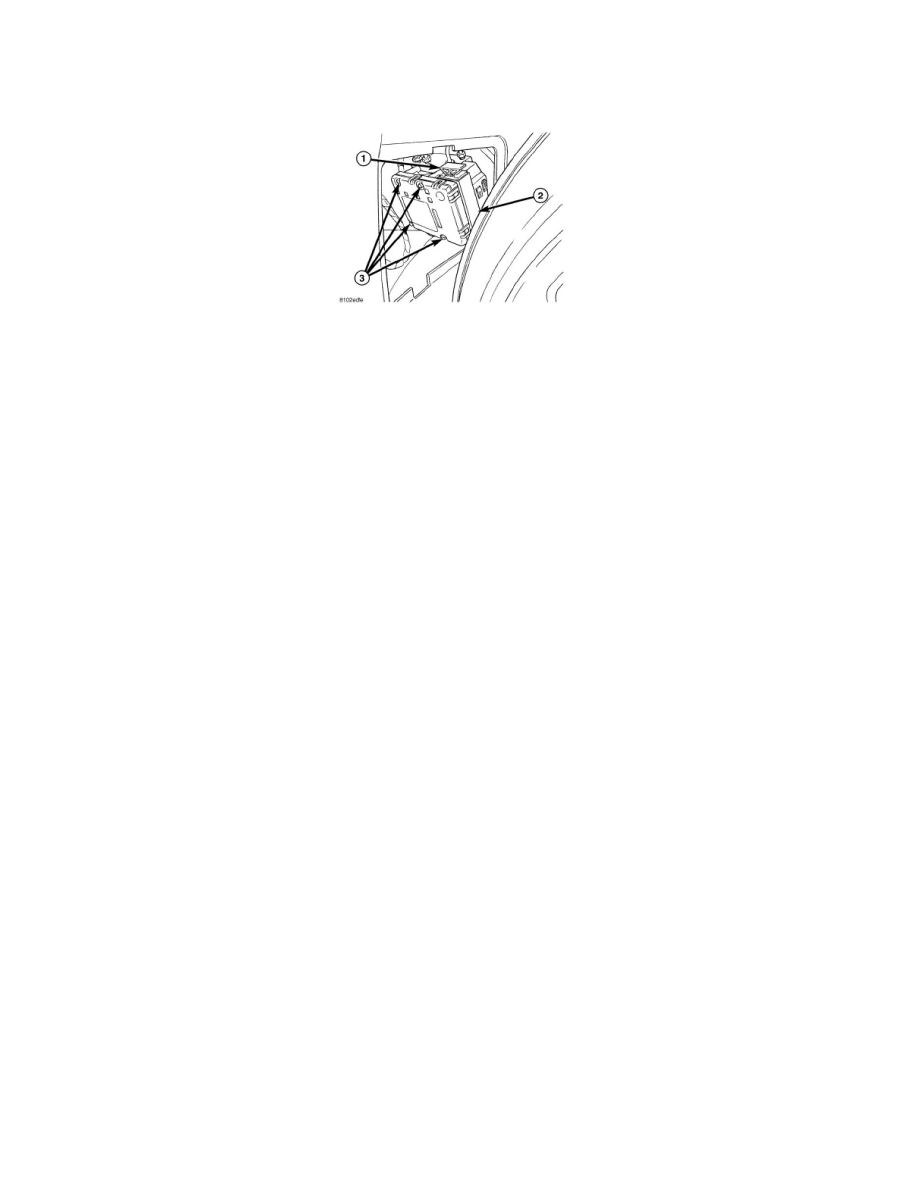
2. Install four CAB mounting bolts (3) and tighten to 2 Nm (17 in. lbs.).
3. Connect pump/motor wiring connector.
CAUTION: Before installing the 24-way connector in the CAB, be sure the seal is properly installed in the connector.
4. Install 24-way connector (2) into socket of CAB as follows:
a. Position 24-way connector in socket of CAB and carefully push it down as far as possible.
b. Once connector is fully seated into CAB socket, push connector lock (1) inward. This pulls connector into socket of CAB and locks it in place.
5. Install access panel in forward portion of left front wheel well.
6. Install tire and wheel assembly See: Maintenance/Wheels and Tires/Service and Repair/Removal and Replacement/Tires and Wheels - Installation.
Progressively tighten the wheel mounting nuts in the proper sequence to 135 Nm (100 ft. lbs.).
7. Lower vehicle.
8. Reconnect battery negative (-) terminal.
9. Perform the Diagnostic Verification Test and clear any faults. See: Powertrain Management/Computers and Control Systems/Testing and
Inspection/Diagnostic Trouble Code Tests and Associated Procedures/Verification Tests