
Eagle L4-150 2.5L (1983)
Timing Chain: Service and Repair
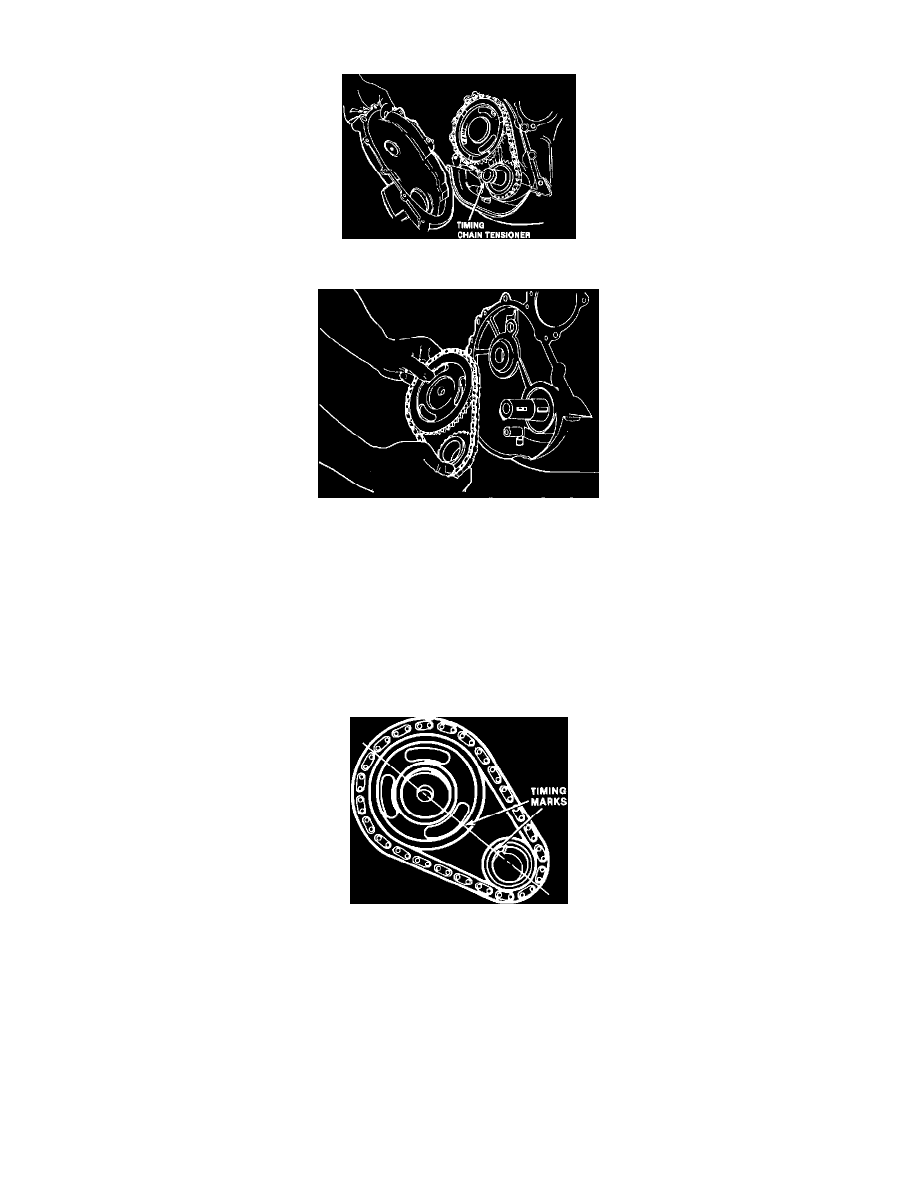
Fig. 5 Removing timing chain cover. 4-150
Fig. 6 Removing timing chain & gear sprockets. 4-150
REMOVAL
1. Disconnect battery ground cable, then drain cooling system.
2. Remove bolts securing water and fuel pumps to engine, then remove water and fuel pumps.
3. Remove crankshaft pulley bolts and pulley.
4. Using tool No. J-9256 or equivalent, remove timing chain cover seal.
5. Remove timing chain cover bolts and cover.
6. Remove timing chain tensioner.
7. Remove crankshaft oil slinger.
8. Remove camshaft sprocket retaining bolt and washer, then lift off camshaft sprocket, crankshaft sprocket and timing chain as an assembly.
Fig. 7 Valve timing marks. 4-150