
Bronco L6-300 4.9L VIN Y 1-bbl (1983)
Ball Joint Service
Ball Joint Service
7. Assemble U-Joint Tool T74P-4635-C and Ball Joint Remover/Replacer T92T-3010-A over the lower ball joint. Turn the forcing screw to remove
the ball joint.
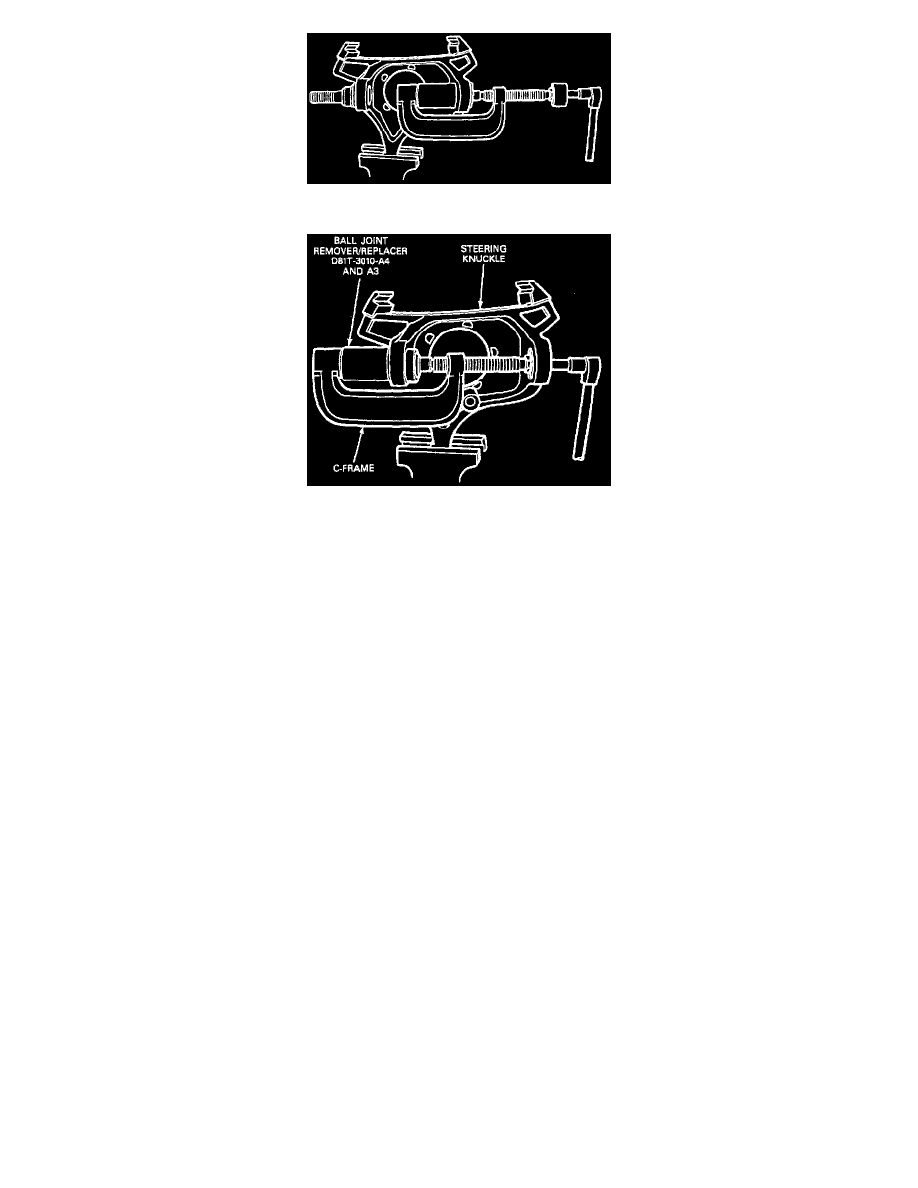
8. Assemble U-Joint Tool T74P-4635-C, Ball Joint Remover/Replacer D81T-3010-A4 and Ball Joint Remover/Replacer D8lT-3010-A3 or
equivalents over the upper ball joint. Turn the forcing screw clockwise to remove the upper ball joint.
INSTALL
NOTE: The upper ball joint must be installed first.
1. Position the upper ball joint along with U-Joint Tool T74P-4635-C, Receiver Cup D81T-3010-A5, Ball Joint Remover/Replacer tools
D81T-3010-A1, D81T-3010-A3 and D81T-3010-A4 or equivalents on the knuckle. Turn the forcing screw clockwise until the ball joint bottoms
in the bore. Remove the tools.
2. Position the lower ball joint and U-Joint Tool T74P-4635-C, Ball Joint Remover/Replacer T92T-3010-B and Ball Joint Remover/Replacer
T92T-3010-A on the knuckle. Turn the forcing screw clockwise until the ball joint bottoms in the bore. Remove the tools.
3. Install the snap ring on the lower ball joint.
4. Install knuckle onto tube and yoke assembly, then install camber adjusting bushing with arrow pointing outward for positive camber or towards
center of vehicle for negative camber.
5. Install new lower ball joint nut and torque to Specifications. See: Specifications/Ball Joint, Upper
6. Install new upper ball joint nut and torque to Specifications. See: Specifications/Ball Joint, Upper
7. Advance upper ball joint nut to next castellation, and install new cotter pin.
8. Install brake rotor, axle shaft and spindle.