
E 450 V10-6.8L (2008)
Exhaust System - Exploded View, Van/Wagon (Part 2)
Removal and Installation
NOTE: Exhaust fasteners are of a prevailing torque design. Use only new fasteners with the same part number as the original. Torque values must be
used as specified during reassembly to make sure of correct retention of exhaust components.
1. With the vehicle in NEUTRAL, position it on a hoist. For additional information, refer to Maintenance/Service and Repair.
2. Remove the engine cover.
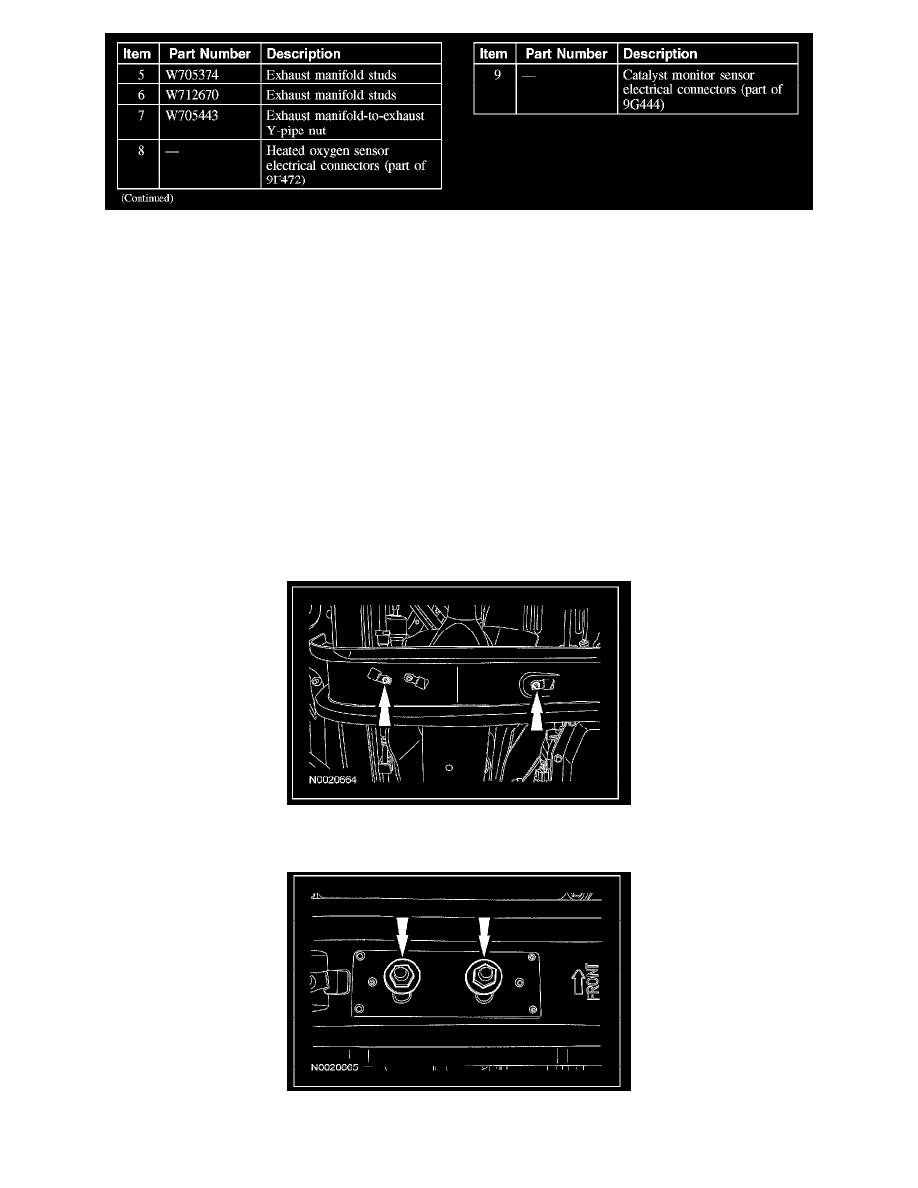
3. Disconnect the heated oxygen sensors (HO2S) and the catalyst monitor sensor electrical connectors.
4. Support the muffler and tailpipe assembly and exhaust intermediate pipe with a safety stand.
5. Release the exhaust intermediate pipe and the front muffler and tailpipe hanger isolators.
6. Loosen the exhaust intermediate pipe-to-exhaust Y-pipe Torca(R) clamp.
^
To install, tighten to 55 Nm (41 lb-ft).
7. Remove the exhaust intermediate pipe and the muffler and tailpipe from the exhaust Y-pipe.
8. NOTE: LH shown, RH similar.
Remove the 2 LH and 1 RH heat shield-to-crossmember bolts.
^
To install, tighten to 10 Nm (89 lb-in).
9. Remove the 2 crossmember-to-rear transmission mount nuts.
^
To install, tighten to 95 Nm (70 lb-ft).
10. Support the rear of the transmission with a safety stand.