
Econoline E350 1 Ton V8-5.4L Prop SOHC VIN Z (1998)
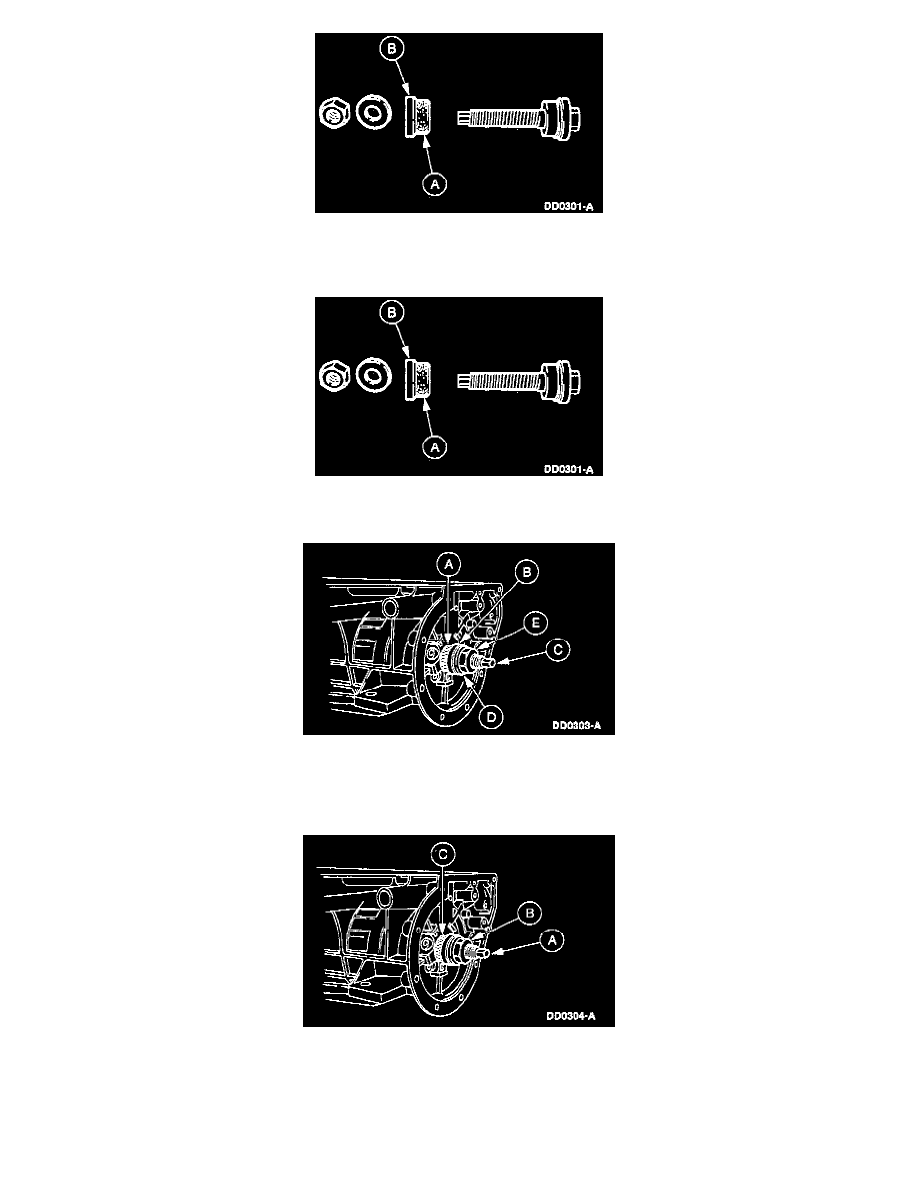
1. Place the (A) rear case bushing onto the (B) Rear Case Bushing Replacer.
NOTE: The rear case bushing has one lube groove. The front case bushing has three lube grooves.
2. Place the other portion of the (A) Rear Case Bushing Replacer and the (B) 127 mm (5 inch) Threaded Drawbar through the case and into the front
case bushing.
3. Place the (A) rear case bushing with the (B) Rear Case Bushing Replacer over the (C) 127 mm (5 inch) Threaded Drawbar and into the case.
Install the (D) washer and the (E) nut hand-tight.
CAUTION: Make sure the bushing and tool are centered in the bore.
4. Hold the (A) drawbar with a 1/2 inch wrench while turning the (B) nut with a 1-1/8 inch wrench until the (C) rear case bushing is fully seated.
Remove the tools.