
Econoline E350 1 Ton V8-5.4L Prop SOHC VIN Z (1998)
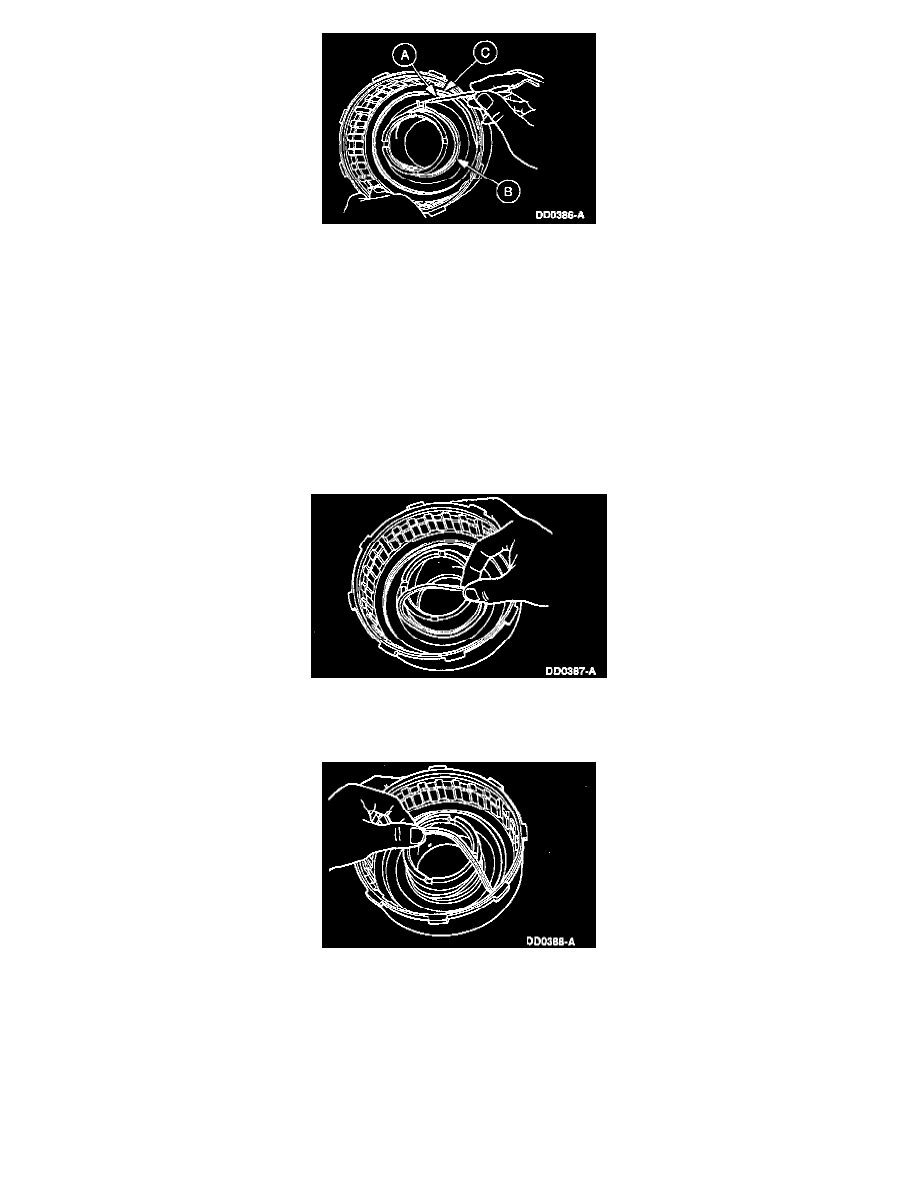
11. Using the (A) O-Ring Tool, remove the direct clutch piston (B) inner and (C) outer seals.
12. Inspect the clutch cylinder thrust surfaces, piston bore, and clutch plate splines for scores, buffs or wear. Replace the clutch cylinder if it is badly
scored or damaged.
13. Check the fluid passage in the clutch cylinder for obstructions. Clean out all fluid passages. Inspect clutch piston for scores and replace, if
necessary. Inspect the check balls for freedom of movement.
14. Check the clutch release spring for distortion and cracks. Replace the spring if it is distorted or cracked.
15. Inspect the friction clutch plates, steel clutch plates, and clutch pressure plate for worn or scored surfaces. Replace all parts that are scored, burred
or burnt.
16. Check the clutch plates for flatness and wear on the clutch hub splines. Discard any plate that does not slide freely on the splines or that is not flat.
17. Check the clutch hub thrust surfaces for scores and the clutch hub splines for wear. Replace all worn parts.
ASSEMBLY
NOTE: Soak the clutch plates for 15 minutes in clean MERCON(R) V Automatic Transmission Fluid XT-5-QM or MERCON(R) V equivalent.
1. Install the direct clutch piston inner seal.
NOTE: The seal lip must face downward.
2. Install the direct clutch piston outer seal.
NOTE: The seal lip must face downward.