
Econoline E350 1 Ton V8-5.4L Prop SOHC VIN Z (1998)
3. Install the Threaded Drawbar into the replacer tools and tighten.
-
If a 0.381 mm (0.0015 inch) feeler gauge can be inserted between a bearing cup and the bottom of its bore at any point around the bearing
cup, the bearing cup must be reseated.
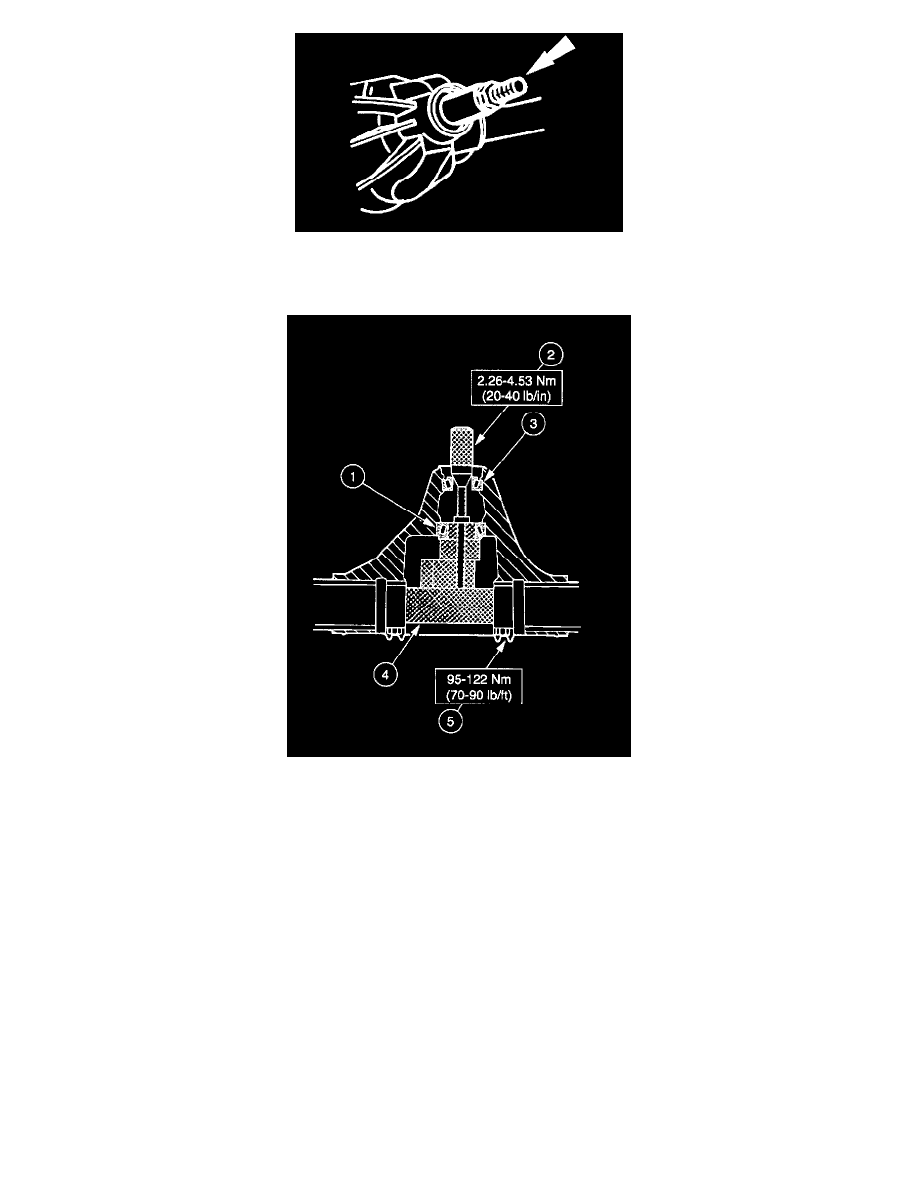
4. Install the drive pinion to correct depth.
1. Place a new inner pinion bearing over Aligning Adapter and insert it into the rear axle differential carrier bore.
-
The inner pinion bearing should rest on the Gauge Disc. The screw must thread into the Gauge Block.
2. Tighten to preload.
-
The 3/8-inch square drive in the handle is to be used for obtaining the proper pinion bearing preload.
3. Place the outer pinion bearing (new or used if in good condition) into the outer pinion bearing cup and assemble the Handle onto the Screw
and hand-tighten.
4. Center the Gauge Tube into the rear axle differential carrier.
5. Install the bearing caps and tighten.
NOTE: Use the Truck Pinion Depth Gauge-Dana only to perform the following measurement.
NOTE: If any of the gauge surfaces become nicked, the high spots must be removed with a medium India oilstone to make sure there are no
erroneous readings.
5. Using a feeler gauge tool or shims, select the thickest feeler shim that will enter between the Gauge Tube and the Gauge Block. Insert the feeler
gauge directly along the Gauge Block so a correct reading can be made.
NOTE: Make sure the shims or feeler gauges are free of dirt, to prevent an incorrect reading.
NOTE: The feeler gauge fit between the Gauge Tube and the Gauge Block should have a slight drag-type feeling.