
F 150 2WD Pickup V8-5.4L SOHC VIN 5 (2004)
-
Removing the windshield glass requires more than one technician.
-
Be sure not to scratch the pinch weld while removing windshield glass.
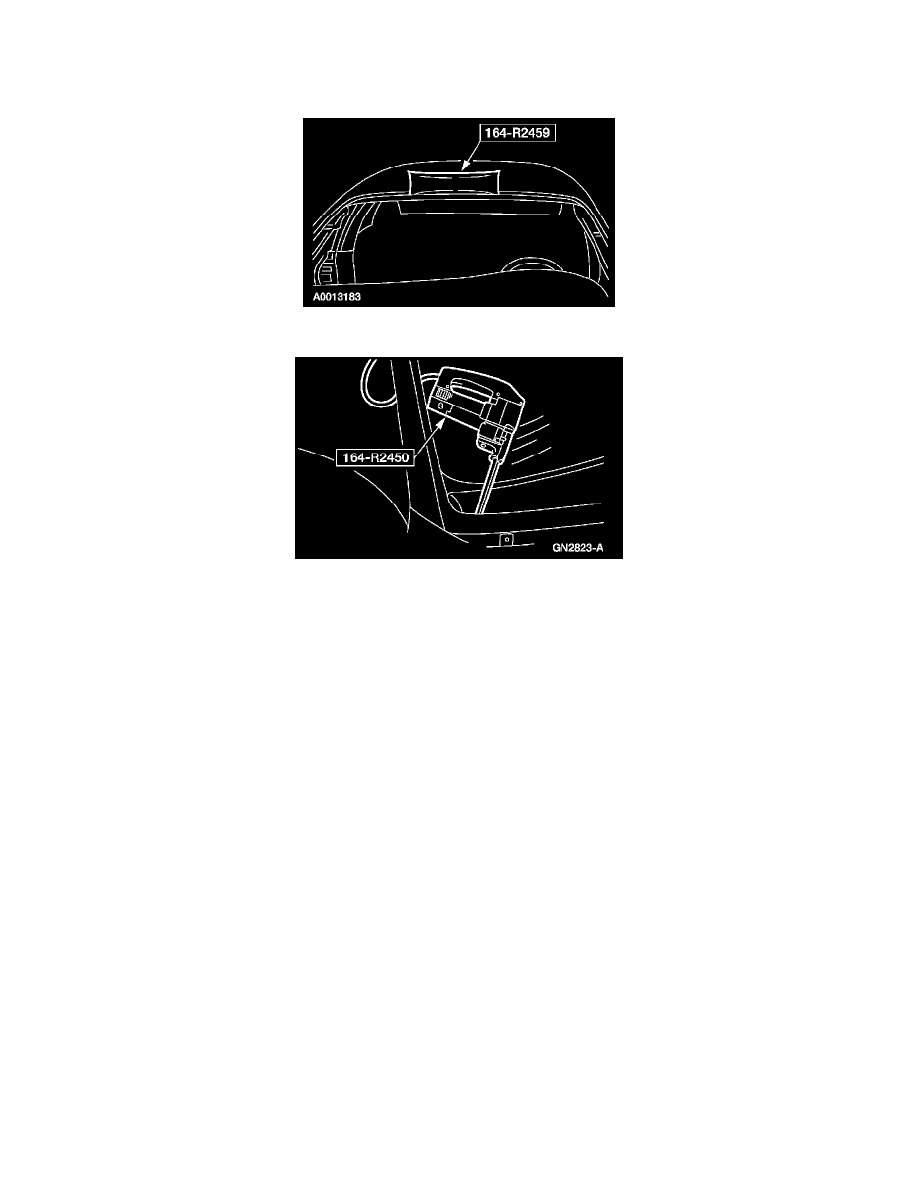
Using the special tool, cut the urethane adhesive from the windshield glass starting at the top center and working toward the bottom corners.
2. Using the special tool, distance the windshield from the body.
3. Using the special tool, cut the remaining urethane adhesive and remove the window glass.
4. Using a soft brush or vacuum, remove any dirt and foreign material from the pinch weld.
INSTALLATION
1. To install, reverse the removal procedure.
Item 5: Windshield Glass Molding Assembly Installation Note
1. Install glass molding prior to glass installation.
Item 4: Windshield Glass Spacer Blocks Installation Note
1. Install new windshield glass spacer blocks if damaged during glass removal.
Item 3: Windshield Glass Installation Note
1. CAUTION:
-
After installing the urethane installed glass, the vehicle should not be driven until the urethane has cured. The curing time for
temperatures above 13°C (55°F) and relative humidity above 50% is 12-24 hours. (Refer to Drive Away chart for cure times as
temperature and humidity vary). Inadequate curing of the urethane may adversely affect the strength of the urethane bond.
-
Do not scratch pinch weld area.
-
Open the windows to prevent the windshield glass from being pushed out by air pressure if doors are closed.
Dry fit the windshield. Make alignment marks with tape or non-staining pencil.