
F 150 4WD V8-5.4L Flex Fuel (2008)
and allow a dry fit of the replacement windshield glass.
-
Support the windshield glass to prevent the glass from dropping while cutting the urethane adhesive.
Insert the special tool at the upper center of the windshield glass and work toward the bottom corners.
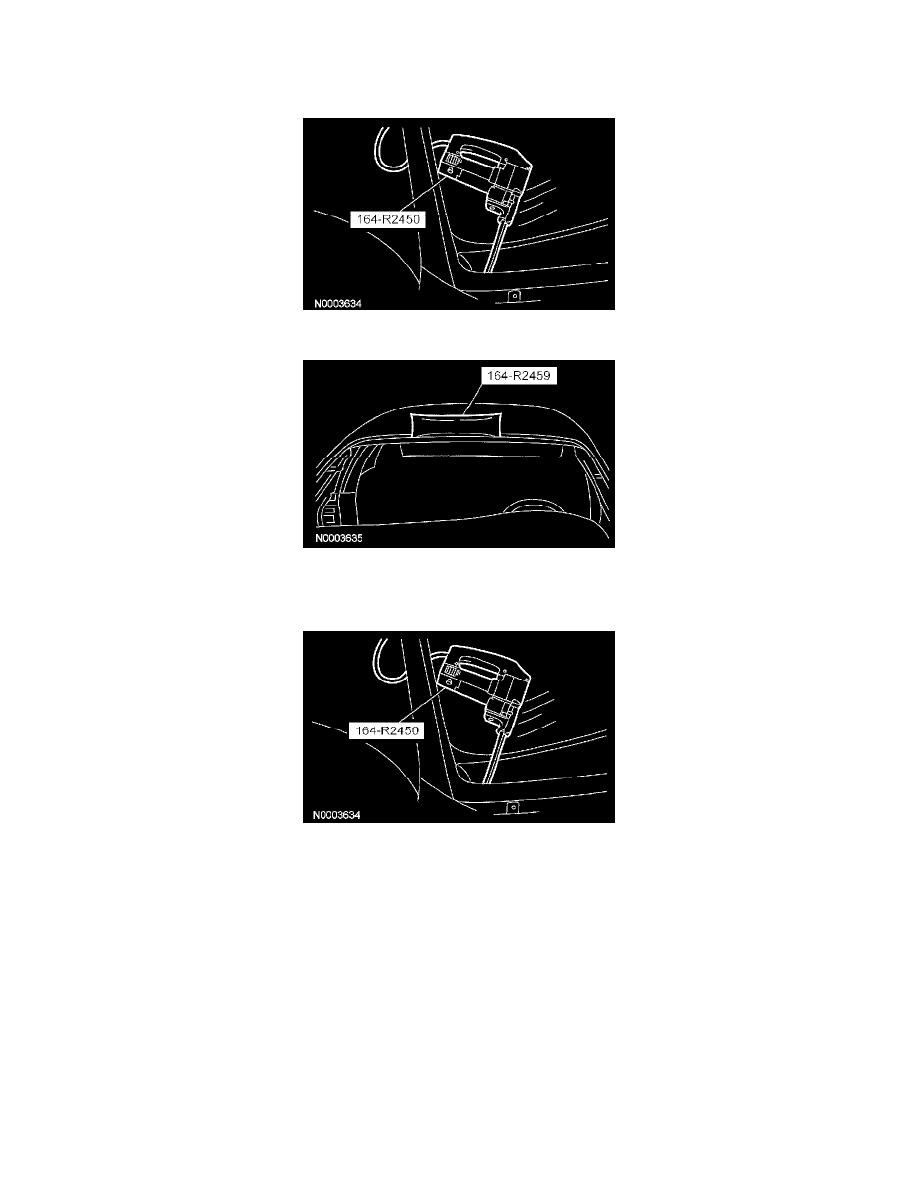
13. Using the special tool, distance the windshield from the body.
14. NOTE: Removing the windshield glass requires more than one technician.
Using the special tool, cut the remaining urethane adhesive and remove the window glass and place on a stable work surface.
Installation
1. Inspect the glass spacer blocks for damage. If necessary, install new spacer blocks.
2. Dry-fit the windshield glass on the existing urethane adhesive bead on the pinch weld.
-
Position the windshield glass on the pinch weld.
-
Center the glass in the opening.
-
Adjust the windshield spacer blocks as needed for best fit.
-
Make alignment marks with tape or non-staining grease pencil (preferably at the spacer blocks) on the windshield glass and the body.
3. After the dry-fit alignment, remove the glass from the body opening and place on a stable work surface with the interior side of the glass facing
upward.
4. WARNING: Repair any corrosion found on the pinch weld. The pinch weld is a structural component of the vehicle. Corrosion left
unrepaired may reduce the structural integrity of the vehicle. Failure to follow this instruction may result in serious injury to vehicle
occupant(s).
NOTE: Avoid scratching the pinch weld. For minor scratches or exposed metal on the pinch weld, see the manufacturer's recommendations.
Using an appropriate tool, trim the urethane adhesive leaving a 1-2 mm (0.04-0.08 in) base of original equipment urethane on the pinchweld.