
F 250 2WD Pickup V8-7.3L DSL (1990)
a.
Locate the crack and clean the surface.
CAUTION:
A CRACK WHICH HAS TRAVELED PAST THE MIDPOINT OF THE SIDERAIL BEND RADIUS SHOULD NOT BE WELDED.
A NEW FRAME ASSEMBLY IS REQUIRED IN THIS CASE.
b.
Drill a 3/16" (4.763 mm) hole at the end of the crack into the siderail.
c.
Grind out a groove, top and bottom, 25% of the metal thickness deep along the crack.
d.
Run a continuous weld along the groove.
^
Direct the weld away from the hole.
^
Weld both sides.
^
Fill the end of the crack hole.
e.
Grind all weld deposits flush with the siderail metal.
7.
Place the reinforcement plate over the outside of the siderail.
8.
Drill out the bolt holes from the inside out.
a.
Use the shock bracket holes in the frame rail as a guide.
b.
Line drill through the rail and plate with a 12 mm bit.
c.
Drill the shock absorber bracket mounting holes to 12 mm.
9.
Install the shock absorber bracket by using 12 mm fasteners and nuts.
a.
Place the head to the outside, the nut to the inside of the rail.
b.
Tighten the bolt to a torque of 88 lb.ft.(120 N-m).
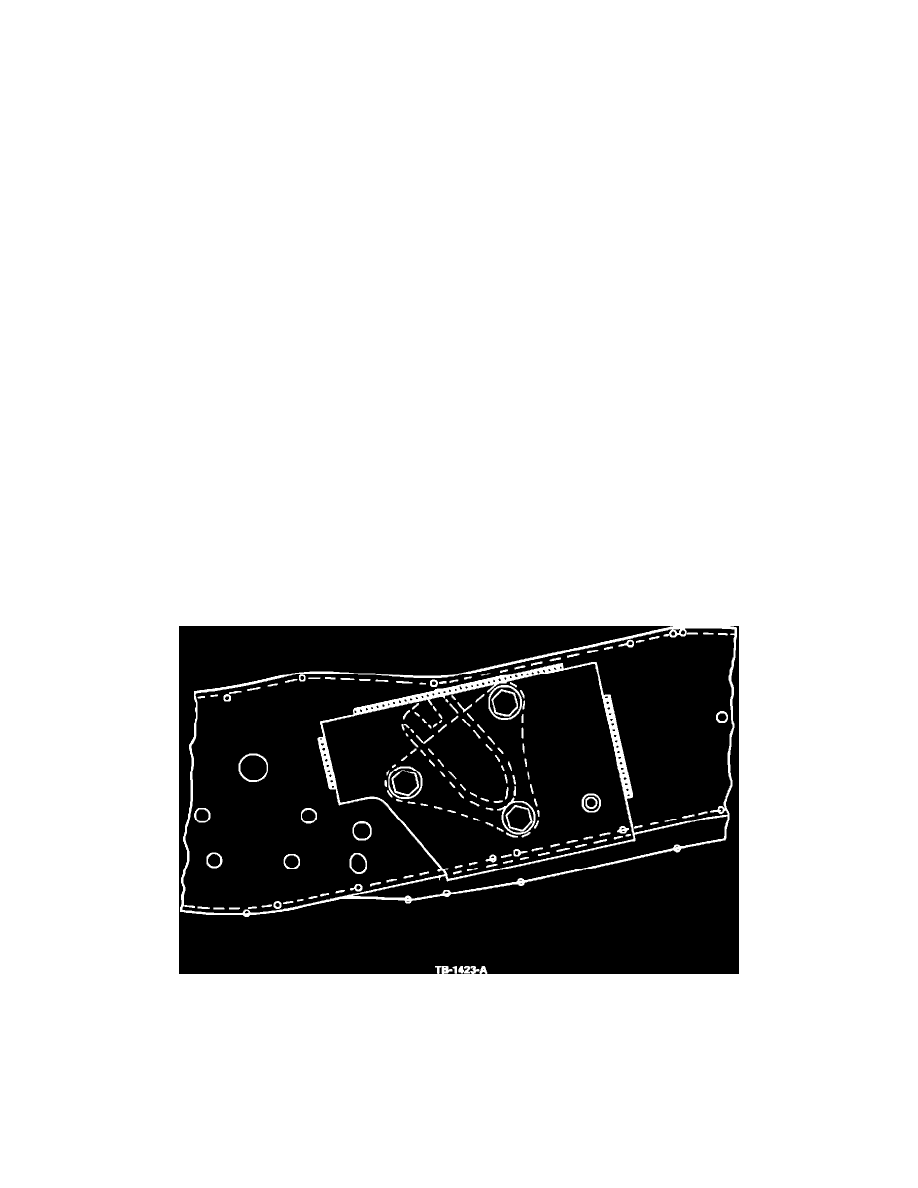
Figure 2
10.
Weld the reinforcement plate to the frame rail, Figure 2.
11.
Paint repaired area after cooling.
12.
Re-install the shock absorber.
13.
Install the wheel and remove the truck from supports.