
F 350 4WD Pickup V8-7.3L DSL (1988)
Removing Snap Ring
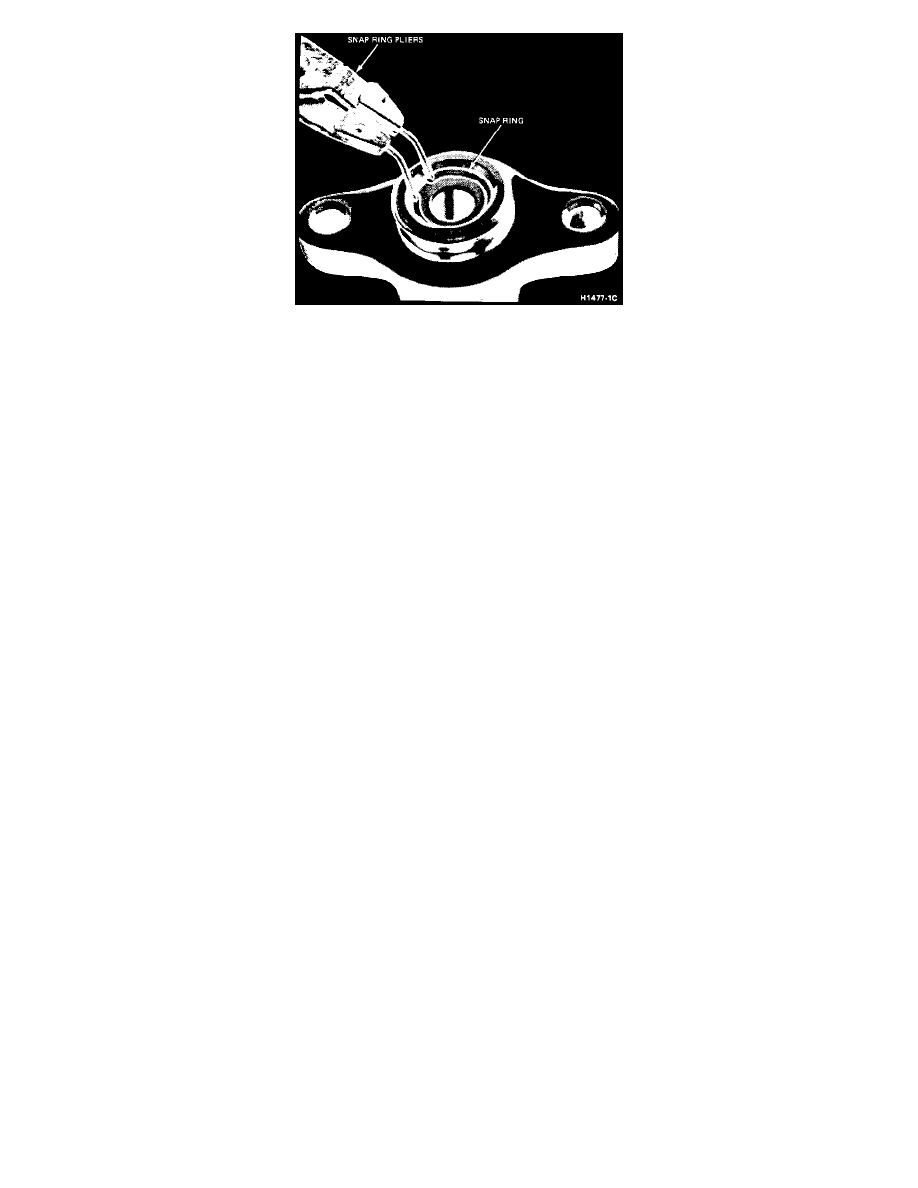
4. Depress the secondary piston and remove snap ring from retaining groove at the rear of the master cylinder bore.
5. Remove secondary piston assembly from the master cylinder bore and inspect for seal damage or twisting. Record condition of piston assembly on
repair order and discard assembly.
6. Remove the primary piston assembly by directing compressed air into the outlet port at the blind end of the bore while plugging the other outlet
port. Inspect for seal damage or twisting. Record condition of piston assembly on repair order and discard assembly.
7. Inspect the master cylinder bore for signs of etching, pitting, scoring or other damage.
a. If bore is damaged, discard and replace with new master cylinder assembly. Do not attempt to hone bore.
b. If bore is not damaged, rebuild master cylinder assembly using the proper repair kit and the procedure outlined below.
ASSEMBLY
1. Clean the master cylinder body with clean isopropyl alcohol or brake parts cleaner to remove any contamination.
2. Dip the repair kit piston assemblies in clean heavy duty DOT 3 brake fluid to lubricate seals.
3. Carefully insert the complete primary piston assembly in the master cylinder bore.
4. Carefully insert the secondary piston assembly in the master cylinder bore.
5. Depress the secondary piston and install the snap ring in the cylinder bore groove.
6. Install the stop-bolt into the bottom of the master cylinder.
7. Install the proportioning valve assembly into the master cylinder.
8. Install the plastic cap on the master cylinder.
For additional information see Fundamentals and Basics.