| Removal and Installation Two-legged puller Bolt M6 x 30 mm Washer Removal | | -
CAUTION:Before taking out the bolts, support the A/C compressor to relieve the strain on the refrigerant lines and secure it to one side. Detach the A/C compressor from the cylinder block. - Disconnect the connector
- Remove the bolts.
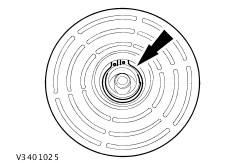
| NOTE:Mark the installed position of the A/C compressor clutch electrical connector in relation to the compressor housing. | | -
Remove the A/C compressor drive plate (A/C compressor shown removed for clarity). | | | -
Remove the A/C compressor pulley. - Remove the spacer washers.
| | | -
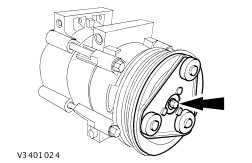
Remove the solenoid using a suitable two-legged puller. | Installation NOTE:Do not skew the solenoid when installing it in the A/C compressor. | | -
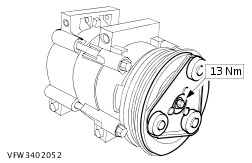
Install the solenoid with an M6 x 30 mm bolt, suitable washer and the compressor drive plate (A/C compressor shown removed for clarity). | | | -
Remove the M6 x 30 mm bolt, washer and compressor drive plate. - Install the spacer washers.
| | | -
NOTE:Install a new A/C compressor pulley snap ring. Install the A/C compressor pulley. | | | -
Install the A/C compressor drive plate. | | | -
Attach the A/C compressor to the cylinder block. - Insert the bolts.
- Connect the connector.
| | |