Flex AWD V6-3.5L (2009)

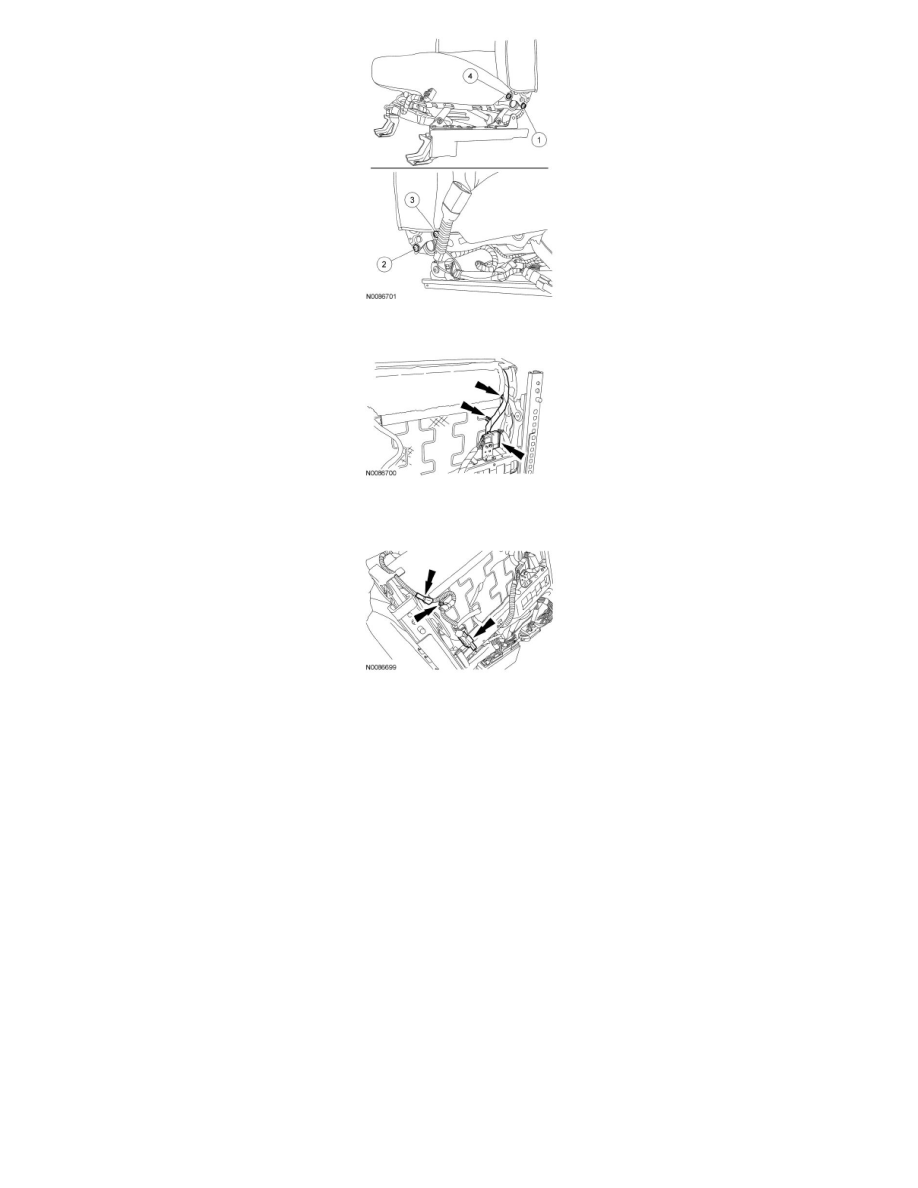
3. Connect the backrest electrical feed electrical connector. Route and attach the electrical connector and wire harness pin-type retainers to the seat.
4. Connect the side air bag module electrical connector and slide the locking clip back. Route and attach the electrical connector and wire harness
pin-type retainers to the seat.
5. If equipped, install the manual lumbar cable in the following sequence.
1. Position the manual lumbar cable into the adjuster.
2. Position the manual lumbar cable cover into the adjuster.
3. Install the manual lumbar cable retainer.
4. Position the cushion trim cover flap back around the side of the seat, attach all the outboard cushion trim cover J-clips and install the pin-type
retainer.
6. Connect the seat control switch and attach the wire harness pin-type retainer to the cushion frame.
7. Attach the cushion side shield in the following sequence.
1. Return all retaining clips back to the cushion side shield before attaching to the seat.
2. Align the 4 cushion side shield clips to the seat and push in seating the clips.
3. Install the screw at the front of the cushion side shield.
4. Install the screw at the rear of the cushion side shield.
5. Install the scrivet at the rear of the cushion side shield.
8. If equipped, install the manual lumbar handle in the following sequence.
