
Flex FWD V6-3.5L (2010)
Power Seat Motor: Service and Repair
Seat Recliner Motor - Front
Seat Recliner Motor - Front
Removal
WARNING: Never probe the electrical connectors on air bag, Safety Canopy(R) or side air curtain modules. Failure to follow this instruction
may result in the accidental deployment of these modules, which increases the risk of serious personal injury or death.
WARNING: Never disassemble or tamper with safety belt buckle/retractor pretensioners or adaptive load limiting retractors or probe the
electrical connectors. Failure to follow this instruction may result in the accidental deployment of the safety belt pretensioners or adaptive load
limiting retractors which increases the risk of serious personal injury or death.
NOTE: The air bag warning indicator illuminates when the correct Restraints Control Module (RCM) fuse is removed and the ignition switch is ON.
NOTE: The Supplemental Restraint System (SRS) must be fully operational and free of faults before releasing the vehicle to the customer.
1. Remove the front seat. For additional information, refer to Seat - Front See: Service and Repair/Front Seat/Seat - Front.
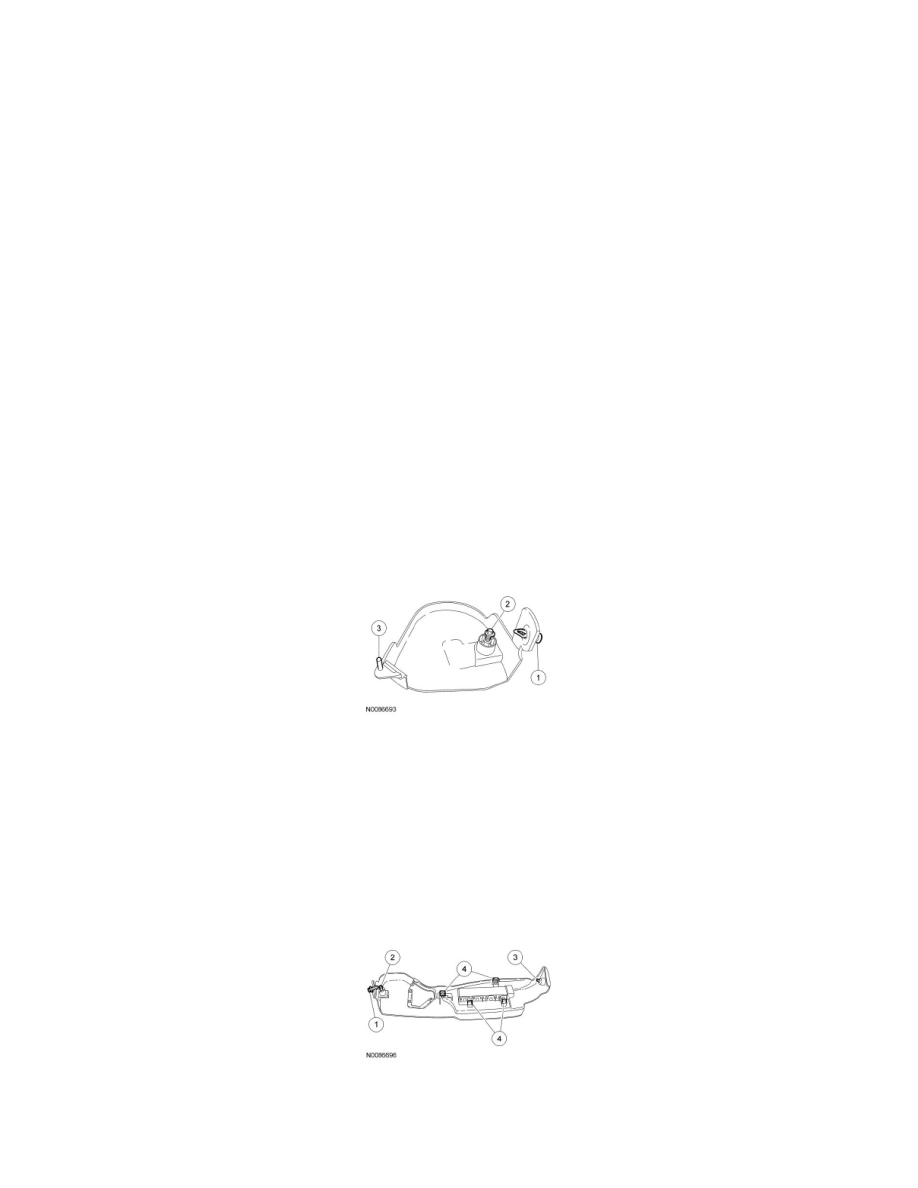
2. NOTE: The seat track rear height adjust must be all the way up or the recliner cover post will not slide out of the seat track hole.
NOTE: For retainer clarity, inside of recliner cover shown.
Remove the recliner cover.
1. Remove the scrivet at the rear of the recliner cover.
2. Remove the screw at the rear of the recliner cover.
3. Slide the recliner cover post out of the seat track hole and remove the recliner cover.
3. NOTE: For retainer clarity, inside of cushion side shield shown.
Separate the cushion side shield.
1. Remove the scrivet at the rear of the cushion side shield.
2. Remove the screw at the rear of the cushion side shield.
3. Remove the screw at the front of the cushion side shield.
4. Pull out to release the clips and separate the cushion side shield.
4. Separate the backrest trim cover lower J-clips and invert the backrest trim cover up to the first row of hog rings.
5. Remove the 3 first row hog rings.